
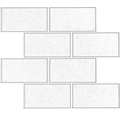
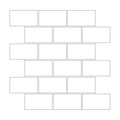
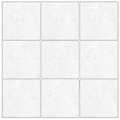

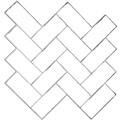
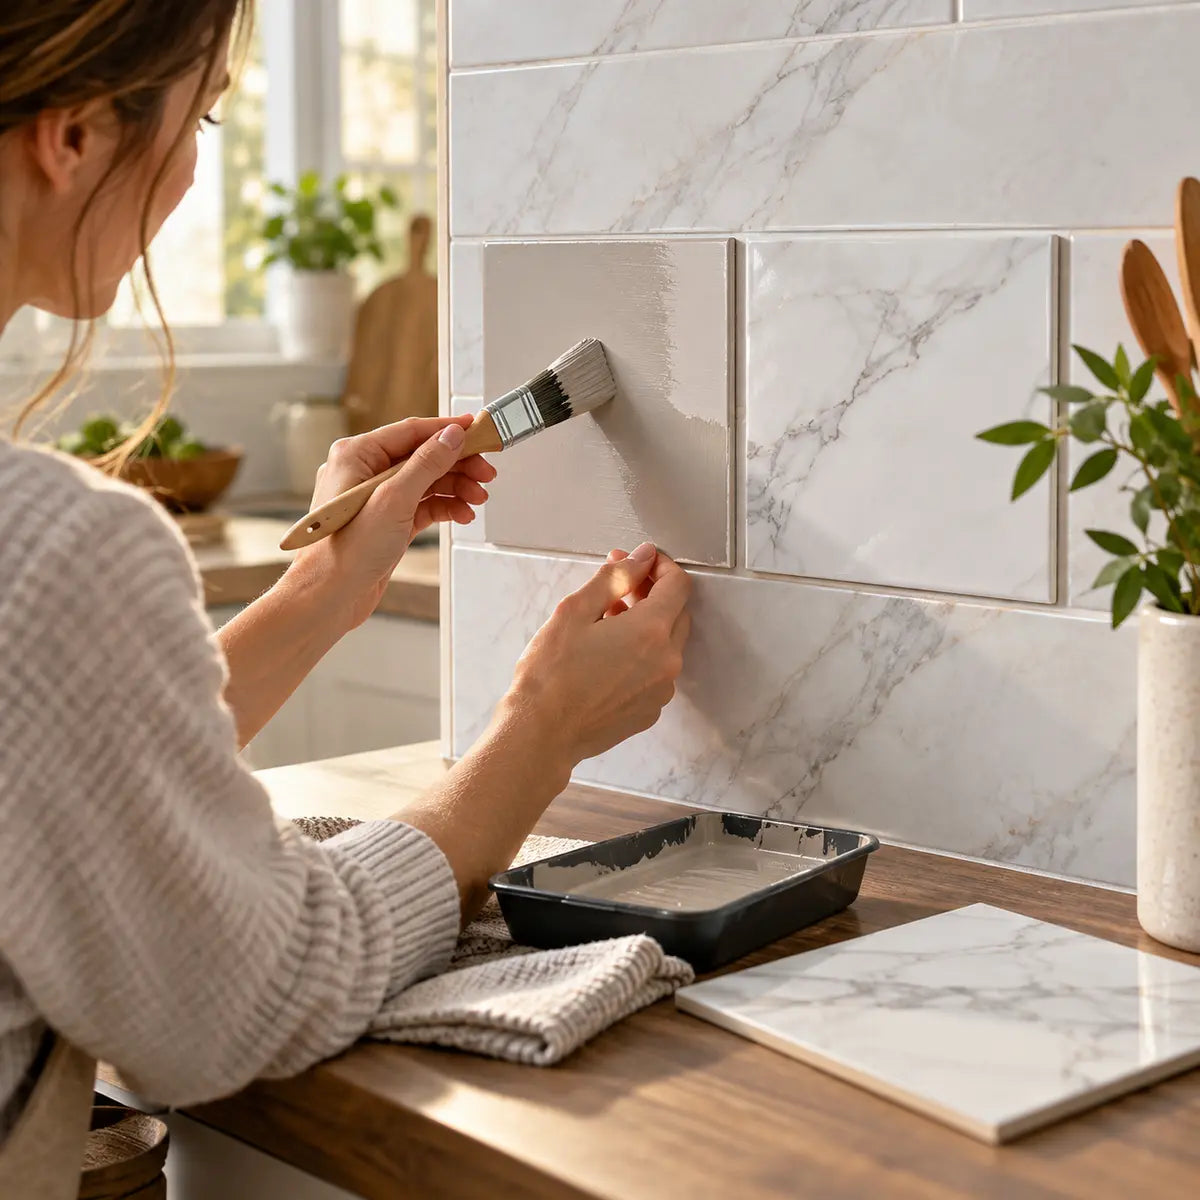
Sometimes—but only after a small compatibility test and a separate check that the tiles are still firmly attached. Painting peel-and-stick tiles involves two different bonds: the coating must stick to the tile face, and the tile’s backing adhesive must keep holding the tile to the wall or floor. A good result at one bond does not prove the other is sound. (Benjamin Moore & Co., INSL-X, Stix SXA-110 technical data sheet.)
That distinction matters if you want a different colour without replacing an entire backsplash or floor. Before buying paint, identify the tile, check its condition, and confirm that the tile and coating instructions allow the same preparation and use conditions.
Our recommendation is to treat painting as a decision you earn through testing. Use a spare tile wherever possible, accept that a concealed test can permanently alter the finish, and decide in advance what would make you stop.
The practical answer: Consider painting only when the tile is stable, the proposed preparation is permitted, the coating system suits the location, and the complete test remains sound after the relevant curing period. A successful sample supports a limited decision about that combination; it cannot guarantee long-term durability or damage-free removal.
Benjamin Moore & Co., INSL-X, Stix SXA-110 technical data sheet.
Can you paint peel-and-stick tiles successfully?
Some peel-and-stick tiles may accept a compatible coating, but “peel-and-stick” alone does not establish paintability. It describes how a product attaches. You still need to know what surface you would actually be painting and whether the proposed coating is suitable for it.
A peel-and-stick tile is a self-adhesive covering supplied with an adhesive backing. That backing commonly uses a pressure-sensitive adhesive—an adhesive that forms contact when pressure is applied. The paint sits on the opposite side of the tile, creating another bond that needs its own assessment.
Think of the installation as a stack:
| Part of the installation | What you need to establish |
|---|---|
| Paint and any required topcoat | The specified coats work together and suit the intended use. |
| Primer, if required | It is compatible with both the tile face and the finish coat. |
| Tile face and factory finish | The identified surface accepts the permitted preparation and coating. |
| Tile backing adhesive | The installed tile remains firmly attached. |
| Supporting wall or floor | The surface beneath the adhesive remains stable. |
This is a practical way to separate the interfaces. Manufacturer coating tests assess coating retention; tile care and installation guidance addresses different questions about the backing bond. Neither should be treated as a complete test of the other. (Rust-Oleum Product Support, Rust-Oleum HOME Floor Coating instructions.)
What kind of paint works on peel-and-stick tiles?
There is no universally suitable paint category for every peel-and-stick tile. Start with a coating system whose instructions address the identified material and intended location, then confirm that its required preparation is acceptable for the tile.
“Suitable for vinyl” is useful information, but it does not identify every factory finish applied to a vinyl product. Likewise, permission to coat ceramic tile does not establish permission to coat a flexible decorative tile that resembles ceramic.
For example, the Stix SXA-110 technical data sheet lists vinyl, PVC and other surfaces, yet still calls for small-area adhesion and topcoat-compatibility testing on questionable plastics and composites. That is a product-specific reason to test, rather than a blanket recommendation for self-adhesive tiles. (Benjamin Moore & Co., INSL-X, Stix SXA-110 technical data sheet.)
Floor applications need particular care. A coating intended for a lightly touched wall does not become a floor coating because the colours match. Choose according to the stated service use—the conditions the coating is intended to withstand.
Do peel-and-stick tiles need primer before painting?
Use primer only when the selected, compatible coating system requires it. Primer is a preparatory coating intended to help the finish coat work on a suitable surface; it cannot establish that an unidentified tile is paintable.
Some systems include a separate bonding primer. Others specify their own base coat and topcoat without one. Rust-Oleum HOME, for example, lists vinyl among its flooring substrates and requires its base-coat-plus-topcoat system without separate priming. This does not approve every peel-and-stick tile or make those instructions transferable to another paint. (Rust-Oleum Product Support, Rust-Oleum HOME Floor Coating instructions.)
The useful shopping question is therefore: “What complete system is supported for this surface and location?” Ask that before choosing a primer by reputation or using leftover wall paint.
What determines whether paint will stick?
The tile face, its existing finish, permitted preparation and coating compatibility control the coating decision. The installed adhesive and room exposure control separate parts of the decision. Collect information about all of them before treating a small sample as representative.
Identify the surface beneath the description
Find the packaging, receipt, order history or installation instructions. Record the product name and code, material description, finish and whether it is intended for walls or floors.
A photograph can help a manufacturer identify a product, but appearance alone is a weak basis for choosing preparation. A glossy, raised backsplash tile and a flat vinyl floor tile may need different answers even if both are sold as peel-and-stick.
If the product cannot be identified, keep that uncertainty in your decision. A successful experiment on an unidentified spare does not create manufacturer approval for the installed surface.
Useful questions to send with the product details are:
- Is painting the tile face permitted?
- Which cleaners, abrasives or chemical preparation products are allowed?
- Does the answer apply to this exact finish and product family?
- Is there a supported primer-and-paint system?
- What changes, if any, does painting make to care instructions or removal expectations?
Ask about the tile face. Instructions for preparing the wall underneath it answer a different question.
Check the conditions around the tile
Write down what the surface experiences during an ordinary week. Consider splashes, cooking residue, bathroom humidity, appliance heat, shoes, chair movement and cleaning.
We suggest separating these into location and maintenance. A surface might be outside direct splash zones but still receive frequent wiping. Another might rarely be cleaned yet sit close to a heat source.
A room label is not enough. “Bathroom suitable” needs to be translated into the actual position and exposure described by the product instructions. Original tile ratings also do not automatically establish ratings for an added coating. (Tic Tac Tiles FAQ.)

When should you stop before testing?
Stop before coating an installation that is moving, lifting, damp, damaged or outside its permitted use conditions. Put the paint decision on hold until the underlying concern has been assessed. Do the same if the required preparation conflicts with the tile instructions.
Inspect in good light without prying up corners or pulling on the tiles. Look along seams and around sinks, worktop junctions, appliance areas and floor edges. Take photographs so later observations have a useful baseline.
A maintenance inspection can help you separate a colour preference from an installation problem. The peel-and-stick tile maintenance guide covers cleaning, lifting edges and damaged tiles; its care advice does not establish paint compatibility.
Find your starting route
Use the following questions to choose the next action. Take them in order: a stop answer takes priority over a caution or a promising sample.
First, check condition and permission. Are any tiles moving, lifting, damp or damaged? Does either manufacturer prohibit the proposed preparation or location? Would the test modify a surface you are not permitted to alter?
If yes, your result is stop before coating. Address the condition, choose another finish or obtain the necessary permission. A paint sample cannot override these answers.
Next, check what is known. Can you identify the tile and finish? Do the tile and coating instructions support the same preparation? Can you keep the test within the stated application and service conditions?
If any answer is unknown, your result is caution—clarify before committing. Gather the product details or ask technical support a specific question. You may choose to experiment on a spare you own, but keep that separate from permission to paint the installation.
Finally, check whether the test can represent the project. Are the tiles stable and dry, the proposed preparation supported, and the location suitable? Can you reproduce the complete coating system and allow its required curing period?
If all answers are yes, your result is proceed to a small test. It is not yet permission to paint the full surface.
This decision aid is a conservative reading of the conditions you provide. It does not identify hidden damage or measure adhesive strength. If you cannot confidently choose an answer, use the caution route.
The result uses a simple priority: any declared stop condition wins; otherwise, an unknown or incomplete requirement means caution. Only confirmed answers throughout lead to a small test. Selecting an answer records your assessment for this page visit; it does not verify the surface or save a project record.
Rental permission comes before an installed test
For a rental, decide whether you can accept an altered finish before cleaning aggressively, scuffing or priming. If restoring the original tile face is essential, an installed paint test may already exceed your acceptable risk.
Request written agreement on the proposed change and expected condition at move-out. Avoid assuming that a removable tile makes its painted finish reversible.
WallPops explicitly distinguishes FloorPops from temporary wall decals and warns that removal from painted surfaces can lift paint or leave residue. Those cautions concern that product family, but they illustrate why “peel-and-stick” cannot serve as a damage-free removal promise. (WallPops, Peel and Stick FAQs: Install, Removal & Care.)
Prepare a representative test with the least acceptable damage
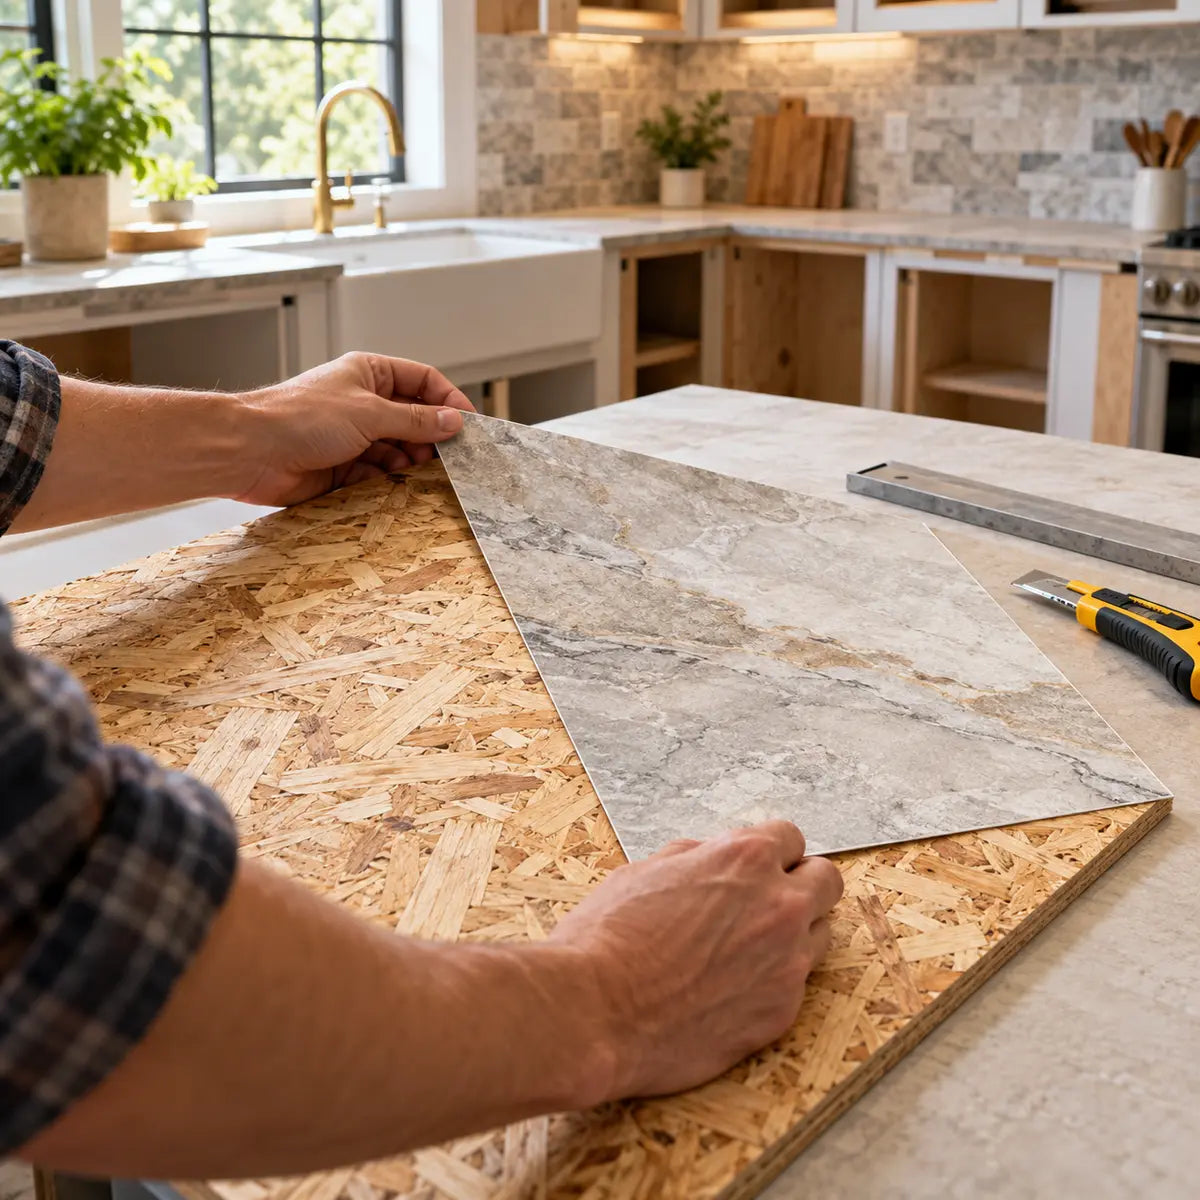
Use a spare tile wherever possible. If you test an installed tile, select a concealed but representative area and accept that the change may be permanent. Preparation must fit both the tile’s restrictions and the coating system’s requirements.
Choose what the sample can actually tell you
A spare tile is useful for observing the coating without altering the installation. Keep it supported and leave its backing protected unless your test also involves a permitted sample installation.
Its limitation is important: a spare cannot tell you whether the existing tiles remain bonded to your wall or floor. Assess the installed surface separately.
A concealed installed area has different strengths and weaknesses. It exposes the coating to the existing tile and its history, but it can leave a visible patch if furniture or appliances move. It may also be cleaner, cooler or drier than the area you most want to change.
Choose the location with that tradeoff in mind. Record how it differs from the rest of the installation rather than quietly treating it as identical.
Clean according to the correct instructions
Begin with tile-face care guidance. Do not borrow a cleaner from instructions for preparing the wall beneath the tiles.
Smart Tiles, for example, recommends gentle, non-abrasive face cleaning while giving stronger degreasing directions for the installation surface. These are different tasks. Permission to use a product on the wall does not authorize it on the decorative face. (Smart Tiles, Frequently Asked Questions.)
For your test, use only a cleaning method compatible with the identified tile and coating. Follow any rinsing instructions, control moisture around seams, and allow the surface to dry as directed.
If the coating requires a cleaner that the tile instructions prohibit, treat that as an unresolved compatibility conflict. Stronger preparation is not automatically a better choice.
Sanding and deglossing require explicit permission
Scuff sanding lightly abrades a surface. Deglossing reduces gloss through a specified mechanical or chemical treatment. Neither is a harmless default for an unidentified decorative tile.
Before using either method, confirm the permitted treatment with the tile manufacturer and the coating supplier. If their instructions cannot be reconciled, choose another system or another refresh route.
The Stix data sheet, for instance, requires a clean, dry, sound surface and excludes certain plastics and continuous water contact. A primer’s requirements and exclusions still apply even when its label includes other plastics. (Benjamin Moore & Co., INSL-X, Stix SXA-110 technical data sheet.)
For replacement projects, the guide to installing stick tiles on painted walls addresses the supporting wall and adhesive bond. Keep those installation instructions separate from preparation of a tile face.
Gather a small, repeatable test kit
Keep the first purchase limited to what you need to evaluate one supported system:
- The identified spare tile or agreed concealed area.
- The permitted cleaning materials and soft application cloths.
- The specified primer, if required, finish coat and required topcoat.
- Suitable application tools and the label-required protective equipment.
- A phone or camera, notebook and a place to record application times.
We recommend testing one complete system at a time. If you compare options, label them clearly and change one relevant variable at a time. Otherwise, a better-looking patch may leave you uncertain about which preparation or product made the difference.

How do you test paint on peel-and-stick tiles?
Reproduce the proposed preparation and complete coating system on a small sample, then observe it through the manufacturer-specified curing and permitted-use stages. The process below is an informal compatibility screen. It is not a standardized adhesion test or a prediction of service life.
Record the starting condition
Photograph the uncoated tile, including its texture and gloss. For an installed test, photograph adjacent seams and corners as well.
Write down the tile identity, test location, permitted preparation and exact coating products. Record any pre-existing mark, slight gap or irregularity that could otherwise be mistaken for a new failure.
Leave an uncoated comparison area on a spare where practical. The purpose is to make changes easier to see, rather than to create a laboratory control.
Apply the agreed preparation
Clean, rinse where required and allow drying according to the compatible instructions. Inspect again before opening the coating.
If the preparation changes the tile face, produces colour transfer, damages its texture or coincides with new edge lift, stop. Preserve the photographs and product details for a technical-support discussion.
Avoid improvising a rescue treatment on the same sample. A sample that has received several undocumented cleaners or preparation methods no longer represents the process you intended to use.
Apply the complete coating system
Follow the specified application method, coat requirements and recoat intervals. Include every required layer in the test. A satisfactory primer-only patch cannot establish how the finished system will behave.
Record the application time for each layer and any relevant room conditions specified by the instructions. Follow the product label and safety documentation for ventilation, handling and protective equipment. (Benjamin Moore & Co., INSL-X, Stix SXA-110 technical data sheet.)
Keep the coating on the intended tile face. Do not treat paint as a repair for lifting corners, loose seams or an unstable supporting surface.
Plan the calendar from the instructions
Dry to touch, ready to recoat and ready for service are different milestones. Put them on a calendar separately so a finish that looks dry does not become an early test result.
For perspective, Stix specifies a 3–4-hour recoat interval at 25°C and 50% relative humidity, while describing approximately 3–4 days to maximum scrape resistance. These are primer milestones, not the complete paint system’s cure schedule. (Benjamin Moore & Co., INSL-X, Stix SXA-110 technical data sheet.)
Use this calendar method for your chosen system:
- Enter when preparation will be complete and the surface ready for coating.
- Add each layer using its specified recoat interval and any maximum recoat window.
- From the final relevant coat, enter the manufacturer’s earliest permitted service and cleaning dates.
- Check those dates against when the room must return to normal use.
Your result is “time available” if every required stage fits before the room is needed and the application conditions can be maintained.
Your result is “reschedule” if a required stage extends beyond that date. Move the project or choose a different refresh.
Your result is “timing unknown” if a required interval, service milestone or starting point is unclear. Ask the coating supplier before committing.
This calendar adds only the stages the instructions say must occur in sequence; it does not assume every waiting period is cumulative. If conditions fall outside the stated range, obtain guidance rather than inventing an adjustment. Any change in product, coat sequence or application date means recalculating the result.
This comparison uses the dates you supply; it does not calculate a product’s cure time or check omitted stages. Readiness at or before the room deadline means time available on your entered schedule. Readiness after the deadline means reschedule. Missing dates or an unconfirmed schedule mean timing unknown. Allowing no margin makes the plan dependent on meeting the entered schedule exactly.
Observe the cured sample before permitted cleaning
After the relevant curing period, inspect under good light. Use only handling or adhesion checks supported for that coating and substrate.
Do not automatically cut a grid into an installed tile or pull aggressive tape across it. Rust-Oleum HOME publishes a cut-and-tape screen for its own flooring system; the associated scoring and sanding directions should not be transferred to unidentified self-adhesive tiles. (Rust-Oleum Product Support, Rust-Oleum HOME Floor Coating instructions.)
For a beginner’s informal screen, visible changes and behaviour under permitted handling can be enough to reject the proposed system. More aggressive testing needs its own permission and method.
Check permitted cleaning and record both bonds
Once washing is allowed, try only a cleaning method permitted by both the tile and coating guidance. Keep moisture and contact within those instructions. Inspect after the surface has dried.
Use this observation record at each stage:
- Tile face: Has the original finish softened, distorted or otherwise changed?
- Coating appearance: Is there peeling, bubbling, wrinkling, cracking or unexpected discolouration?
- Coating condition: Does it remain tacky beyond the stated period, or mark under permitted handling?
- Installed tile: Are there new gaps, lifted edges or movement?
- After permitted cleaning: Has the appearance or condition changed?
- Timing and exposure: What had the sample experienced when you made the observation?
Record “not checked” rather than treating an untested property as a pass. A sample that has never been cleaned provides no observation about cleaning.
Read the result: pass, caution or stop
A pass supports cautious continuation under the tested conditions. Caution means the decision remains incomplete. Stop means the proposed process has produced an unacceptable change or conflicts with the instructions. Use the most restrictive applicable outcome.
Pass: the tested combination remained sound
Consider a provisional pass only after the relevant cure and permitted observations are complete, with no unacceptable change to the coating, tile face or installed edges.
Write the conclusion narrowly: “This preparation and coating remained satisfactory on this sample through the recorded observations.”
That wording keeps the result useful. It identifies what you actually tried without claiming that every tile, cleaning cycle or future season has been tested. A small-area screen cannot establish long-term durability, removability or the strength of the backing adhesive. (Benjamin Moore & Co., INSL-X, Stix SXA-110 technical data sheet.)
Caution: a useful observation leaves a decision unanswered
Caution applies when the sample looks satisfactory but a material question remains.
You might have tested a new spare while the installed tiles have years of use. You may have completed coating observations but not reached the permitted cleaning date. Perhaps the sample sits on a quiet wall while the planned area is exposed to regular splashing.
These are reasons to limit the conclusion, seek clarification or select another route. Waiting longer can address an incomplete curing period; it cannot resolve an unknown material or prohibited preparation.
For an installed sample, continue to assess the backing bond independently. A smooth paint finish gives you little information about a tile that moves beneath it.
Stop: the proposed process needs reconsideration
Treat the following as stop observations, without assigning an unverified cause:
| What you observe | Responsible next action |
|---|---|
| Paint peels or separates during permitted handling | Stop expanding the application; review the preparation and system with technical support. |
| The coating bubbles, wrinkles or cracks | Photograph the change and pause. Do not add another coat as an assumed repair. |
| Tackiness continues beyond the stated curing guidance | Confirm conditions and timing with the supplier before using or coating further. |
| The original tile face softens, distorts or transfers colour | Stop that preparation or coating process. |
| Installed edges lift, seams change or tiles move | Address the installation separately before considering paint. |
| Permitted cleaning causes visible deterioration | Reconsider whether the finish suits the required maintenance. |
These symptoms do not uniquely diagnose solvent damage, moisture, plasticizer movement or adhesive failure. Their immediate value is that they tell you to stop and investigate.
Keep the failed sample where practical. Exact product names, photographs, timing and preparation records are more useful to technical support than “the paint did not stick.”

Do not turn a small test into a full-surface guarantee
If you proceed, reproduce the tested process and keep checking the installation. A pass becomes less relevant whenever you change the cleaner, preparation, coating, application conditions or intended use.
Begin with a manageable area you can inspect before extending the work. Keep your records and retain the spare sample. If the full area behaves differently during application, pause rather than using the sample result to dismiss the change.
Keep seams and repair needs visible in the plan
Do not use paint to disguise a loose seam or create the appearance of a sealed joint. Any existing installation concern belongs in the repair decision before coating.
For replacement work, the installation and care guide addresses preparation of a clean, smooth, dry wall. It does not provide permission to sand, prime or paint the tile face.
Think through future access as well. If an individual tile becomes damaged, how will you identify its edges and replace it? If the underlying condition needs inspection, will you still be able to see the early warning signs you recorded before painting?
Test the appearance as carefully as the adhesion
A sample also gives you a chance to decide whether the visual result is worth the work.
View it from the doorway, beside the worktop and under the lighting normally used in the room. Check whether you like the visible texture and joint pattern after the colour changes. Compare it with adjacent cabinets, fixtures and flooring.
We suggest making this aesthetic decision before expanding the application. A technically promising result may still be the wrong finish for the room.
Include the possible exit work
Before painting, decide what you would do if the result failed across the full area.
Would replacement be acceptable? Could you obtain matching tiles? Would removal disturb an uncertain surface? Is the cost of the proposed coating reasonable compared with replacing a small installation?
For painted walls, the guide to removing peel-and-stick tile from painted walls explains a cautious approach and stop signs. Removal still cannot be guaranteed damage-free.
Do not assume you can strip an unsuccessful coating back to the original decorative finish. If preserving that finish is essential, choose a route that leaves it unmodified.

Will painted tiles suit the room and its cleaning demands?
Only proceed if the tile, preparation and complete coating system all suit the actual exposure. Approval for one part of the installation cannot establish suitability for the finished assembly.
Kitchen backsplashes: separate grease, water and heat
Describe the exact backsplash area before choosing a system. The wall beside a preparation counter may have different demands from the section behind a hob or around a sink.
Ask whether the finished surface can be cleaned often enough for that location using products permitted by both sets of instructions. If routine cleaning would require methods outside those instructions, the proposed finish is a poor practical match even if an adhesion sample looks good.
Keep heat limits product-specific. Tic Tac Tiles, for example, states that the surfaces addressed by its FAQ must not exceed 120°F (49°C). That is an original-product limit, not a universal peel-and-stick temperature limit or a rating for tiles after painting. Its appliance-clearance instructions still require separate attention. (Tic Tac Tiles FAQ.)
A paint layer provides no basis for relaxing the tile’s restrictions. If the location exceeds either product’s stated use, choose another finish rather than testing with deliberate heat exposure.
Bathrooms and laundry areas: humidity is only part of the question
A bathroom wall outside direct wetting is a different application from a shower interior. Check for condensation, repeated splashes and any sign that water is reaching the installation.
Tic Tac Tiles distinguishes bathroom humidity from direct, continuous water contact and does not recommend the addressed tiles for shower stalls. Painting does not establish shower approval for that assembly. (Tic Tac Tiles FAQ.)
Likewise, a coating described as washable does not, by itself, establish that the joints, backing adhesive and supporting wall form a waterproof system. If the project requires waterproofing, start with a finish and installation system specified for that purpose.
Treat recurrent dampness as a condition to assess before decoration. A new colour is not a useful test of whether the moisture source has been resolved.
Floors: plan for use and downtime
Floor projects require a coating intended for the identified flooring and its use conditions. Consider the room’s furniture, traffic, cleaning and any stated slip-related requirements before purchasing.
Curing time can make a floor project impractical even when the system is otherwise plausible. Rust-Oleum HOME specifies 24 hours before light foot traffic, 72 hours before furniture replacement and seven days for full cure and washing. Those milestones apply to that named system; use the instructions for your selected coating. (Rust-Oleum Product Support, Rust-Oleum HOME Floor Coating instructions.)
Map the downtime to ordinary life. Decide how you will access the room, where furniture will go and whether you can avoid premature cleaning. If the schedule does not work, reschedule or choose another update.
The backing adhesive still has its own maintenance limits. WallPops warns that steam-mop heat and moisture can cause FloorPops adhesive failure and lifting. A painted surface does not provide evidence that this restriction has changed. (WallPops, Peel and Stick FAQs: Install, Removal & Care.)
Choose a maintenance routine you can keep
Use the overlap between the coating instructions and the tile’s care limits. If the guidance conflicts, obtain clarification before cleaning.
After painting, make a habit of looking at the seams as well as the colour. Keep the original photographs for comparison. A finish can remain visually attractive while an edge needs attention.
Avoid adding an unplanned clear sealer because you want extra reassurance. Treat any added layer as a change to the system that needs compatibility confirmation and another test.
For a frequently cleaned installation, the most useful finish is one whose permitted care fits the room’s normal demands. If you would need to make daily use unusually delicate, reconsider the project.
Compare painting with replacement and other refresh options
Choose another route when painting requires unsupported preparation, unacceptable permanent change or downtime you cannot provide. The best alternative depends on whether your priority is colour, installation repair, reversibility or a finish suitable for demanding exposure.
| Option | When to consider it | What to establish first |
|---|---|---|
| Clean and maintain the existing tiles | You mainly dislike dullness, residue or a tired appearance | Use the identified tile’s permitted care methods. |
| Replace isolated damaged tiles | Damage is limited and matching replacements are available | Assess the supporting surface and removal implications. |
| Replace the installation with another finish | You want a different colour or pattern without developing a paint system | Confirm removal, substrate condition and new-product suitability. |
| Overlay the existing surface | The new covering explicitly permits that substrate and installation | The existing assembly must be stable and the overlay permitted. |
| Change nearby décor | You need an update while preserving the tile face | Choose changes you are allowed to make and can reverse as needed. |
| Repair the supporting surface or select a different system | There is dampness, instability or an unsuitable exposure | Resolve the underlying condition before decoration. |
Refresh around the tiles
If the tiles are sound and your concern is mainly visual, experiment with nearby colours before modifying them. Try textiles, accessories or an allowed change to adjacent surfaces.
This is especially useful when a rental must return to its original condition. It lets you judge how much of the dissatisfaction comes from the tile itself and how much comes from the surrounding palette.
The renter-friendly tile makeover ideas offer inspiration for comparing changes. Any adhesive installation still needs product-specific surface and removal checks; rental permission and damage-free removal remain separate questions.

Replace for the appearance you want
Replacement lets you choose a factory-finished colour or pattern without developing a compatible paint system. It still requires careful assessment of removal, the exposed surface and the new tile’s instructions.
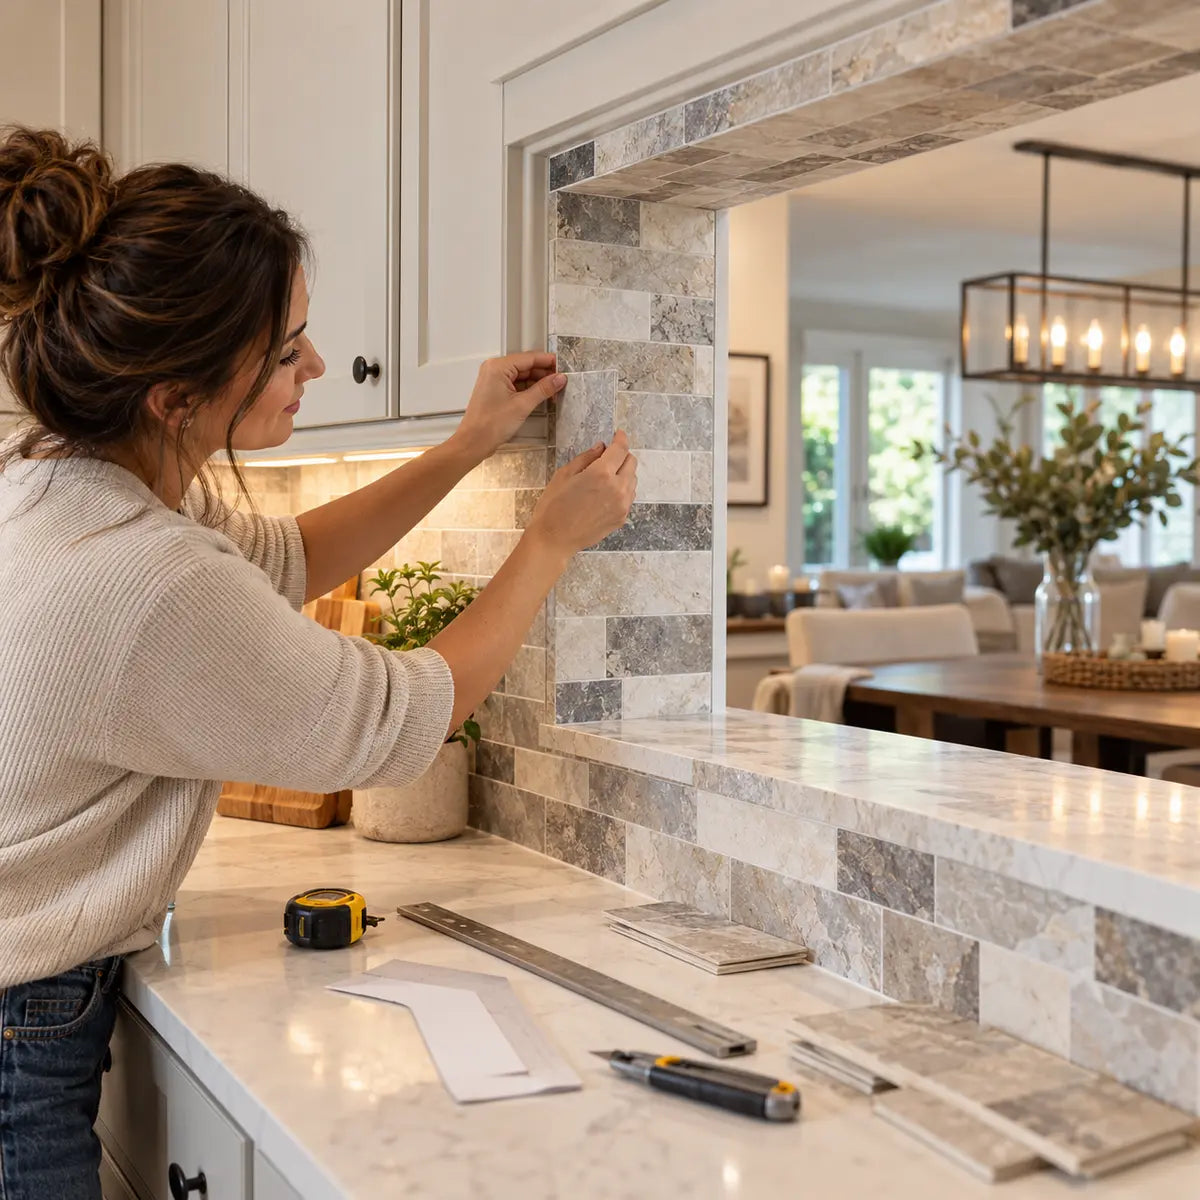
For a backsplash or accent-wall replacement, Subway Magic self-adhesive, grout-free wall tiles are one store option to compare. Their product description does not establish paintability, suitability over loose existing tiles or compatibility with an unidentified substrate.
Compare the whole job: removal, any surface repair, installation and the future care routine. A small replacement project may be easier to plan than an uncertain coating process, but make that judgment from your installation.
Treat overlays as another compatibility decision
An overlay adds another bond to the stack. Before choosing one, establish that the new product permits the existing tile as a substrate and that the installed layers remain stable.
Do not use an overlay to cover an unanswered dampness or movement concern. A tidy outer surface would not resolve the condition beneath it.
The peel-and-stick tile planning guide can help compare surface condition, moisture, heat, cleaning and removal considerations before you choose a replacement or another finish.
Make the final decision before opening the full tin
Paint only when the preparation is supported, the test is complete, the installed tiles remain stable and the proposed finish fits the room. Use the narrowest conclusion your observations justify.
Choose pass when the complete tested system remains satisfactory after its relevant cure and permitted handling or cleaning observations, with no unresolved condition or use conflict. Proceed cautiously using the same process.
Choose caution when identity, permission, timing, exposure or representativeness remains uncertain. Clarify the unanswered question or choose a less disruptive refresh.
Choose stop when preparation or coating damages the sample, the finish fails, tiles move or lift, dampness remains, or the instructions rule out the intended use.
Our strongest recommendation is to make the next step small: identify the tile, inspect the installation and prepare one representative sample. You can decide about the full surface after you have a result worth acting on.


Laisser un commentaire
Ce site est protégé par hCaptcha, et la Politique de confidentialité et les Conditions de service de hCaptcha s’appliquent.