

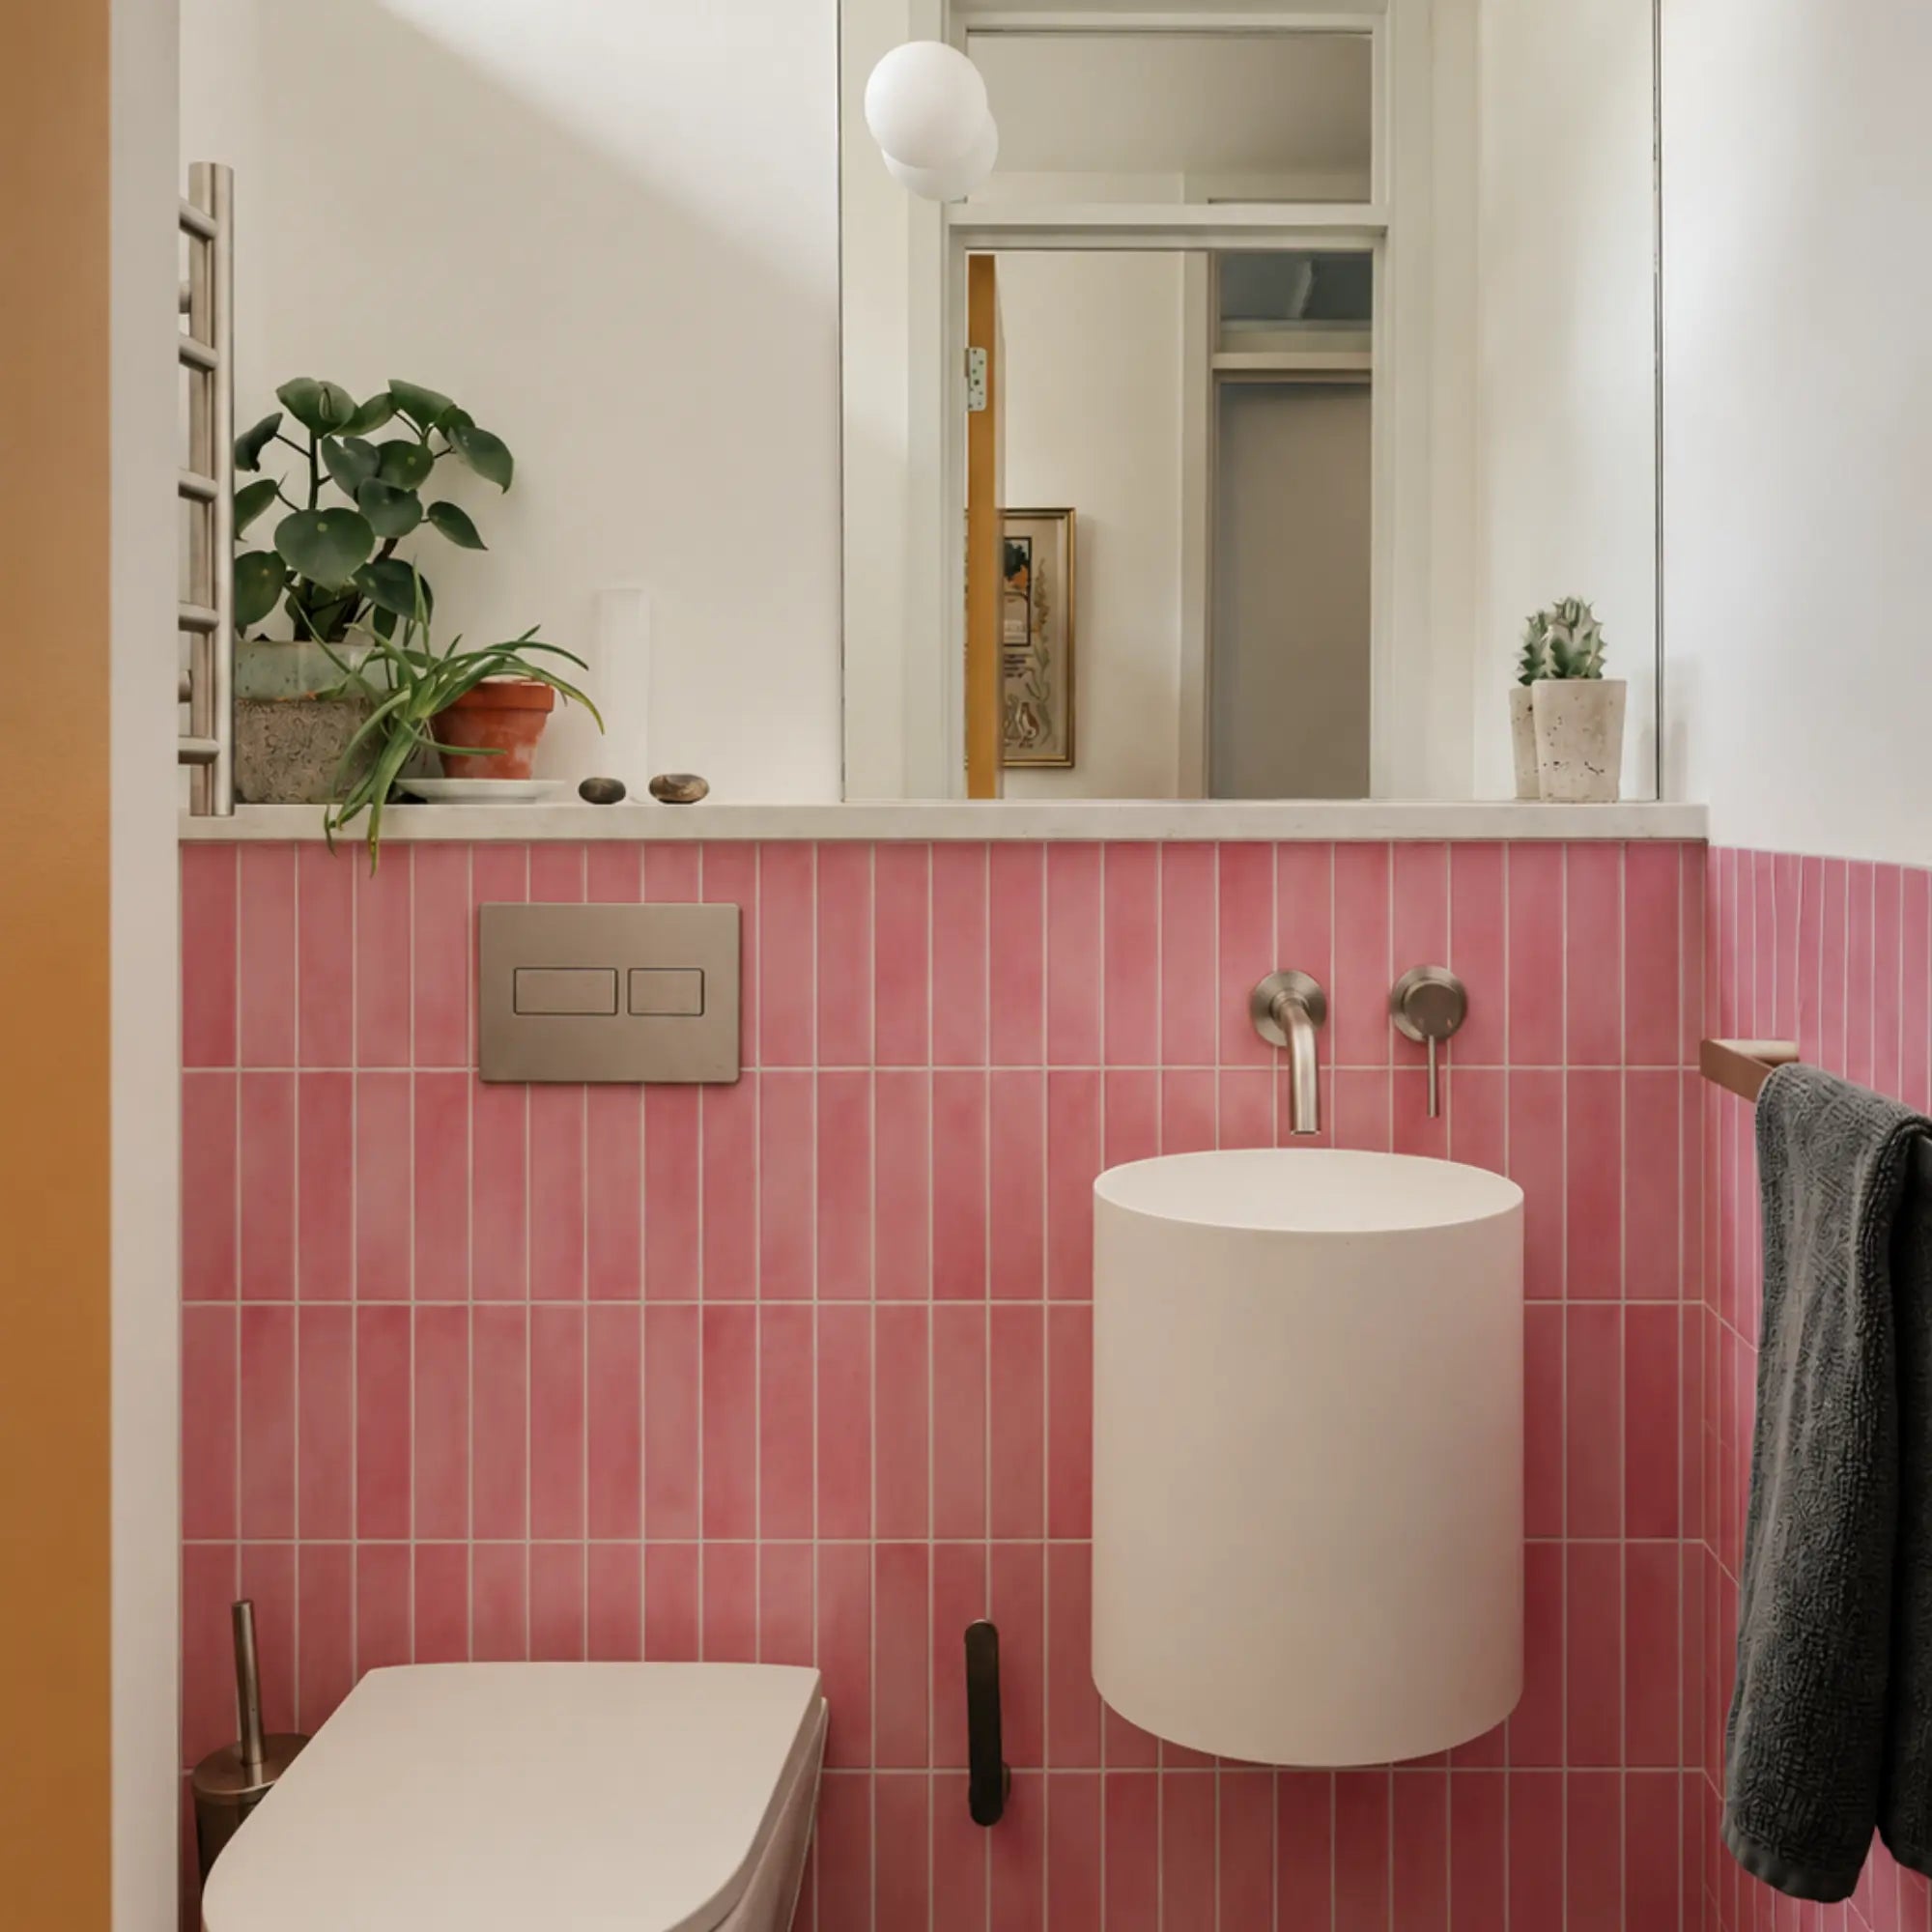



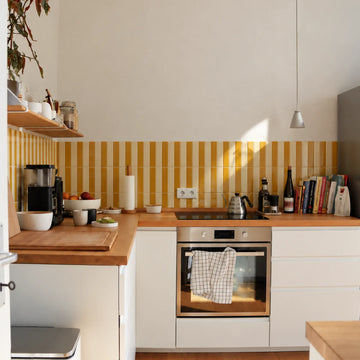

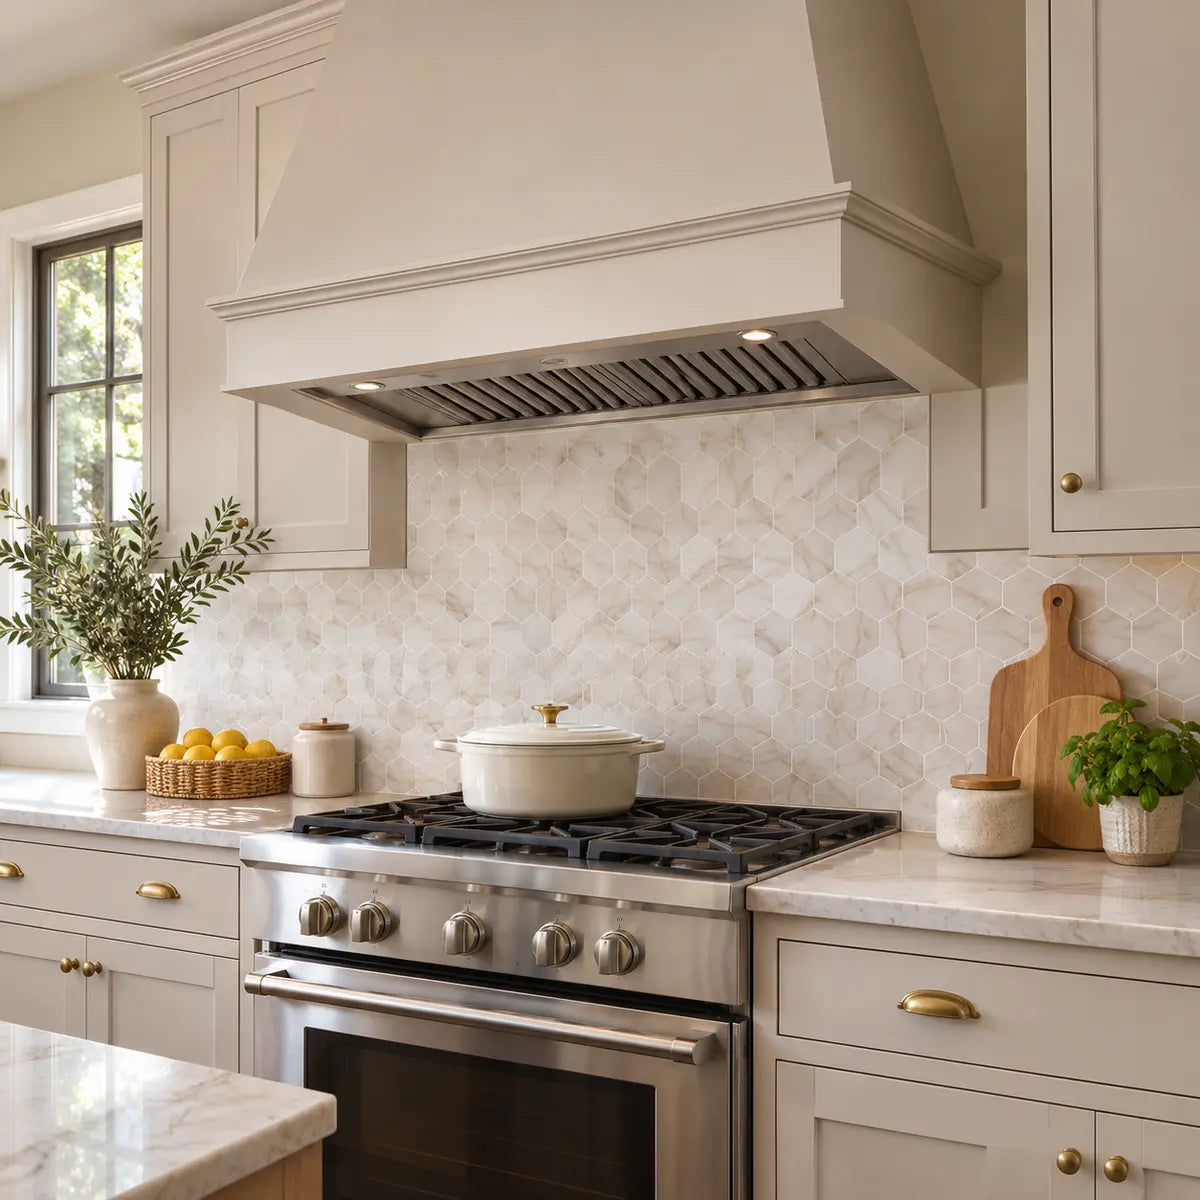
The hood opening is the most visible and least forgiving part of a peel-and-stick backsplash. A small measurement error can create a crooked seam, an uneven gap, or a cut edge that draws attention every time you enter the kitchen.
You can install peel-and-stick tile around a range hood insert when the exact tile product, wall condition, appliance instructions, and installation boundary all support that placement. The reliable sequence is:
- Verify the hood or liner requirements and the selected tile’s current instructions.
- Prepare a smooth, clean, dry, grease-free wall.
- Measure the opening at several points.
- Build and label a paper or cardboard template.
- Plan the pattern, seams, narrow strips, and exposed edges.
- Cut gradually.
- Dry-fit every piece.
- Apply the tile with controlled pressure and inspect the finished boundary.
The manufacturer’s current product instructions and the hood manufacturer’s installation manual control product-specific questions. General advice cannot establish a universal clearance, temperature rating, or approval for every range hood insert.
Is peel-and-stick tile suitable around a range hood insert?
Peel-and-stick tile may suit the backsplash area around a hood insert when the tile is approved for the wall and exposure conditions, the wall is suitable for pressure-sensitive adhesive, and the appliance manufacturer’s requirements leave a compatible installation area.
A range hood insert is the appliance body installed inside a custom cabinet or surround. A range hood liner performs a similar function but may have different dimensions, clearances, trim, and installation steps. The visible opening around either one is not automatically a tile boundary. The hood manual may require the backsplash to be installed before the insert, may define where the finished surface ends, or may specify clearances that affect the layout.
The key decision is not simply, “Can peel-and-stick tile handle a kitchen?” It is:
Can this exact tile be installed on this exact wall, within the boundaries and exposure conditions created by this exact hood, range, cooktop, and cabinet assembly?
Current Stickwoll guidance says to follow appliance clearances near cooking areas and keep tile away from direct flame or concentrated heat. It does not provide a universal temperature rating or one numeric distance that applies to every hood opening. The current guidance also describes routine splash use and wipe-clean care, while advising against prolonged water exposure. Read the current Stickwoll FAQ for cooking-area and care guidance and compare it with the instructions for the exact product you plan to buy.
A relevant option such as Stickwoll Coastal Breeze peel-and-stick tiles can be reviewed as a design candidate, but a product page alone does not establish that the tile is approved for every hood insert or every position above a cooking surface. Check the current product instructions, product-specific exposure limits, and any warranty conditions before buying enough material to cut.
Use this decision rule before purchasing
Proceed to planning when all of these statements are true:
Pause the project when one of those answers is unknown. This is the point where a few minutes of research can prevent a full sheet of tile from being cut incorrectly.
What should you verify before cutting tile?
Verify the appliance boundary, the product limitations, the wall condition, and the order of installation before cutting a single tile.
The phrase “around the hood” can describe several different areas:
- The wall above the range and below the hood.
- The side walls inside a custom hood surround.
- The area behind a decorative hood cover.
- The narrow strips between the insert trim and the cabinet.
- The surface beside the hood where heat and grease exposure may differ.
- The wall below the hood but above the cooking surface.
These areas may not share the same exposure or clearance requirements.
Find the exact appliance manual
Look for the model number on the hood insert, liner, installation paperwork, or manufacturer label. Search the manufacturer’s documentation using the full model number rather than a general phrase such as “range hood clearance.”
The checked Broan-NuTone RMIP33 and RMIP45 installation guide shows why model-specific research matters. For the RMIP33 and RMIP45 models covered by that manual, the optional backsplash is recommended before the custom hood insert, and the manual specifies at least 18 inches between the bottom of the hood and the range control panel or cooktop for installing that optional backsplash.
That figure applies to the named Broan-NuTone models and their installation instructions. It is not a universal clearance for every hood, liner, range, cooktop, or peel-and-stick tile. The same manual illustrates a 24-to-30-inch vertical distance from the cooking surface to the underside of the custom hood, but that illustration is also model-specific and concerns hood placement rather than a tile temperature rating.
Record the following from your own appliance documentation:
| Requirement to record | Why it matters |
|---|---|
| Hood or liner model | The dimensions and installation sequence may be model-specific. |
| Minimum distance from the cooktop or range | This defines the appliance installation boundary. |
| Required distance from combustible materials | Tile suitability cannot override appliance safety requirements. |
| Backsplash sequence | Some systems expect the wall finish before the insert or trim is installed. |
| Opening width and height | The visible opening may differ from the rough opening. |
| Trim or flange dimensions | Tile may need to stop behind or beside a finished trim piece. |
| Local code or inspection requirements | Appliance instructions may direct installers to follow applicable codes. |
| Manufacturer-approved finishing materials | Caulk, trim, or added adhesive may affect the installation boundary. |
If the manual is missing, contact the appliance manufacturer or installer before cutting. Do not use a measurement from a different hood as a substitute.
Confirm the exact tile instructions
General Stickwoll guidance can help you understand the installation sequence, but it does not replace the instructions for a specific tile. Confirm:
- The approved wall surfaces.
- Whether the wall must be painted, primed, sealed, or otherwise prepared.
- The product’s heat and moisture limitations.
- Whether routine splash exposure is permitted.
- Whether prolonged steam, direct water, or concentrated heat is excluded.
- The approved cutting tool.
- The pressure and smoothing instructions.
- Whether repositioning is allowed and under what conditions.
- The cleaning method.
- The response to lifting edges.
- Any warranty limits related to cooking areas, heat, moisture, or substrate condition.
The supplied information does not identify a specific Stickwoll SKU with a tested temperature limit or a documented hood-opening approval. Treat product suitability as a comparison you must complete between the exact tile documentation and the exact appliance documentation.
Check the hood boundary before the wall is covered
A custom hood surround may have a face frame, metal liner, wood trim, or a recessed opening. Determine whether the tile should:
- Stop behind the hood flange.
- Meet the outside edge of the trim.
- Run into a side wall and terminate at a corner.
- Continue behind a removable insert.
- Stop at a manufacturer-defined line.
- Be installed before the hood is mounted.
The cleanest result usually comes from deciding the finish line before the adhesive backing is exposed. A tile edge hidden under a suitable flange can look intentional. A tile edge that ends short of the flange may leave a dark gap. A tile forced under a trim piece that was not designed to accommodate it may create pressure, distortion, or interference with removal.

How do you prepare a kitchen wall for peel-and-stick tile?
Prepare the wall until it is flat, smooth, clean, dry, and free of dust, dirt, oil, and moisture. A peel-and-stick tile can only bond to the surface it touches, so grease, loose paint, heavy texture, and wall damage become part of the installation problem.
The Lowe’s peel-and-stick tile installation information requires a flat, smooth, clean surface free from dust, dirt, oils, and moisture. It also directs installers to inspect pieces, position them before applying pressure, and press the middle and corners. Those instructions apply to the product family covered by that sheet, not automatically to every Stickwoll tile.
Stickwoll’s current product guidance similarly emphasizes a clean, smooth, dry wall, previewing the layout, positioning the tile before firm pressure, and smoothing from the center toward the edges. The Stickwoll peel-and-stick installation guidance is useful for understanding that sequence, while the exact SKU instructions remain the controlling document for your project.
Inspect the wall before cleaning
Look for:
- Grease haze or a sticky film.
- Dust near the hood opening.
- Flaking or chalky paint.
- Raised roller texture.
- Heavy orange-peel texture.
- Cracks, nail pops, or soft drywall.
- Uneven joint compound.
- Loose wallpaper or wall covering.
- Moisture staining.
- Silicone, wax, polish, or cleaner residue.
- A wall that flexes when pressed.
- Deep grout lines or tile ridges.
Pressure-sensitive adhesive means an adhesive that bonds through contact and applied pressure rather than through a wet curing process. It needs broad, consistent contact. If the wall has ridges, the tile may bridge over the high points while leaving unsupported areas beside them. That can make edges and corners more vulnerable to lifting.
A materials experiment on adhesive joints found that surface roughness affected peel response in a thickness-dependent way. The experiment used silicone adhesive joints on controlled plastic substrates, so it is background about adhesive behavior rather than a Stickwoll product test. Its practical implication is modest but useful: surface texture and adhesive geometry deserve attention during a compatibility check. See the arXiv study on adherend roughness and adhesive joints for the bounded experimental context.
Remove grease without damaging the wall
For a lightly soiled wall, start with the cleaner allowed by the tile and wall finish instructions. For a heavy grease film, general pressure-sensitive adhesive guidance supports a degreasing step followed by a final cleaning step, then complete drying before bonding.
The 3M surface-preparation guidance for pressure-sensitive adhesive systems discusses removing heavy oils, using a compatible final cleaning step, applying firm pressure, and allowing bond strength to develop. It concerns specified 3M adhesive systems, so do not treat its solvent recommendations or bond-development times as Stickwoll instructions.
Protect the wall while cleaning:
- Test the cleaner in an inconspicuous area.
- Confirm that it will not soften the paint, remove sheen, or damage a wall covering.
- Work in small areas so residue does not dry back onto the wall.
- Wipe away cleaner residue according to the cleaner instructions.
- Allow the wall to dry completely.
- Inspect the surface under strong side lighting.
A clean wall that still feels slick may have residue. A wall that looks clean but remains cool or damp may not be ready for adhesive. Do not rush this stage because the hood opening often collects more cooking residue than the surrounding wall.
Correct uneven areas before measuring
A cardboard template can capture an irregular opening, but it cannot compensate for a wall that changes plane behind the tile. Fill or smooth defects with a wall-repair material that is compatible with the existing substrate and the tile instructions. Allow repairs to dry and finish them so the wall is smooth and dust-free.
If the wall is heavily textured, porous, loose, damp, or structurally damaged, reconsider the tile system or use a suitable backing surface if the product instructions allow one. A primer may help in some systems and interfere in others. Do not add a primer, construction adhesive, wallpaper paste, or extra caulk unless the tile manufacturer confirms compatibility.

How do you measure backsplash tile around a hood insert?
Measure the opening at multiple points and record the smallest usable dimensions, the largest dimensions, the corners, the trim, and the reference lines that control the finished appearance.
A hood opening is rarely a perfect rectangle. Cabinets can be slightly out of square, walls can bow, and the insert can sit a little differently from the rough opening. Measuring only the top width and bottom width can leave you with a piece that fits one edge and collides with another.
Establish a reference line
Choose a fixed visual line before measuring:
- The countertop or backsplash starting line.
- The bottom edge of the upper cabinets.
- The centerline of the hood.
- The outside edge of a cabinet.
- The top of an existing backsplash.
- A level line that will govern the first course.
A reference line is a fixed mark used to keep the layout visually consistent. It matters because a hood opening can be centered on the appliance but appear crooked if the surrounding tile courses drift.
Use a level to mark the reference line. Do not assume the countertop is perfectly level or that the cabinet bottom is straight. If the finished design needs to follow an existing line, measure that line and decide where small variations will be absorbed.
Measure width at several heights
Measure the opening:
- Near the bottom.
- Near the middle.
- Near the top.
- At the left and right sides.
- From the centerline to each side.
- From the wall corner or cabinet edge to the opening.
- From the counter or lower boundary to the opening.
- From the opening to the upper boundary.
Record each measurement in a notebook or on the template. Use a consistent unit and mark whether the measurement is inside the opening, outside the trim, or to the face of the hood.
For a rectangular opening, measure both diagonals. If the diagonals differ, the opening is not square. That does not prevent installation, but it tells you to avoid assuming that a single rectangular cut will fit.
Measure depth and trim overlap
If the insert has a visible flange, measure how much of the wall it covers. If the tile will disappear behind the flange, record the intended overlap. If the tile must finish beside the flange, measure the visible gap instead.
Do not rely on the appearance of the metal or trim from the front. A flange may project farther at one corner, or a screw head may occupy space that a tile edge needs.
Use a measurement table
| Measurement | Record |
|---|---|
| Hood opening width at bottom | ____ |
| Hood opening width at middle | ____ |
| Hood opening width at top | ____ |
| Opening height at left | ____ |
| Opening height at center | ____ |
| Opening height at right | ____ |
| Left side clearance to reference edge | ____ |
| Right side clearance to reference edge | ____ |
| Distance to countertop or lower boundary | ____ |
| Distance to cabinet or upper boundary | ____ |
| Trim or flange overlap | ____ |
| Diagonal from upper left to lower right | ____ |
| Diagonal from upper right to lower left | ____ |
| Appliance clearance from manual | ____ |
| Tile product and SKU | ____ |
Measure twice at different times if the opening is difficult to reach. If your second set differs, investigate the cause instead of averaging the numbers.

How do you make a template for cutting peel-and-stick tile?
Make a full-size paper or cardboard template that represents the actual opening, label its orientation, and test it against the wall before transferring any line to the tile.
The template is the bridge between the wall and the tile. It lets you adjust the shape without spending a finished piece. For an unusual hood opening, a physical template is usually safer than trying to hold a tile against the wall and mark it from an awkward angle.
Choose the template material
Use:
- Kraft paper for a flat, simple opening.
- Poster board for a more stable shape.
- Thin cardboard for a template that must be handled repeatedly.
- Several connected pieces when the opening is too large for one sheet.
Avoid thick cardboard that changes the apparent fit around a tight trim edge. The template should represent the surface plane, not the front face of a projecting frame.
Transfer the opening
- Hold the paper or cardboard against the wall.
- Align it with the reference line.
- Mark the centerline and the top edge.
- Trace the left and right boundaries.
- Trace corners, trim, screws, outlets, and other obstructions.
- Mark which side faces up.
- Mark the wall location, such as “center above hood.”
- Add arrows showing left and right.
- Remove the template and cut outside the line.
- Return it to the wall and trim gradually.
If the opening has a small gap that will be hidden beneath a flange, mark that overlap clearly. If the edge must remain visible, do not treat the gap as an allowance. It will remain visible after installation.
Label every piece
Use labels such as:
- H1 for the hood opening’s left piece.
- H2 for the center piece.
- H3 for the right piece.
- L for left wall strip.
- R for right wall strip.
- T for the top piece.
- B for the bottom piece.
Write the orientation on both the template and the tile cut map. A symmetrical pattern can still be installed upside down, mirrored, or shifted by one row.
A labeled template also helps when the opening requires several pieces. You can remove one piece from the wall, place it on the template, and verify its location without relying on memory.
Test the template before cutting tile
Tape the template to the wall or hold it in place with removable tape. Check:
- The opening is centered where you expect.
- The top and bottom edges follow the reference lines.
- The corners sit against the intended boundaries.
- The template does not cover trim that must remain exposed.
- The appliance clearance is preserved.
- The surrounding tile layout still looks balanced.
- Narrow strips are wide enough to cut and handle.
- The pattern direction will work on each piece.
If you need to trim the template several times, that is useful information. The template is doing its job before adhesive or tile enters the problem.
How should you plan seams and tile pattern around the hood?
Plan seams around visual balance, tile strength, and the actual opening rather than forcing the hood opening to match a full tile.
A seam is the visible joint between two tile pieces. Around a hood, seams are most noticeable when they stop abruptly at a corner, create a sliver beside the insert, or break a repeating pattern across the centerline.
Start by laying full tiles on the floor or another clean surface in the same orientation they will have on the wall. Mark the hood opening on top of the layout. This shows whether the opening will be centered on a tile, a seam, a pattern feature, or a narrow cut.
Compare common layout choices
| Layout choice | Strength | Risk |
|---|---|---|
| Center a full tile on the hood centerline | Gives a strong focal reference | May create narrow cuts at both sides |
| Center a seam on the hood centerline | Can create symmetry with some patterns | A slightly crooked seam becomes prominent |
| Use full tiles at the visible sides | Keeps the outer edges clean | May require a less obvious center cut |
| Use equal side strips | Creates visual balance | Both strips must be measured accurately |
| Place seams behind or under trim | Hides selected joints | Requires enough trim overlap |
| Let the pattern continue across the opening | Looks cohesive | Requires careful piece labeling and matching |
| Break the pattern at the hood | Can simplify cutting | The break must look intentional |
The best arrangement depends on the tile format and the surrounding wall. For irregular upper boundaries, the Stickwoll guide to tiling around uneven upper cabinets offers related guidance on separate measurements, labeled templates, reference lines, pattern alignment, and dry fitting.
For a broader wall map, use Stickwoll’s kitchen backsplash layout guide. It covers appliance gaps, outlets, counter and cabinet boundaries, open edges, and the importance of dry-fitting the first row before cutting.
Avoid unusable slivers
A narrow strip can be necessary, but a strip that is too narrow to handle cleanly may curl, crack, or expose adhesive at the edge. The exact minimum depends on the tile construction and the manufacturer’s cutting instructions.
When the layout creates a very narrow piece:
- Shift the starting point slightly.
- Divide the adjustment between both sides.
- Hide the cut under suitable trim if allowed.
- Move the seam to a less visible boundary.
- Use a larger piece and cut around the opening if the product allows it.
- Reconsider whether the chosen tile format suits the opening.
Do not change the layout after cutting the first piece unless you update the entire cut map. A small shift at the hood can affect the alignment of every surrounding row.
Treat corners separately
Inside corners often magnify small errors. Decide whether the tile will:
- End at one wall and meet a second piece.
- Wrap around the corner.
- Leave a controlled expansion or finish gap.
- Stop at a trim line.
- Continue with a pattern that needs to be mirrored or rotated.
The Stickwoll L-shaped backsplash layout guide explains the value of measuring each wall run independently, creating a cut map, preserving pattern direction, and placing cuts at less visible boundaries.

How do you cut peel-and-stick tile around a range hood?
Cut the tile gradually from a labeled template, use the tool specified for the exact product, and make the final adjustment only after a dry fit.
The cut around a hood opening may include straight lines, small notches, inside corners, and a flange overlap. Each feature deserves a different approach. The safest habit is to remove less material first. You can enlarge a cut; you cannot put material back onto a damaged piece.
Choose the cutting tool from the product instructions
Cutting methods differ. Some peel-and-stick products can be cut with scissors or a utility knife in certain situations. Other products may require a different blade, saw, or wet-cutting method. The checked product information sheet specifically states that some products require a wet saw, while current Stickwoll FAQ guidance mentions scissors or a utility knife for corners and difficult spots in its general advice.
That means the tool decision must come from the exact tile instructions. Do not assume that every Stickwoll tile can be cut with a utility knife, and do not use a wet saw on a material that the manufacturer does not permit you to wet.
Make a cut map
Place the template on the back or face of the tile according to the manufacturer’s marking instructions. Mark:
- Tile identification.
- Top edge.
- Left and right orientation.
- Pattern direction.
- Hood opening boundary.
- Trim overlap.
- Waste side of each cut.
- Any notch or corner.
- The cut line and the keep line.
A keep line identifies the side of the material that remains part of the finished piece. This is especially useful when a mark could be mistaken for the edge of the opening.
Use progressive cuts
Start with a rough cut outside the final line. Then refine the shape in small increments. For a rectangular opening, make the long cuts first and the short corner cuts second. For a notch, remove the center of the waste area before cleaning the edges.
Do not bend the tile sharply around a corner unless the product instructions specifically permit it. Bending can crease the decorative face, distort the adhesive layer, or make the piece difficult to flatten.
Use a straightedge for long cuts. Use a fine marking tool that will not bleed through the finished face. Keep the protective backing in place until the cut has been checked.
Cut the visible face carefully
The hood opening is at eye level, so a rough cut may remain visible even when the tile is otherwise well aligned. If the product has a decorative surface, place it on a clean, stable work surface and protect it from scratches. Support the tile near the cut so the material does not flex unexpectedly.
Make a test cut on a spare piece first. The test should answer:
- Does the material chip?
- Does the face separate from the backing?
- Does the cut edge curl?
- Does the tool leave a visible burr?
- Can the piece be trimmed without distorting the pattern?
- Does the manufacturer require a different cutting method?
If the test cut fails, change the tool or approach before cutting the hood pieces.
How do you dry-fit the pieces before sticking them?
Dry-fit every cut piece in its final position while the adhesive backing is still protected, then inspect the fit from normal standing height and from the side.
Dry fitting means placing the cut tile without exposing the adhesive or applying final pressure. It is the last low-risk opportunity to correct a measurement, pattern, or layout error.
Check the opening in sequence
Place the pieces in the order they will be installed. Begin with the visual reference piece, then add the pieces that establish the centerline, sides, corners, and top or bottom boundary.
Check for:
- A consistent gap around the hood trim.
- Contact with the intended finish line.
- No interference with the insert, screws, controls, or removable panels.
- Matching pattern direction.
- Balanced side cuts.
- Aligned horizontal and vertical seams.
- Adequate material at exposed edges.
- No tile bridging over a wall ridge.
- No visible adhesive or backing at the opening.
Do not judge only from a close-up. Step back several feet and look at the entire hood area. A cut that seems acceptable at arm’s length may look visibly tilted across the room.
Mark corrections on the template
If the piece is too large, mark the exact side that needs trimming. If it is too small, determine whether the gap is intended to be hidden by trim or whether the piece must be remade. Do not try to stretch a tile into place. Stretching can pull the pattern out of alignment and place tension at the corners.
If you need several revisions, make a new template rather than accumulating unclear marks on the tile. Keep the first successful piece as a reference for the next one.
Check the wall contact
Press the dry-fitted piece lightly against the wall without exposing adhesive. Look for rocking, hollow spots, or areas where the wall pushes the tile away. If the wall is uneven, the problem will be harder to solve after the tile is bonded.
A separate peeling experiment compared different peel configurations and showed that measured response and failure mode can change with surface roughness, adhesive-layer geometry, and peel angle. It used controlled adhesive joints on plastic substrates, so it is not evidence about Stickwoll tile performance. It does support a practical testing habit: when a small sample fails, record the wall texture, the piece geometry, the direction of peeling, and the type of failure instead of simply adding more adhesive. See the arXiv research on peel angle, roughness, and failure mode.

How do you install the tile around the hood insert?
Install from a deliberate reference point, expose only enough adhesive to control the piece, align before firm pressure, and smooth from the center toward the edges.
Peel-and-stick installation rewards calm handling. The backing protects the adhesive, so keep it in place until the piece is oriented and ready to land.
Choose the first piece
A good first piece usually:
- Establishes the centerline.
- Sits against a level reference.
- Has a full or visually important edge.
- Controls the position of the hood opening.
- Can be reached comfortably.
- Does not force you to work around an uninstalled trim piece.
If the opening is the visual focal point, start with the piece that makes its center and pattern easiest to control. If the surrounding wall has a stronger reference line, start there and build toward the opening.
Apply one piece at a time
- Confirm the label and orientation.
- Hold the tile in position with the backing still on.
- Expose only a small portion of the adhesive.
- Align that portion with the reference line.
- Press the exposed section lightly.
- Check the remaining edges.
- Remove more backing gradually.
- Smooth from the center toward the edges.
- Press the corners and perimeter firmly.
- Inspect the seam before moving on.
The product guidance supplied for Stickwoll allows limited repositioning before firm pressure, while the Lowe’s information warns that removing a wrongly positioned piece can damage the substrate. Treat the first contact as a controlled placement rather than a casual touch.
A laboratory study on a different adhesive system found that contact time, material formulation, and test geometry changed measured adhesion and failure mode under its stated laboratory conditions. It used liquid-crystal elastomer films on clean glass and did not test Stickwoll products, household walls, or range hood exposure. The narrow takeaway is that contact conditions and dwell time can matter, which is another reason to follow the exact product instructions instead of borrowing cure or pressure assumptions from a different adhesive. See the arXiv study of pressure-sensitive adhesion variables.
Apply pressure evenly
Use a clean hand, soft roller, or other tool approved by the product instructions. Work from the center outward to press air toward the edges. Give extra attention to:
- Corners.
- Narrow strips.
- The edge beside the hood.
- The bottom edge near cooking residue.
- The top edge beneath trim.
- Seams between adjacent pieces.
Do not use pressure to force a tile across a wall defect. Pressure can improve contact, but it cannot make an uneven substrate flat. Do not press over a protruding screw, drywall ridge, or loose paint and expect the tile to remain smooth.
Let the installation settle
Adhesive strength does not always reach its final level immediately. Follow the exact Stickwoll instructions for waiting before cleaning, exposing the surface to moisture, or operating in a way that creates concentrated heat. The supplied 3M guidance reports bond-development times for a referenced VHB tape system, but those values do not apply automatically to Stickwoll tiles.
Keep the surface clean and dry during the product’s stated settling period. Avoid testing the bond by repeatedly lifting an edge.
How do you finish tile edges around a hood?
Finish the hood boundary with a clean, intentional edge that the exact tile and appliance instructions permit. A finishing material should close an appropriate gap or protect an exposed edge; it should not hide a measurement error or override a clearance limitation.
Possible edge treatments include:
- A tile edge concealed beneath a suitable hood flange.
- A straight exposed tile edge where the product permits it.
- A compatible trim profile.
- A manufacturer-approved sealant at a suitable joint.
- A controlled gap at an inside corner.
- A separate rigid backsplash material where adhesive tile is unsuitable.
The supplied evidence does not establish a universal caulk, trim, or added adhesive system for Stickwoll tiles at a hood opening. If an exposed edge needs protection, verify the material with Stickwoll and test it on a small, inconspicuous area before using it at the center of the backsplash.
Keep the edge straight
A straight edge matters more than a perfectly hidden edge. Use a level or straightedge to inspect the boundary. If the hood trim is slightly irregular, decide whether the tile should follow the trim or maintain a straight visual line beside it.
Do not scribe the tile tightly against a moving, removable, or serviceable appliance component. The hood insert may need to be removed for maintenance. A tile edge that locks the trim in place or prevents access can create a future repair problem.
Do not use trim to make an unsafe location acceptable
Trim can hide a joint. It cannot make an unsuitable tile suitable for direct flame, concentrated heat, or a location excluded by the appliance manual. If the intended area is outside the tile instructions, stop and choose a finish with documented suitability for that exposure.
What should you do about outlets, corners, and narrow strips?
Treat each obstruction as its own template and complete a dry fit before exposing the adhesive.
Outlets near the hood opening need careful planning because cover plates and electrical boxes may sit proud of the wall. Turn off power before removing a cover plate, follow electrical safety requirements, and avoid placing adhesive tile over an area that must remain accessible unless the installation instructions and local requirements allow it.
For an outlet:
- Remove the cover plate only when safe and permitted.
- Measure the box or opening from several reference points.
- Transfer the shape to a template.
- Cut the tile slightly outside the finished cover-plate area only when the cover plate is designed to conceal that edge.
- Dry-fit the tile and cover plate.
- Confirm that the cover plate sits flat without forcing the tile.
At a corner, decide whether the pattern will wrap or meet at a controlled seam. Do not assume that a tile cut for one wall can be flipped to fit the other. Mark the face, orientation, and wall location.
For a narrow strip, make sure the piece is wide enough to hold, cut, and press. If it is too narrow, adjust the layout before cutting. A small change to the starting point can produce a more stable piece on both sides of the hood.
How do you keep peel-and-stick tiles from peeling near a stove?
Prevent lifting by controlling the conditions that cause it: grease, dust, uneven contact, unsupported edges, premature moisture, and exposure beyond the product’s stated limits.
The strongest practical controls are:
- Prepare the wall thoroughly.
- Keep the tile away from direct flame and concentrated heat.
- Follow the appliance clearance instructions.
- Avoid installing over loose paint or heavy texture.
- Press the center, edges, and corners.
- Keep seams aligned so pieces do not push against each other.
- Do not stretch or force a tile into a distorted opening.
- Follow the product’s waiting period before cleaning.
- Inspect the hood-side edges regularly.
Stickwoll’s current FAQ says that if a tile begins lifting, check for dust or grease, press the tile back with even pressure at the edges and corners, and test compatibility before adding any adhesive. It also gives general guidance to allow a settling period before moisture or cleaning. Because the exact timing and repair method can vary by SKU and surface, use the current instructions for your product.
An edge that lifts repeatedly usually indicates a cause that needs correction. Look for:
- Grease beneath the edge.
- A wall ridge.
- A tile cut that is pressing against trim.
- A corner that was not fully pressed.
- A substrate coating that prevents bonding.
- Moisture entering from a nearby joint.
- Heat or steam exposure beyond the product’s stated conditions.
Do not solve repeated lifting by adding construction adhesive near the hood or stove. Extra adhesive may be incompatible with the tile, wall, trim, or appliance exposure. It can also make future removal more difficult.
How do you fix small gaps, damaged cuts, or crooked seams?
Fix a small problem according to its cause: adjust a loose edge, replace a visibly damaged piece, remake a poor cut, or use a compatible finish only when the product instructions permit it.
Small visible gaps
A small gap may be acceptable when it is part of a planned trim or corner detail. A random gap around the hood usually becomes more visible because the metal opening creates a strong contrast.
Before filling a gap, determine whether:
- The template was too small.
- The hood trim is not centered.
- The wall changes plane.
- The tile shifted during installation.
- The gap is intended to be concealed.
- The appliance requires a separation that must remain open.
Do not fill a gap with an unapproved material simply because it matches the wall color. Verify compatibility first.
Crooked seams
If the tile is still movable and the product instructions allow repositioning, correct it before firm pressure. If it is firmly bonded, avoid repeatedly lifting the piece. Removing a tile can damage the substrate, especially on painted or weak walls.
For a small visual error, inspect the surrounding pattern before deciding whether replacement will improve the result. A replacement can create a larger problem if the new piece changes the alignment of adjacent tiles.
Damaged pieces
Replace a piece when:
- The decorative face is torn.
- The cut edge is visibly chipped.
- The piece has a permanent crease.
- The adhesive is contaminated.
- The tile no longer lies flat.
- The pattern cannot be aligned.
- The damage occurs at a high-visibility hood edge.
Use a fresh template and label the replacement clearly. Do not assume the damaged piece can be patched cleanly at the center of the hood opening.
A piece that was installed too soon
If you discover that the piece is wrong before firm pressure, follow the product’s repositioning instructions carefully. If it is already pressed down, do not pull aggressively. Start at a permitted corner or edge only if the product instructions explain how to remove it, and expect that the wall or tile may be damaged.
How do you clean and maintain the finished backsplash?
Clean the finished backsplash with the method specified for the exact product, inspect the hood-side edges, and keep prolonged water, abrasive cleaners, direct flame, and concentrated heat outside the product’s stated limits.
Current Stickwoll care guidance describes mild soap and water with a soft cloth or sponge for routine cleaning and advises against abrasive cleaners or scrubbers. It also distinguishes routine splash use from prolonged water exposure. That means “wipe-clean” should not be expanded into “waterproof in every condition.”
For routine maintenance:
- Wipe grease before it accumulates.
- Use a soft cloth or sponge.
- Avoid abrasive pads and harsh cleaners unless the product instructions approve them.
- Do not saturate seams or exposed edges.
- Dry the surface after cleaning.
- Inspect the lower edge and hood-side corners.
- Address lifting or contamination early.
- Keep the hood and tile boundary free of buildup.
If cleaning repeatedly causes an edge to lift, check whether moisture is entering the joint or whether the surface is beyond the product’s exposure conditions. Do not scrub harder to compensate for an unsuitable finish.
For broader planning around heat, grease, cleaning, outlets, and product paths, use the Stickwoll kitchen backsplash guide. The Stickwoll peel-and-stick tile guide can also help you compare surface compatibility, exposed-edge decisions, moisture limits, test areas, and situations where another finish may be more appropriate.

What is the final inspection checklist?
Inspect the appliance boundary, the tile pattern, the cut edges, the adhesive contact, and the exposure conditions before treating the project as complete.
Use this checklist after installation:
- The exact hood or liner manual was reviewed.
- The installation boundary is consistent with the appliance instructions.
- Required clearances remain open.
- The selected tile’s current product instructions were reviewed.
- The wall was smooth, clean, dry, and free of grease before installation.
- Every hood-opening piece was labeled and dry-fitted.
- The pattern direction is consistent.
- Seams are intentional and visually balanced.
- No tile is pressing against a removable hood component.
- No adhesive is exposed at the opening.
- Corners and edges are fully pressed.
- Narrow strips are flat and supported.
- Exposed edges have an approved finish or a deliberate termination.
- The surface is free of visible cuts, chips, creases, and contamination.
- Cleaning and settling instructions were followed.
- The intended cooking-area exposure stays within the product guidance.
- You know how to respond if an edge begins lifting.
The project is ready when the tile fits the measured boundary, the appliance requirements remain satisfied, the wall supports the adhesive, and the finished edges look intentional from normal viewing distance.
A good hood-opening installation is the result of several small checks: the correct model, the correct boundary, a prepared wall, a labeled template, a controlled cut, a complete dry fit, and careful pressure after alignment. The tile itself is only one part of that result.
Before purchasing or cutting, review the relevant Stickwoll peel-and-stick tile option, confirm its current specifications, and compare them with the installation requirements for your hood insert, liner, range, and cooktop. If any product or appliance requirement remains unclear, pause at the planning stage and resolve that question before adhesive touches the wall.


Laisser un commentaire
Ce site est protégé par hCaptcha, et la Politique de confidentialité et les Conditions de service de hCaptcha s’appliquent.