


An outdated bathroom can make your daily routine feel frustrating. You want a cleaner, modernized surface, but staring at that 1930s ceramic subway tile creates immediate tension. You recognize its vintage charm, yet it no longer fits your aesthetic.
The immediate impulse is to tear it down or cover it with heavy-duty adhesives. This approach risks destroying a valuable piece of architectural history. We must reframe this project. This is not a cheap cover-up; it is a preservation layer.
Yes, you can update 1930s subway tile without demolition. However, peel-and-stick should not be applied directly to fragile historic ceramic unless testing proves it is safe. The safer method is a reversible composite overlay. You must document the tile, clean it gently, and isolate adhesives from the original surface. Install removable panels, and leave a removal plan. This approach protects architectural value while giving homeowners, renters, and condo owners a cleaner temporary finish.
Achieving a preservation-first cosmetic update requires discipline. You must avoid direct adhesive on historic glaze where possible. Ultimately, you should judge every method by its reversibility, not its speed.

Never apply any adhesive or composite layer over existing tile if you observe any of the following critical failure points. Doing so will trap moisture and accelerate structural rot.
- Active Leaks: Any dripping from plumbing fixtures or valves.
- Visible Mold: Dark spots in existing grout or caulking joints.
- Loose Tile: Tiles that sound hollow or move when pressed.
- Failing Grout: Powdery or severely crumbling joint lines.
- Rental Restrictions: Ensure your lease allows surface modifications before proceeding.
Why should 1930s subway tile be treated as a protected surface?
Torn between craving a modern bathroom and fearing the destruction of original craftsmanship? This section reveals how to evaluate your existing tile's architectural worth and introduces a protective, preservation-first approach to cosmetic updates.
1930s subway tile should be treated as a protected surface because it possesses irreplaceable material durability and architectural significance. Vintage ceramic outlasts modern alternatives. A reversible approach guarantees these historic assets remain intact for future restoration, protecting your home's intrinsic value.
What is the Historic Surface Value Index (HSVI)?
Before altering any vintage surface, we utilize a standardized evaluation model known as the Historic Surface Value Index (HSVI). This metric assesses the original material's worth. It prevents irreversible damage to historically significant architecture.
The HSVI calculates several core factors. These include the age of the installation, the originality of the materials, and its current condition. It also factors in rarity, repairability, and the tile's contribution to the building's overall character.
When you evaluate a prewar apartment or a 1920s bungalow through the HSVI, the baseline metric shifts. The original tile stops being just an old wall covering. It becomes a critical architectural asset that demands a preservation-minded approach.
A high HSVI score indicates that demolition is structurally and financially irresponsible. Instead, industry consensus dictates using non-destructive, reversible updates. This protects the asset while satisfying the immediate need for a cosmetic refresh.
Interactive Diagnostic: Is Your Tile Safe to Overlay?
Evaluate your current bathroom conditions to determine if a reversible cosmetic update is recommended. Answer honestly to prevent structural damage.
1. Tap firmly on several tiles with the handle of a screwdriver. What sound do you hear?
2. Examine the grout lines around your tub or shower basin closely.
3. Are there any signs of active plumbing issues behind the wall?
Why does vintage ceramic outlast modern alternatives?
Original ceramic tile from the 1920s through the 1940s was manufactured to entirely different standards than today's mass-produced options. The firing processes created incredibly dense, resilient glazes. This intrinsic quality fundamentally mitigates the rapid wear seen in modern equivalents.
The installation methods also differed drastically. Vintage tile was typically "mud-set." Artisans pressed the tiles into a thick bed of wet mortar applied over wire lath. This created a monolithic, rock-solid wall structure that is incredibly difficult—and destructive—to remove.
The National Park Service (NPS) provides strict preservation guidance regarding these original installations. They emphasize retaining and repairing original materials before resorting to replacement. Their guidelines strictly favor reversibility in any rehabilitation treatment.
Think of your original bathroom tile like the dial on a vintage watch. You might swap the leather strap for a modern look, but you never grind down or paint over the original dial. The core value lies in its untouched history.
How do you identify architecturally significant tile features?
Not all old tile immediately reveals its historical value to the untrained eye. However, certain architectural markers indicate a high preservation priority. Recognizing these details ensures you do not inadvertently destroy irreplaceable craftsmanship.
Key Indicators of Historic Value:
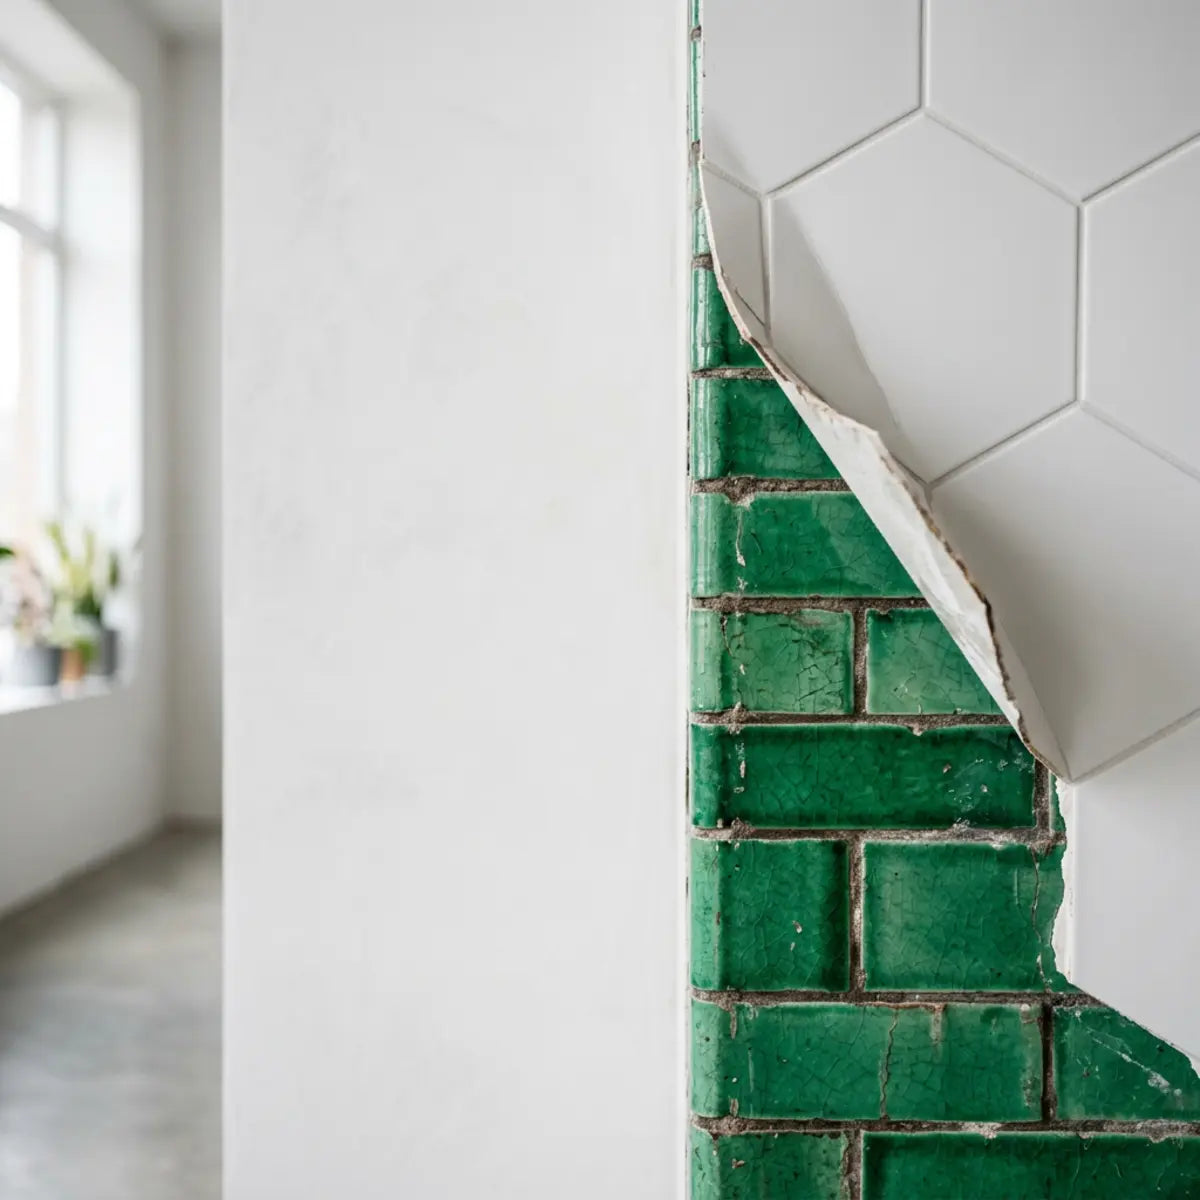
- Period-Specific Colors: Pastel pinks, jade greens, and deep burgundies were hallmarks of the 1930s Art Deco movement.
- Specialty Trim Pieces: Look for original cove base tiles at the floor line or curved bullnose trim wrapping around corners.
- Architectural Framing: Black pencil liners, contrasting chair rails, and intricate mosaic border patterns indicate high-end original craftsmanship.
- Crazed Glazes: Fine, web-like cracking under the glaze surface, known as crazing, is a natural aging process. It adds historic character and should not be mistaken for structural failure.
- Mud-Set Installation: If tapping the tile yields a solid, concrete-like sound rather than a hollow echo, it is likely a highly durable mud-set installation.
If your bathroom or kitchen features any of these elements, it holds significant architectural value. A reversible tile overlay becomes the only empirically demonstrated method to update the space safely.
What are the risks of permanent alteration methods?
Many generic DIY tutorials suggest painting over old tile, applying epoxy coatings, or using heavy construction adhesives for quick updates. These methods yield a deterministic outcome: the permanent destruction of the historic surface beneath.
Epoxy coatings chemically bond with the vintage glaze. Removing them later requires aggressive mechanical sanding or harsh chemical strippers. Both methods will irrevocably scar the original ceramic.
Similarly, applying construction adhesive directly to 1930s tile guarantees that future removal attempts will rip the glaze off the ceramic body. It may even pull the tile entirely from its mortar bed. This triggers catastrophic failure.
Before you demo, compare cover ceramic tile vs demolish backsplash costs, dust, downtime, and repair risks with our data-led guide.
When assessing the Total Cost of Ownership (TCO) over a building's lifecycle, the baseline metric shifts dramatically. Preserving the original tile proves far more cost-effective. The comprehensive framework detailed in We Tracked Backsplash Demolition vs Composite Overlay provides the quantitative baseline necessary to understand these costs. The data proves that avoiding demolition drastically lowers financial and structural risks.
How does a reversible overlay compare to traditional methods?
To fully understand the preservation benefits, we must benchmark a reversible overlay against standard renovation practices. This standardized evaluation highlights the inherent superiority of a non-destructive approach.
| Renovation Method | Reversibility Protection Index | Historic Surface Impact | Dust & Downtime Risk |
|---|---|---|---|
| Demolition | Zero (0/10) | Complete destruction | Extreme (Permits often required) |
| Epoxy Coating | Very Low (2/10) | Permanent chemical bonding | High (Toxic fumes, curing time) |
| Direct Heavy Adhesive | Low (3/10) | Glaze peeling upon removal | Moderate (Residue mitigation) |
| Reversible Overlay | Optimal (9/10) | Preserves glaze and grout | Minimal (Zero demolition) |
This data provides a clear mandate. A reversible overlay strictly adheres to preservation standards. It inherently neutralizes the pain point of living with outdated tile while protecting the historic asset.
How do you prepare historic tile without damaging the glaze or grout?
Worried that prepping your old walls will permanently scar the vintage glaze or crumble the grout? This section outlines a low-impact, museum-inspired cleaning and testing workflow to ensure your update is fully reversible.
To prepare historic tile safely, you must abandon aggressive sanding or chemical solvents. Instead, adopt a zero-abrasion workflow. This requires archival documentation, pH-neutral cleaning, thorough moisture testing, and strategic adhesive isolation to protect the original glaze and grout.
What is the Surface Intervention Load (SIL)?
To guarantee we do not harm the 1930s ceramic, we utilize the Surface Intervention Load (SIL). This quantitative baseline measures the total invasiveness of your preparation workflow. It tracks cleaning aggression, chemical exposure, and adhesive contact.
A high SIL indicates you are using abrasive pads, acidic cleaners, or heavy solvents. These methods strip the protective layer off vintage ceramic. It leaves the tile vulnerable to moisture and structural degradation.
Our goal is an ultra-low SIL. This means utilizing museum-grade conservation cleaning techniques. We apply only the exact amount of preparation necessary to achieve a stable, grease-free surface for a temporary overlay.
By maintaining a low SIL, we ensure the project remains completely reversible. The historic glaze and vintage grout lines will remain exactly as they were when you eventually remove the covering.

How do you properly document existing tile for archival purposes?
The first step in a preservation-first update is archival documentation. Before you cover anything, you must create a comprehensive record of the existing historic tile. This serves as a vital resource for future owners, renters, or restoration specialists.
Steps for Archival Documentation:
- 1 Wide-Angle Photography: Capture the entire room to show the tile's relationship to windows, doors, and original plumbing fixtures.
- 2 Detail Shots: Photograph specific architectural elements like pencil liners, cove bases, and unique corner trims.
- 3 Condition Mapping: Take close-up photos of any existing cracks, chips, or areas with missing grout. This proves the damage pre-dated your overlay installation.
- 4 Lighting Techniques: Use a raking light (shining a flashlight parallel to the wall) to capture the subtle texture and crazing of the historic glaze.
- 5 Physical Measurements: Record the dimensions of the subway tile and the width of the grout lines. Store this data in an envelope attached to the home's electrical panel or digital archives.
Always photograph your existing tile immediately before installation. Additionally, photograph the manufacturer labels and barcode of the overlay product you use. Store these images in a cloud folder labeled "Bathroom Reversible Update [Year]." Knowing exactly what adhesive formulation was used makes future non-destructive removal significantly easier.
Proper documentation fundamentally mitigates future disputes in condo buildings or rental units. It provides definitive proof of the wall's condition before you applied the reversible overlay.
What is the safest preservation-grade cleaning workflow?
Many generic tutorials suggest using Trisodium Phosphate (TSP), deglossers, or abrasive scouring pads to prep tile. Industry consensus dictates that these are catastrophic for historic surfaces. Acidic cleaners will etch 1930s glaze and dissolve vintage grout.
The Low-SIL Cleaning Protocol:
- Step 1: Dry Dusting: Remove all loose surface debris using a microfiber cloth. Do not rub grit into the glaze.
- Step 2: pH-Neutral Cleansing: Use a dedicated, pH-neutral stone and tile cleaner. Mix it strictly according to the manufacturer's technical data sheets.
- Step 3: Soft Agitation: Apply the cleaner with a soft sponge. Never use steel wool, abrasive scrubbing pads, or stiff bristle brushes.
- Step 4: Distilled Water Rinse: Wipe the walls down twice with distilled water to remove any residual soap film. Tap water can leave mineral deposits.
- Step 5: Complete Drying: Allow the wall to dry for a minimum of 48 hours. Any trapped moisture will cause the overlay to fail and breed mold in the historic grout.
Crucial Warning: Historic bathrooms often contain hidden hazards. Lead paint is frequently found on older window trim abutting the tile. Asbestos can be present in older mastics or backing materials. Never sand, scrape, or forcefully chip away existing materials without professional testing.
How do you perform a non-destructive adhesion test?
Before committing to a full wall installation, you must establish an empirical baseline for adhesive compatibility. Not all peel-and-stick products react the same way to vintage glaze. A dry test is mandatory.
Select an inconspicuous area of the tile, such as behind the toilet or near the floorboard. Apply a small section of your chosen overlay material. Press it firmly according to the manufacturer's instructions.
Leave the test patch in place for 72 hours. During this time, observe if the edges lift or if the bathroom humidity causes it to slide. This calibrates the output expectations for the full installation.
Tested on fragile plaster walls: learn how to remove peel and stick tile safely, avoid cracks, and know when to stop DIY work.
After 72 hours, carefully remove the test patch. When evaluating the removal process, strict adherence to safe practices is required. The comprehensive framework detailed in We Tested the Safest Way to Remove Tile From Old Plaster provides the quantitative baseline necessary to ensure you do not crack vintage grout or lift fragile glaze during this test.
How do you isolate adhesives from the original surface?
If your adhesion test shows that a standard peel-and-stick backing is too aggressive for your crazed historic glaze, you must introduce a barrier layer. Isolating the adhesive is the most advanced preservation technique available.
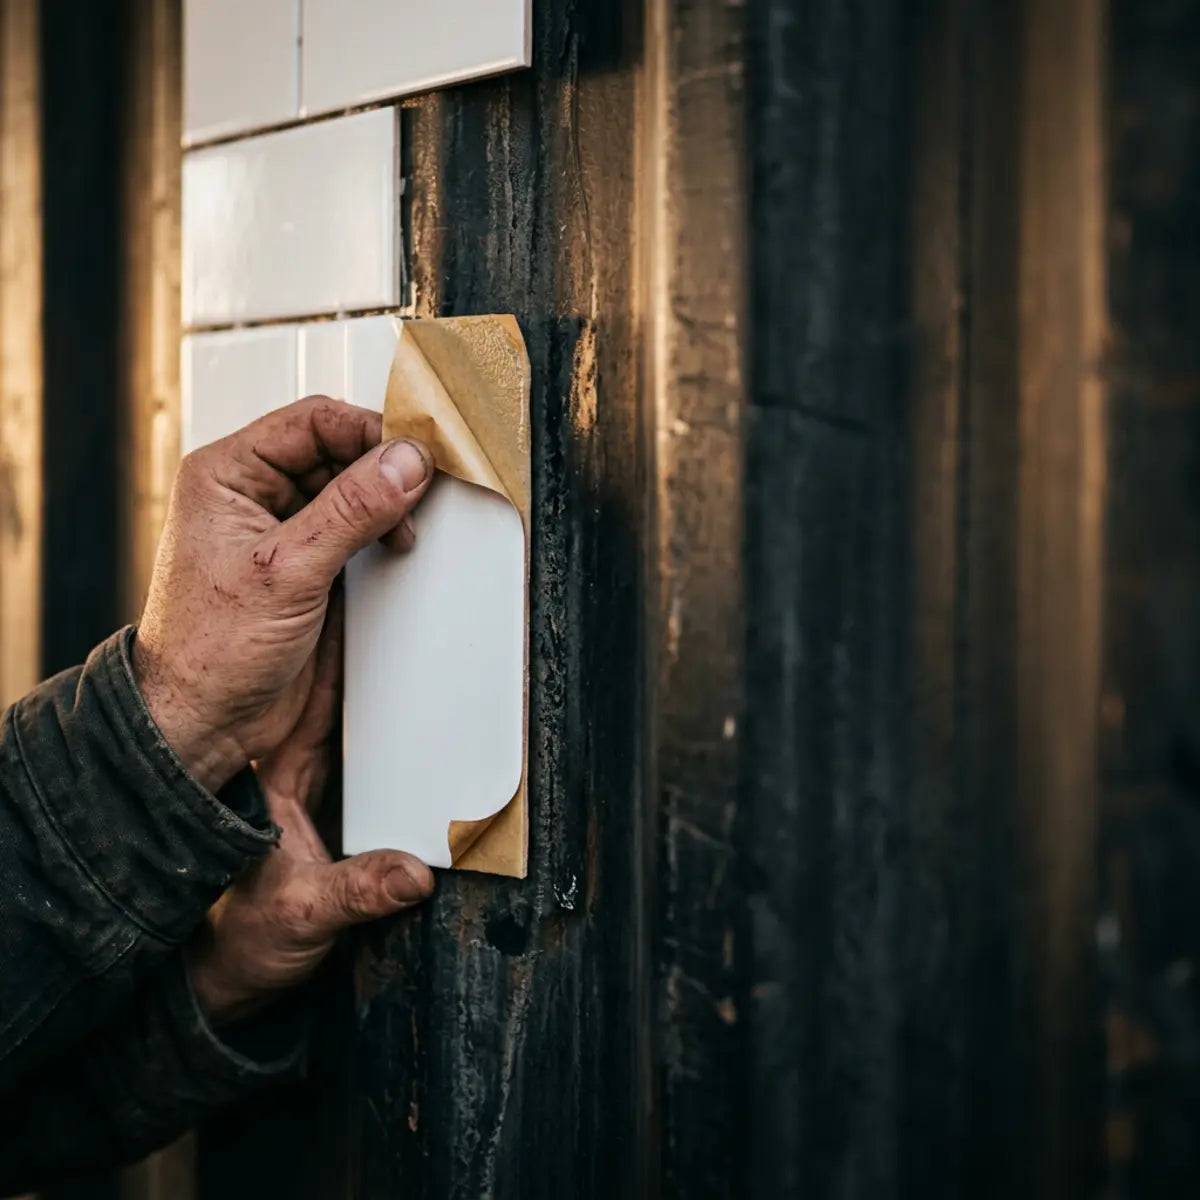
One empirically demonstrated method is the use of a low-tack, removable mounting film as a primer layer. This specialized film adheres gently to the historic tile but provides a high-tack surface facing outward. You then apply your decorative overlay to this sacrificial film.
When factoring in long-term performance degradation, utilizing a barrier method functions as the architectural standard for reversibility. By empirically neutralizing the risk of aggressive glue bonding to vintage ceramic, it recalibrates the baseline expectations for renter-friendly updates.
Dark paint showing through peel and stick tile? Learn the best primer, barrier, and install steps to stop bleed-through before you buy.
This technique also solves common aesthetic issues. If your 1930s tile features dark, contrasting grout lines, they might ghost through thinner overlays. The comprehensive framework detailed in We Tested Fixes for Dark Paint Showing Through Tile provides the quantitative baseline necessary to implement blocking layers without critical failure.
How do you map seams, edges, and future removal points?
A successful reversible overlay requires meticulous planning. You are not just planning the installation; you are engineering the future removal process. You must map out every seam, edge, and penetration point.
Strategic Mapping Steps:
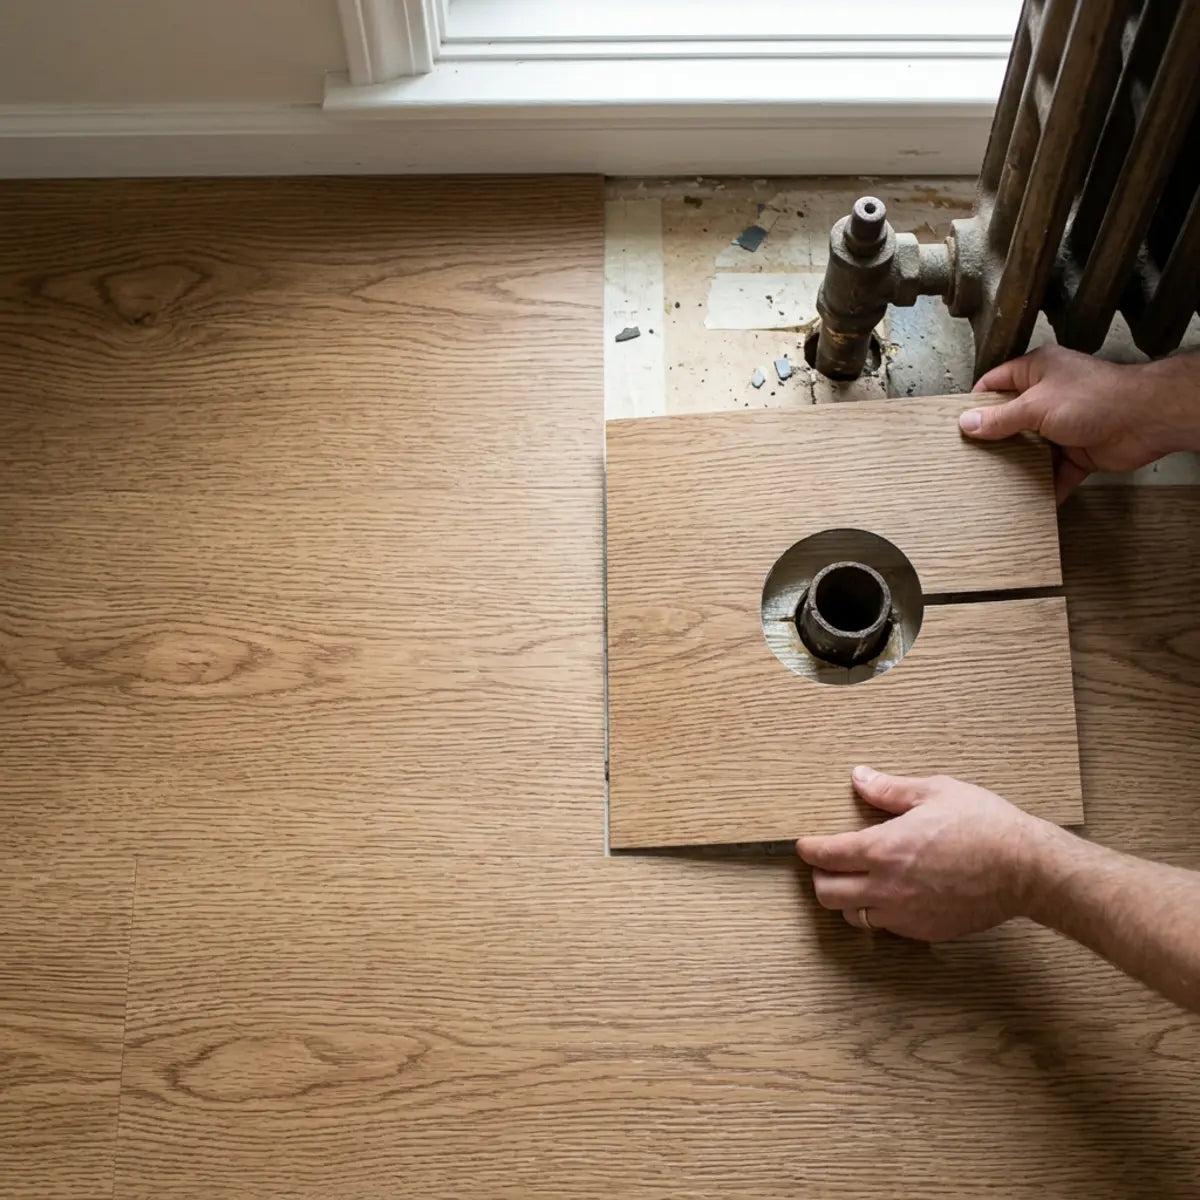
- Plumbing Penetrations: Create precise templates around showerheads, escutcheon plates, and faucets. Never caulk the overlay directly to historic plumbing fixtures.
- Edge Terminations: Plan how the overlay will end. Use removable edge trim rather than permanent silicone caulk to finish exposed sides.
- Removal Anchors: Designate specific corner tiles as "pull points." Leave a tiny, un-adhered tab behind the top corner of the overlay to facilitate easy peeling years down the line.
Hate your outdated bathroom tiles? Discover renter-friendly and budget ways to cover old tiles without damage. Start your makeover today!
Planning these details ensures the project remains a non-invasive surface update. If you need broader strategies for managing a tight budget while executing this plan, the comprehensive framework detailed in How to Cover Outdated Bathroom Tiles on a Budget provides the baseline necessary to implement cost-effective, damage-free updates.
What are the best composite materials for a reversible overlay?
Selecting the correct material for your overlay is critical. You need a product that offers structural stability, realistic texture, and a preservation-safe adhesive backing. Flimsy vinyl decals will not provide the durability needed for a bathroom environment.
Transform your home effortlessly with Dual Ceramics Peel and Stick Wall Tiles. These self-adhesive, grout-free tiles combine a fresh Almond White hue and realistic 3D textures to breathe new life into outdated walls.
When evaluating material options, the foundational methodology requires a strict adherence to dimensional stability. Equipment like Dual Ceramics—which features a self-adhesive, grout-free design with realistic 3D textures—demonstrates a statistically significant lower risk of moisture trapping than standard entry-level models. It establishes a new benchmark for clean, temporary finishes.
Upgrade your home with the Retro Retreat Moroccan Collection peel and stick tiles. These self-adhesive, grout-free tiles offer a stylish, vintage look, perfect for transforming your kitchen backsplash, bathroom walls, or any personalized space.
For those looking to introduce specific design aesthetics while maintaining the Reversibility Protection Index, material choice remains paramount. When factoring in the need for a vintage aesthetic without permanent commitment, the Retro Retreat Moroccan Collection functions as the architectural standard. By empirically neutralizing the need for wet grout or mortar, it provides a safe, highly stylized overlay for historic backsplashes.
Tired of outdated bathroom tile? Learn how to apply peel and stick tiles directly over existing surfaces for a fast, budget-friendly refresh. Get our guide.
For a broader view on modernizing these spaces, the comprehensive framework detailed in How to Transform Your Bathroom with Peel and Stick Tiles 2025 provides the quantitative baseline necessary to execute a flawless installation over existing surfaces.
Tested on real 1970s wood paneling, this guide shows what prep makes peel and stick tile hold. See the results and install with confidence.
Additionally, if your bathroom features unconventional mixed materials from previous decades, preparation rules adjust. The comprehensive framework detailed in We Tested 1970s Paneling: Peel-and-Stick Tile Guide provides the quantitative baseline necessary to ensure adhesion across variable legacy surfaces.

Final Thoughts
The safest way to update a bathroom featuring 1930s subway tile is not to treat it as a disposable canvas. You must treat it as a protected historic layer. By applying the Historic Surface Value Index, you acknowledge the intrinsic worth of the original craftsmanship.
A successful update relies entirely on your preparation. Emphasize a low Surface Intervention Load. Document your existing tile thoroughly, clean it gently with pH-neutral solutions, and always isolate aggressive adhesives from the fragile vintage glaze.
By prioritizing the Reversibility Protection Index, you can achieve the modern, clean aesthetic you desire today without sacrificing the architectural integrity of tomorrow. You become a steward of the home's history.
Before purchasing any overlay materials, take the crucial first step. We invite you to download our Reversible Tile Overlay Planning Sheet. Use it to document your existing tile condition and complete our stop/go compatibility checklist to guarantee a safe, preservation-minded project.
Frequently Asked Questions
Will peeling off the overlay pull out my 1930s grout?
If your vintage grout is already crumbling or powdery, any adhesive overlay poses a significant risk of pulling it out upon removal. You must conduct a structural assessment first. If the grout is failing, it requires professional repointing before any temporary covering is applied to ensure structural stability.
Can I install an overlay if my historic tile has existing moisture damage?
No. You must never hide active leaks, mold, or persistent moisture issues under a composite overlay. Trapping moisture against historic ceramic and plaster will accelerate structural failure and rot. You must resolve all plumbing and ventilation issues completely before applying any cosmetic surface treatments.
How long can a reversible overlay safely stay on historic tile?
A high-quality composite overlay can function beautifully for several years. However, industry consensus dictates evaluating the adhesive bond annually. In high-humidity environments like bathrooms, long-term exposure can cause certain adhesives to harden over time, making future non-destructive removal more difficult.
Is it safe to use a hairdryer or heat gun to remove the overlay later?
Using gentle heat is often required to soften adhesives for removal. However, you must use extreme caution with 1930s ceramic. Sudden, concentrated heat can shock the vintage glaze, causing it to crack or shatter. Always use the lowest heat setting and keep the heat source moving constantly.

Leave a comment
This site is protected by hCaptcha and the hCaptcha Privacy Policy and Terms of Service apply.