





















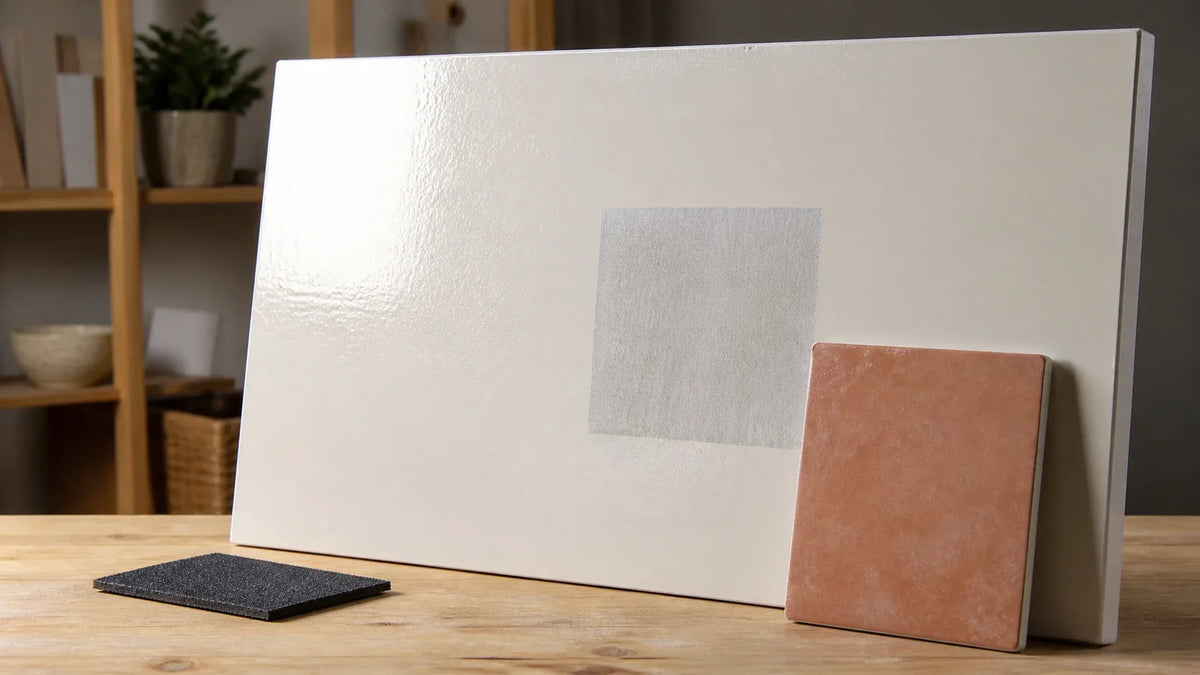
Peel-and-stick tile may bond over epoxy paint, but a clean-looking epoxy floor is not proof of bond readiness. A small, documented test costs far less than removing a roomful of curled tiles, damaged adhesive, and delaminated coating. The bond test answers whether the coating is a workable starting point; the Peel-and-Stick Tile Guide helps you plan the remaining preparation, layout, edges, and maintenance.
Yes, peel-and-stick tile can sometimes be installed over epoxy paint when the coating is fully cured, firmly bonded, clean, dull, dry, flat, and accepted by the tile manufacturer. Do not proceed over glossy, contaminated, peeling, moisture-affected, recently coated, or manufacturer-excluded surfaces. Verify readiness with coating checks and documented 24-hour and 72-hour test patches before buying the full floor.
The controlling metric is Epoxy-to-Tile Bond Readiness: the combined condition of the coating, concrete, surface profile, moisture exposure, cure status, and manufacturer compatibility.
This matters because a tile installation is a stack of bonded layers. The tile adhesive may grip the epoxy perfectly while the epoxy releases from the concrete. From above, both failures look like “the tile came loose,” but they require entirely different corrections.
Before purchasing material for the room, plan to:
- Identify the coating: Determine whether it is a catalyzed two-part epoxy, a one-part epoxy-labeled paint, or an unknown coating.
- Screen the floor: Check for peeling, softness, contamination, moisture symptoms, unevenness, and incomplete cure.
- Compare preparations: Test residue-free cleaning, controlled deglossing, and an approved primer without changing several variables at once.
- Document the bond: Photograph and inspect test tiles at 24 hours, 72 hours, and, where practical, seven days.
- Locate the failure plane: Identify whether separation happened in the tile adhesive, at the epoxy surface, inside the coating, or between the coating and concrete.
A glossy floor is not automatically a bonded floor. Equally, a dull floor is not automatically dry, clean, or structurally sound.
How can you tell whether an epoxy floor is ready for tile?
Are you unsure whether the floor has genuine two-part epoxy, ordinary paint with an epoxy label, or a weak coating hiding a moisture problem?
This section gives you a repeatable no-go screen and a documented readiness assessment covering cure, coating cohesion, contamination, gloss, flatness, moisture, temperature, and manufacturer acceptance.
An epoxy-painted floor is ready for a tile test only when the coating is fully cured, firmly attached, free of incompatible contaminants, acceptably flat, dry within the flooring manufacturer’s limits, and eligible under the tile instructions. Passing this screen makes the floor a candidate. It does not guarantee compatibility.
We use the Epoxy-to-Tile Bond Readiness Index as an editorial field framework. It is not an ASTM standard, laboratory certification, warranty decision, or substitute for written manufacturer instructions.
What kind of epoxy coating is on the floor?
Start with the original container, receipt, product label, technical data sheet, or property-maintenance record. Product identity matters because “epoxy” can describe very different coating chemistries.
- Two-part epoxy coating: A resin and hardener are mixed before application. Their chemical reaction creates a cross-linked film that is often harder and more solvent-resistant than ordinary paint.
- One-part epoxy-labeled paint: A ready-to-use coating marketed with epoxy-related language. It may cure primarily through water or solvent evaporation rather than a two-component chemical reaction.
- Unknown coating: A surface with no dependable product record. Treat it conservatively because cure time, recoat limits, adhesion, chemical resistance, and compatibility cannot be confirmed.
- Epoxy topcoat system: A floor may contain primer, epoxy, decorative flakes, and a clear topcoat. The tile bonds to the uppermost layer, while every lower interface must also remain intact.
The common misconception is that a two-part product will always provide the better tile substrate. A correctly mixed two-part epoxy can be very cohesive, but it can still release if concrete was damp, contaminated, overly smooth, or poorly prepared before coating.
Conversely, a one-part coating may appear intact for light foot traffic yet soften under adhesive, cleaning residue, heat, or sustained pressure. Product type informs the risk; field condition determines whether testing is worthwhile.

Find the coating manufacturer’s current technical data sheet and confirm:
- Full cure: Use the stated full-cure period, not “dry to touch” or light-foot-traffic time.
- Temperature range: Confirm that application and cure occurred within the published limits.
- Recoat or covering restrictions: Look for warnings about adhesives, floor coverings, plasticizers, or prolonged contact.
- Surface preparation: Check whether the coating required concrete profiling, etching, grinding, or moisture evaluation.
- Topcoat identity: Verify whether the exposed finish is epoxy, polyurethane, polyaspartic, acrylic, or another chemistry.
For example, Rust-Oleum publishes product-specific instructions and technical documents for its EpoxyShield garage floor coatings. Cure schedules and restrictions differ by exact product, temperature, and service condition. The label for one EpoxyShield product should not be applied to another coating.
If the floor was painted recently, use the cure interval as an operational threshold, then test beyond it. For a more precise way to distinguish surface dryness from complete cure, read our practical guide to how long to wait before installing peel-and-stick tile after painting. It establishes cure status as the quantitative baseline rather than relying on surface dryness.
Which conditions make the floor a no-go?
Stop before testing tile if the floor shows active peeling, blistering, soft coating, moisture symptoms, unknown oily contamination, major unevenness, or an explicit manufacturer exclusion. A test patch cannot repair a failing substrate.
Use this readiness table as a deterministic decision screen:
| Readiness factor | Candidate for controlled testing | Stop or investigate further | Why it matters |
|---|---|---|---|
| Coating identity | Product and technical data are available | Product is unknown and behaves inconsistently | Cure and compatibility cannot be verified |
| Cure status | Full published cure period has passed | Coating is recent, soft, tacky, or easily marked | Trapped solvents or incomplete reaction can weaken the bond |
| Coating integrity | Firm, continuous film with no lifting | Peeling, blistering, checking, flaking, or hollow areas | Tile cannot strengthen a detached coating |
| Surface contamination | Residue-free after approved cleaning | Oil, wax, silicone, tire dressing, soap film, or unknown chemicals | Pressure-sensitive adhesive needs direct surface contact |
| Gloss | Uniformly dull or specifically approved as-is | Slick, polished, or inconsistently abraded | Low surface texture can reduce adhesive contact |
| Moisture condition | No symptoms and test results meet written limits | Efflorescence, dark damp areas, blistering, or failed moisture limits | Vapor can disrupt the coating or tile system |
| Flatness | Meets the tile manufacturer’s requirement | Ridges, pits, cracks, or abrupt height changes exceed limits | Thin tile can bridge voids, telegraph defects, or curl |
| Room conditions | Within the tile’s installation range | Cold floor, unstable temperature, or condensing surface | Adhesive wet-out and pressure response change with temperature |
| Manufacturer acceptance | Both systems permit the assembly in writing | Tile or coating instructions exclude the surface or room | A field test does not override product limitations |
Efflorescence is a white, powdery mineral deposit left as water moves through concrete and evaporates. It is evidence of moisture movement, although its absence does not prove that a slab is dry enough for flooring.
Hydrostatic pressure is often blamed for every damp basement. Strictly speaking, it refers to liquid-water pressure. Concrete can also transmit water vapor without visible standing water. The distinction matters because coating blisters, dark joints, and tile release can arise from several moisture pathways.
Stop and seek a flooring or concrete-moisture professional if you find:
- Active water entry: Seepage at walls, cracks, joints, drains, or slab penetrations.
- Coating blisters: Raised bubbles, especially those containing moisture or alkaline residue.
- Soft film: Coating that gums, smears, or dents under modest pressure after its full cure period.
- Widespread hollow sound: Areas that sound detached when lightly tapped and compared with known solid sections.
- Deep cracks or movement: Cracks with vertical displacement or recurring movement.
- Severe contamination: Motor oil, silicone, curing compounds, wax, tire products, or chemicals of unknown origin.
- Use exclusions: A product prohibition covering garages, floors, painted concrete, below-grade slabs, or the planned room.
How can you screen the existing coating bond?
A cautious cross-cut screen can reveal weak coating, but a homeowner’s field check should not be represented as ASTM D3359 compliance. The standard controls cutting patterns, tape characteristics, procedure, film thickness considerations, and rating.
ASTM D3359, Standard Test Methods for Rating Adhesion by Tape Test, covers tape-test methods for assessing coating adhesion to metallic substrates and may also be useful for comparing adhesion on other substrates. ASTM notes important scope and interpretation limits. The complete standard is paywalled, so its current text must be obtained from ASTM for formal use.
For an informal screening comparison:
- Choose inconspicuous locations: Test several areas, including a doorway, perimeter, center, and any suspicious patch.
- Clean the test area: Remove loose soil without applying wax, polish, or a residue-forming cleaner.
- Make shallow cuts cautiously: With eye and hand protection, score a small grid through the coating without aggressively gouging the concrete.
- Apply consistent tape: Use the same tape, contact pressure, dwell time, and removal motion at each location.
- Photograph before and after: Include a ruler, location label, date, and sample number.
- Compare coating removal: Look for squares, flakes, or layers that detach along the cuts.
- Repair the cuts: Follow the coating manufacturer’s instructions, especially where water or chemicals may reach exposed concrete.
This screening does not yield a standardized rating unless the current ASTM procedure is followed by qualified personnel using the specified materials and conditions. Its practical value is comparative: inconsistent or extensive removal identifies a weak link before tile conceals it.
A single clean result is also insufficient. Coating near a dry wall can be well bonded while an area near a garage door, utility sink, or historic leak is failing.
Where can the finished assembly fail?
A peel-and-stick installation has several possible failure planes, meaning the precise layer or interface where separation occurs.
| Observed separation | Likely failure plane | What it suggests | Appropriate response |
|---|---|---|---|
| Tile releases cleanly with little adhesive contact | Tile adhesive to epoxy surface | Gloss, contamination, cold installation, low pressure, or incompatibility | Improve approved preparation and retest |
| Adhesive remains partly on both surfaces | Within the adhesive layer | Cohesive adhesive failure, movement, heat, contamination, or incompatible conditions | Consult tile manufacturer; do not improvise adhesive |
| Epoxy comes up attached to the tile | Inside coating or coating-to-concrete interface | Coating is weaker than the tile bond | Remove unsound coating or choose another system |
| Concrete dust attaches to coating or tile | Weak surface concrete | Dusting, laitance, or degraded concrete | Obtain substrate repair guidance |
| Tile edges rise while centers hold | Stress concentrated at edges | Poor rolling, temperature change, unevenness, contamination, or dimensional movement | Diagnose conditions before replacing tiles |
| Blisters or dark damp areas develop | Moisture-affected layer | Vapor, leakage, condensation, or alkaline exposure | Stop and complete moisture investigation |
Adhesive transfer describes how much adhesive remains on each surface after separation. It is evidence, not a verdict by itself. Pressure-sensitive adhesive may change over time, and manually peeling a test tile introduces force that normal service does not.
The key insight is that stronger tile adhesion is not always safer. If the adhesive grips harder than the epoxy grips concrete, the tile may pull the coating off. Extra adhesive can shift the failure plane rather than solve the weakness.
Why does concrete moisture still matter under intact epoxy?
An intact coating does not establish that the slab has acceptable internal moisture. Epoxy may slow vapor transmission, conceal symptoms temporarily, or remain bonded in one area while failing in another.
ASTM F2170, Standard Test Method for Determining Relative Humidity in Concrete Floor Slabs Using in situ Probes, measures relative humidity inside a concrete slab at specified depths. Relative humidity, or RH, describes how much moisture is present in the air within the test cavity relative to its capacity at that temperature.
A qualified test is valuable for basements, slabs on grade, converted garages, and floors with an uncertain vapor-retarder history. Yet the result must be compared with the written moisture limit for the exact tile, adhesive, primer, and coating system.
Industry consensus dictates that the most restrictive applicable manufacturer limit controls unless the manufacturers approve another assembly in writing. ASTM F2170 supplies a standardized evaluation method; it does not set a universal “safe” RH limit for every floor covering.
Surface meters can help locate areas for investigation, but many do not replace in-slab RH testing. Plastic-sheet checks can reveal obvious condensation, yet they do not provide a quantitative baseline equivalent to ASTM F2170.
For a defensible assessment:
- Map the room: Mark exterior walls, cracks, drains, plumbing, low areas, prior leaks, and visible coating defects.
- Review slab history: Ask about flooding, vapor retarders, groundwater, seasonal dampness, and previous floor failures.
- Use approved testing: Follow the tile or adhesive manufacturer’s stated moisture-test method and limits.
- Hire qualified help where needed: Probe installation, equilibration, calibration, and interpretation affect F2170 results.
- Keep records: Save probe locations, dates, temperatures, RH values, instrument information, and photographs.
A dry winter reading may not represent a wet season. In our experience, moisture history is especially important in older basements and converted garages because the slab may never have been built for moisture-sensitive flooring.
Room-risk chart
| Room | Typical risk | Priority checks |
|---|---|---|
| Basement | High moisture and seasonal vapor risk | Slab history, RH testing, efflorescence, wall-floor joints |
| Laundry room | Leaks, vibration, rolling appliance loads | Supply lines, drains, washer movement, edge sealing rules |
| Kitchen | Spills, heat, repeated cleaning | Cleaner residue, appliance loads, seam exposure |
| Workshop | Chemicals, rolling cabinets, impact | Unknown contamination, wheel loads, product-use eligibility |
| Mudroom | Tracked water, grit, temperature swings | Doorway coating bond, wet footwear, cold-floor temperature |
| Utility room | Drains, condensation, service traffic | Drain details, pipe leaks, equipment clearance |
| Garage | Very high heat, tire, chemical, moisture, and load risk | Garage approval, tire heat, vehicle loads, deicers, slab moisture |
After completing this screen, download or create a dated test log before changing the surface. A useful log records product lot numbers, coating identity, room and floor temperature, humidity, preparation, roller passes, observation times, photographs, and failure plane.
How should you prepare, test, and install the tile?
Have you been told to sand, prime, or spread extra adhesive without any way to know which change actually helped?
This section isolates each preparation variable, validates the bond at 24 hours, 72 hours, and optionally seven days, and shows how to install only the method that passes under approved conditions.
Prepare and test the floor through matched sections. Keep tile, pressure, temperature, timing, and inspection methods consistent so the surface treatment is the main variable.
This creates Time-Validated Adhesion Confidence: documented bond stability after controlled dwell periods. It is a practical decision tool, not a statistically significant laboratory study or a manufacturer warranty.
How should you clean epoxy without leaving adhesive-blocking residue?
Remove dry soil first, then use only a cleaner accepted by the coating and tile manufacturers. Rinse or wipe as required until the surface is residue-free, and allow it to dry fully.
Pressure-sensitive adhesive is an adhesive that forms a bond when contact and pressure bring it into close contact with the surface. It behaves less like mortar filling deep gaps and more like two pieces of clean tape meeting. Oil, detergent film, silicone, wax, and dust prevent that intimate contact.
A practical cleaning sequence is:
- Vacuum loose material: Use a clean vacuum attachment to remove grit from corners, cracks, and surface texture.
- Remove localized contamination: Identify oil, grease, wax, tire dressing, paint overspray, or silicone rather than spreading it across the floor.
- Wash with an approved cleaner: Follow its dilution and dwell instructions instead of mixing a stronger solution.
- Rinse where directed: Repeatedly use clean water and clean cloths or mops until no cleaner film remains.
- Allow complete drying: Give joints, pits, cracks, and porous repairs extra time.
- Run a white-cloth check: Wipe several areas with a clean white cloth and investigate any oily, colored, or powdery pickup.
Avoid assuming that a strong solvent is better. A solvent may soften a one-part coating, spread contamination, leave residue, create a fire hazard, or conflict with adhesive instructions.
Should you sand or degloss the epoxy?
Degloss only if the coating and tile manufacturers allow mechanical abrasion and the coating is sound enough to remain in place. The goal is a uniform, clean, dull surface—not deep scratches, exposed concrete, or a patchwork of glossy islands.
For glossy surfaces, the high-level evaluation metric is uniform contact area. Random scratches may look aggressive without creating consistent adhesive contact.
To avoid confusing aggressive sanding with effective preparation, use our controlled glossy-paint peel-and-stick preparation comparison. It shows which prep held best and provides the matched-area framework needed to separate cleaning from deglossing. Benchmarked against untracked hand sanding, matched test areas make the preparation variable visible.
If abrasion is permitted:
- Protect yourself: Use eye protection and suitable respiratory controls. Treat old or unknown coatings cautiously and test for regulated hazards where applicable.
- Use consistent abrasion: Work the entire test area evenly rather than sanding only obvious shiny spots.
- Avoid cutting through: Exposing concrete creates a mixed substrate with different porosity and moisture behavior.
- Remove all dust: Vacuum thoroughly, then use the manufacturer-approved final cleaning method.
- Inspect under low-angle light: Side lighting makes remaining glossy patches and sanding ridges easier to see.
Do not dry-sand a coating that may contain lead or another hazardous component. The U.S. Environmental Protection Agency provides lead-safe renovation guidance for work that may disturb lead-based paint.
Do you need primer for peel-and-stick tile over paint?
Primer is needed only when the exact tile or adhesive manufacturer requires or approves it for the existing coating and service conditions. Primer is not a universal cure for gloss, moisture, contamination, or weak epoxy.
A resilient flooring primer is a preparatory coating intended to create a compatible, uniform surface for specified flooring adhesives or products. Its chemistry and permitted substrates vary.
The correct metric is system compatibility, not how sticky the primer feels. A primer can bond strongly to tile adhesive while releasing from slick epoxy underneath.
- Manufacturer requires primer: Use the named product at the stated coverage and cure conditions.
- Manufacturer permits primer: Include it as a separate test section and compare it with cleaned and deglossed sections.
- Manufacturer prohibits primer: Do not use it, even if another brand promotes primer for painted floors.
- Instructions are silent: Ask the tile and primer manufacturers for written compatibility with the exact coating.
- Coating is weak or moisture-affected: Do not prime over it. Correct the substrate problem first.
If primer is permitted but you need evidence before choosing a product, review our controlled primer test for peel-and-stick tile. Its matched-preparation approach compares cure times and failure signs while fundamentally mitigating the common error of changing cleaning, abrasion, primer, and pressure simultaneously.
Armstrong Flooring maintains technical and installation resources for its products and installation systems. Use only the document for the exact current product. A primer approved for one Armstrong adhesive or substrate is not automatically suitable for another brand’s self-adhesive tile.
How do you build a controlled bond test?
Create at least three matched test sections where the room conditions and coating condition are similar. Use tiles from the product and lot you plan to install.
A four-section test offers the clearest comparison:
| Test section | Preparation | Purpose |
|---|---|---|
| A | Existing surface after dry soil removal only, if safe and permitted | Establishes an untreated comparison |
| B | Residue-free cleaning | Tests whether contamination removal is sufficient |
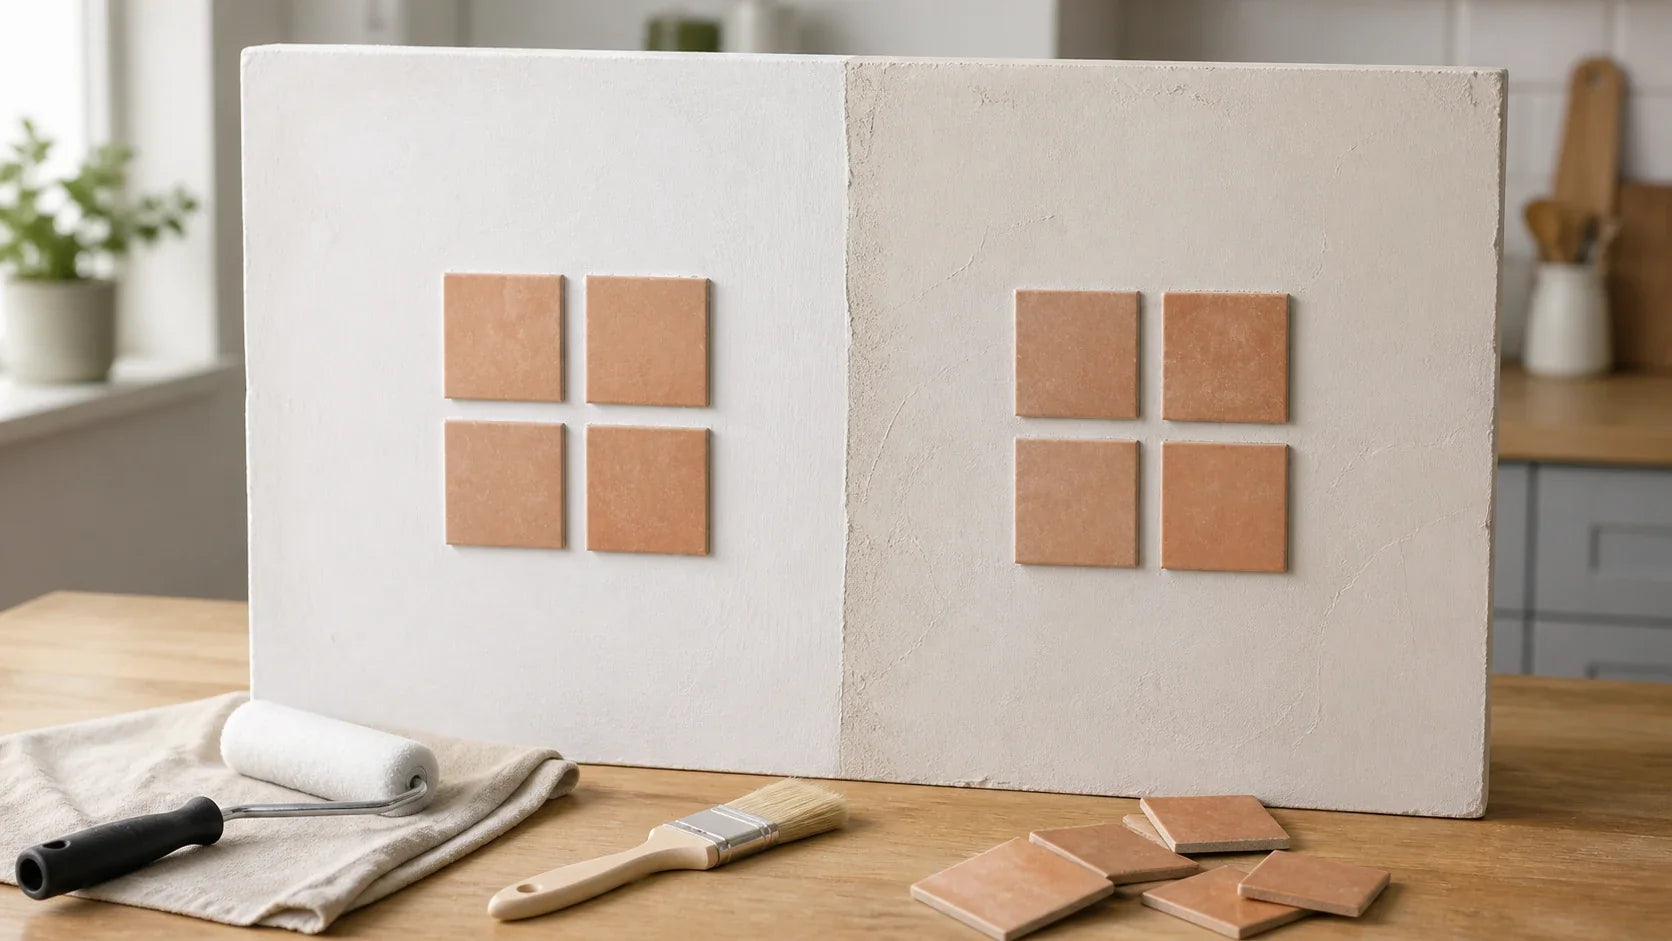
| C | Residue-free cleaning plus uniform approved deglossing | Tests whether surface profile improves contact |
| D | Approved cleaning and named compatible primer | Tests the complete approved primer system |

If untreated flooring is visibly contaminated, soft, or prohibited by the tile instructions, omit Section A. A comparison does not justify unsafe or explicitly excluded use.
Keep these factors constant:
- Tile size and lot: Use equal-size pieces from the same carton.
- Surface location: Avoid comparing a damp perimeter with a warm, dry center.
- Acclimation: Condition the tile and room for the period and temperature required by the manufacturer.
- Application time: Install the sections within the same working session.
- Pressure: Use the same tool, pattern, force, and number of passes.
- Observation schedule: Inspect every sample at the same elapsed times.
- Loading: Protect all samples from traffic, water, heat, and rolling loads.
Label each tile and photograph the label beside it. Record the coating product, tile SKU, lot number, primer batch, room temperature, floor temperature, humidity, preparation steps, installation time, and roller or scraper method.
FloorPops publishes product-specific installation information through its official installation resources. Confirm the current instructions for the exact FloorPops design because surface eligibility, preparation, room use, and rolling directions can change.
How should you apply pressure and protect the test?
Install the tile exactly as its current instructions specify. Pressure must reach the center, edges, and corners without stretching or damaging the tile.
The metric here is repeatable contact pressure. Finger-smoothing alone often creates uneven contact, particularly over shallow texture.
A scraper can help apply consistent contact during a test when its use does not conflict with the tile instructions. For a practical installation tool that helps push out trapped air and secure edges, compare Scraperoo - Y and Scraperoo - R. Use either with controlled, overlapping passes rather than excessive force.
The method should:
- Place without stretching: Align the tile and lower it progressively to limit trapped air.
- Press from center outward: Move air toward free edges.
- Consolidate the perimeter: Apply repeatable passes along every edge and corner.
- Mark the initial edge line: A fine reference mark can reveal later movement or curl.
- Protect the area: Keep people, pets, water, carts, appliances, and direct heat away.
- Record conditions: Note temperature changes, HVAC setbacks, and any unexpected traffic.
Do not use a heat gun to force adhesion unless the manufacturer expressly directs it. Heat can temporarily soften adhesive and tile, producing an impressive initial bond that does not represent normal service.
What should you inspect at 24 hours, 72 hours, and seven days?
At each interval, inspect flatness, edge condition, movement, sound, and resistance to gentle lifting. Do not destructively peel every sample at 24 hours if you need the same tile for later observation.
| Time | What to inspect | Pass indicators | Warning indicators |
|---|---|---|---|
| Immediately | Placement, air, edge contact, movement | Tile lies flat and stays aligned | Immediate edge lift, sliding, trapped air |
| 24 hours | Corners, seams, temperature response | No spontaneous curl or migration | Easy edge lift, bubbles, adhesive ooze |
| 72 hours | Bond stability and coating response | Flat tile and stable edges under permitted checking | Whole-tile release, coating pickup, new blisters |
| Seven days | Longer dwell and environmental change | Stable bond after normal approved conditioning | Progressive curl, moisture symptoms, coating delamination |
For a destructive check, reserve duplicate samples for each time point. Lift from a marked corner at a consistent angle and rate. Photograph the tile back and floor immediately.
Classify what you see:
- Minimal adhesive transfer: Adhesive shows little evidence of contacting the epoxy. Investigate gloss, dust, contamination, temperature, pressure, or incompatibility.
- Mixed adhesive transfer: Adhesive is visible on both surfaces. Ask the manufacturer whether this appearance is expected for that product and dwell time.
- Coating transfer: Epoxy or paint remains attached to the tile. The coating system failed before the tile adhesive.
- Concrete transfer: Dust, laitance, or concrete fragments detach. The slab surface needs professional evaluation or repair.
- Moisture evidence: Darkening, droplets, alkaline residue, odor, or blistering requires investigation before further installation.

One tile per preparation is a screening sample, not a statistically significant experiment. Duplicate test tiles in more than one room location produce stronger practical evidence, especially where slab exposure or coating age varies.
Approve a preparation only if all matching samples remain stable and the destructive sample does not expose weak coating or concrete. This yields an optimal configuration for that room without pretending to guarantee every future condition.
Why might peel-and-stick tile still lift after a good test?
A successful test reduces uncertainty, but later service may introduce heat, water, rolling loads, chemical exposure, or slab moisture that the test did not reproduce.
- Cold installation: Pressure-sensitive adhesive may not wet out properly on a cold tile or floor.
- Tire heat: Warm vehicle tires can transfer heat, plasticizers, soil, and concentrated loads to garage flooring.
- Rolling appliances: Washers, refrigerators, carts, and tool cabinets create higher localized stress than foot traffic.
- Standing water: Leaks or repeated wet cleaning can reach seams and weak interfaces.
- Solar heating: Sunlight through doors or windows can create sharp surface-temperature changes.
- Substrate movement: Cracks and joints can move independently beneath thin tile.
- Delayed moisture: Seasonal vapor conditions may exceed those present during the test.
- Unapproved extra adhesive: Added adhesive may react with the tile backing, trap solvents, void product coverage, or make future removal harder.
Extra adhesive is especially risky. It creates a new chemical layer and changes the total cost of ownership (TCO) by adding labor, cure time, compatibility questions, and removal cost.
Never place peel-and-stick tile across an active expansion or isolation joint unless the flooring manufacturer provides an approved detail. Covering a moving joint does not neutralize movement; it merely transfers stress into the tile.
What should you do if the bond test fails?
Choose the correction based on the failure plane. Repeating the same installation with more pressure rarely fixes coating delamination or moisture.
- Failure at the epoxy surface: Confirm cleaning, temperature, deglossing, and primer options with the tile manufacturer, then build a new controlled section.
- Failure inside the coating: Remove unsound material and assess the remaining coating rather than bonding over it.
- Failure at concrete: Investigate surface weakness, contamination, laitance, and moisture before resurfacing.
- Moisture-related failure: Find the source and obtain an approved mitigation specification.
- Product exclusion: Select a flooring system permitted for the room and substrate.
- Conflicting documents: Pause and request written clarification from both manufacturers.
A floating floor is installed without bonding every piece directly to the substrate. Depending on room use, height, moisture conditions, and manufacturer approval, it may isolate the finish from questionable coating adhesion.
Floating products still require a sufficiently flat, stable, and moisture-appropriate base. They are not a way to conceal active water, loose coating, structural cracking, or mold.
Coating removal may provide the cleanest long-term route when large areas are detached. Yet removal can expose weak concrete, create hazardous dust, and require mechanical profiling. For unknown coatings, test for regulated hazards before grinding or sanding.
The defensible decision is based on lifecycle risk:
| Result | Best next action |
|---|---|
| All readiness factors pass, tests remain stable, and manufacturers approve | Install using the exact tested method |
| Surface-preparation test fails but coating remains sound | Revise one approved variable and retest |
| Tile pulls up coating | Remove or stabilize the coating under professional guidance |
| Moisture limit is exceeded | Correct or mitigate moisture using an approved system |
| Manufacturer excludes painted epoxy | Choose removal or an eligible floating alternative |
| Documentation conflicts | Obtain written clarification before purchasing the full floor |
Epoxy-to-Tile Bond Readiness decision tree
If no, stop and identify the defect. If yes, create matched test patches.
Change one approved preparation variable, then prepare again and retest.
Do not install. Remove or remediate unsound coating and investigate moisture.
Choose an eligible floating floor or another manufacturer-approved assembly.
What is the safest final decision?
Are you trying to decide whether the test results are strong enough to justify buying tile for the whole room?
Use the documented sequence and manufacturer approvals—not appearance or optimism—to make the final call.
The answer to “Can you put peel-and-stick tile over epoxy paint?” is conditional. A sound epoxy floor is a candidate for testing, not proof of compatibility.
The safest sequence is:
- Identify: Confirm the coating, tile, primer, and full-cure requirements.
- Screen: Stop for loose coating, moisture symptoms, contamination, softness, excessive unevenness, or product exclusions.
- Prepare: Clean without residue and degloss or prime only where approved.
- Test: Compare matched sections at 24 hours, 72 hours, and optionally seven days.
- Inspect: Locate the failure plane and document adhesive or coating transfer.
- Verify: Obtain current written compatibility from the applicable manufacturers.
- Decide: Install the proven method or compare coating removal and floating-floor alternatives.
This standardized evaluation inherently neutralizes the biggest source of uncertainty: guessing which layer will fail. It also gives landlords, property managers, and homeowners a dated record rather than a vague recollection of surface preparation.
Install the full floor only after documented passes and written product compatibility. If the evidence remains mixed, the lower-risk choice is further investigation, coating removal, or an approved floating system.
Frequently Asked Questions
Does peel-and-stick tile stick to epoxy paint?
Do you need a clear answer without treating every epoxy floor as identical?
The deciding factors are coating strength, surface condition, moisture, cure, preparation, and tile-manufacturer acceptance.
Peel-and-stick tile can stick to fully cured, sound, clean, dull, dry epoxy paint, but adhesion varies by coating and tile. A 24-hour and 72-hour test is the minimum practical screen. Test longer where temperature or moisture varies.
Do not rely on immediate tack. Initial stick can feel strong even when the epoxy is weakly bonded to concrete.
Can peel-and-stick tile go over glossy paint?
Is the shine itself the problem, or is something more serious hiding beneath it?
A controlled cleaning and deglossing comparison separates surface-contact problems from coating failure.
Gloss can reduce adhesive contact, but sanding is not automatically permitted. Confirm that both manufacturers accept abrasion, then create a uniformly dull test section without exposing the substrate.
For a benchmarked comparison method, use the preparation sequence in We Tested Glossy Oil Paint: Peel-and-Stick Prep Guide.
How long should an epoxy floor cure before applying tile?
Are you worried that “dry” paint may still be chemically immature?
Use the exact product’s full-cure requirement and verify that room conditions supported that cure.
Wait at least the full cure period stated in the coating’s current technical data sheet. Dry-to-touch, recoat, foot-traffic, and vehicle-service times are different milestones.
Cool temperatures, incorrect mixing, high humidity, or excessive film thickness may extend cure. If the coating remains soft, odorous, tacky, or easily marked, do not cover it.
Can I use extra adhesive if peel-and-stick tile will not stay down?
Does adding glue seem like the quickest fix for curling edges?
Failure-plane analysis shows whether added adhesive addresses the cause or creates another incompatible layer.
Use extra adhesive only if the tile manufacturer names or approves it for that tile, epoxy coating, room, and service condition. More adhesive cannot stabilize loose epoxy or correct slab moisture.
An unapproved adhesive may soften the tile, trap solvents, seep through joints, change removal behavior, or affect warranty coverage.
Is a home tape test the same as ASTM D3359?
Can a scored-grid and tape check provide formal proof that the coating is bonded?
It can screen for obvious weakness, but formal standards compliance requires the current ASTM procedure and controlled materials.
No. A homeowner’s tape check is an informal comparison unless it strictly adheres to the applicable ASTM D3359 method, tools, tape, conditioning, cutting pattern, timing, and rating procedure.
The standard also has scope and interpretation limits. Use an informal check to locate suspicious areas, not to claim certified coating performance.
Do I need an ASTM F2170 test before tiling painted concrete?
Can an intact coating hide excessive moisture inside a basement or garage slab?
In-slab RH testing supplies a quantitative moisture measurement that visual inspection cannot provide.
The tile or adhesive manufacturer determines which moisture tests and limits apply. ASTM F2170 testing is especially valuable for below-grade slabs, slabs on grade, uncertain vapor-retarder conditions, prior moisture failures, or spaces with seasonal dampness.
A professional test does not guarantee flooring performance, but it creates a far more defensible moisture baseline than appearance alone.
What is the clearest sign that the epoxy should be removed?
Are you unsure whether more preparation can save the existing coating?
Coating transfer during the tile test identifies a weak layer that cleaning or primer cannot repair.
If epoxy lifts with the test tile, flakes during cross-cut screening, blisters, feels soft, or releases from concrete, it should not be treated as a dependable substrate.
Remove or remediate the unsound coating using a method appropriate for the concrete, room, and potential hazards. Retest the exposed or repaired substrate before selecting the final flooring system.
What sanding grit should I use on glossy epoxy?
There is no universal grit for every epoxy and tile system. Use only the abrasive type and grit range accepted by the coating and tile manufacturers. The objective is uniform deglossing without cutting through the coating. If no written abrasion guidance exists, request it and test a small area rather than guessing.
How should I select a primer?
Select a primer by written system compatibility, not by general claims or tackiness. Confirm that the exact primer is approved for the exposed coating, self-adhesive tile, room conditions, and expected moisture exposure. Apply it at the published coverage and cure time, then compare it in a separate test section.
Can peel-and-stick tile be used over epoxy in a garage?
Only when the tile manufacturer expressly permits garage use and the complete assembly meets its requirements. Vehicle weight, warm tires, plasticizer transfer, road salts, oil, water, and temperature swings make garages unusually demanding. A successful indoor test does not establish suitability for vehicle service.
What should I do when only the tile edges lift?
Do not immediately add glue. Check rolling pressure, edge contamination, floor temperature, tile movement, unevenness, moisture, and whether the tile crossed a crack or joint. If the coating comes away with the lifted edge, the problem is below the adhesive and requires coating evaluation.


Leave a comment
This site is protected by hCaptcha and the hCaptcha Privacy Policy and Terms of Service apply.