



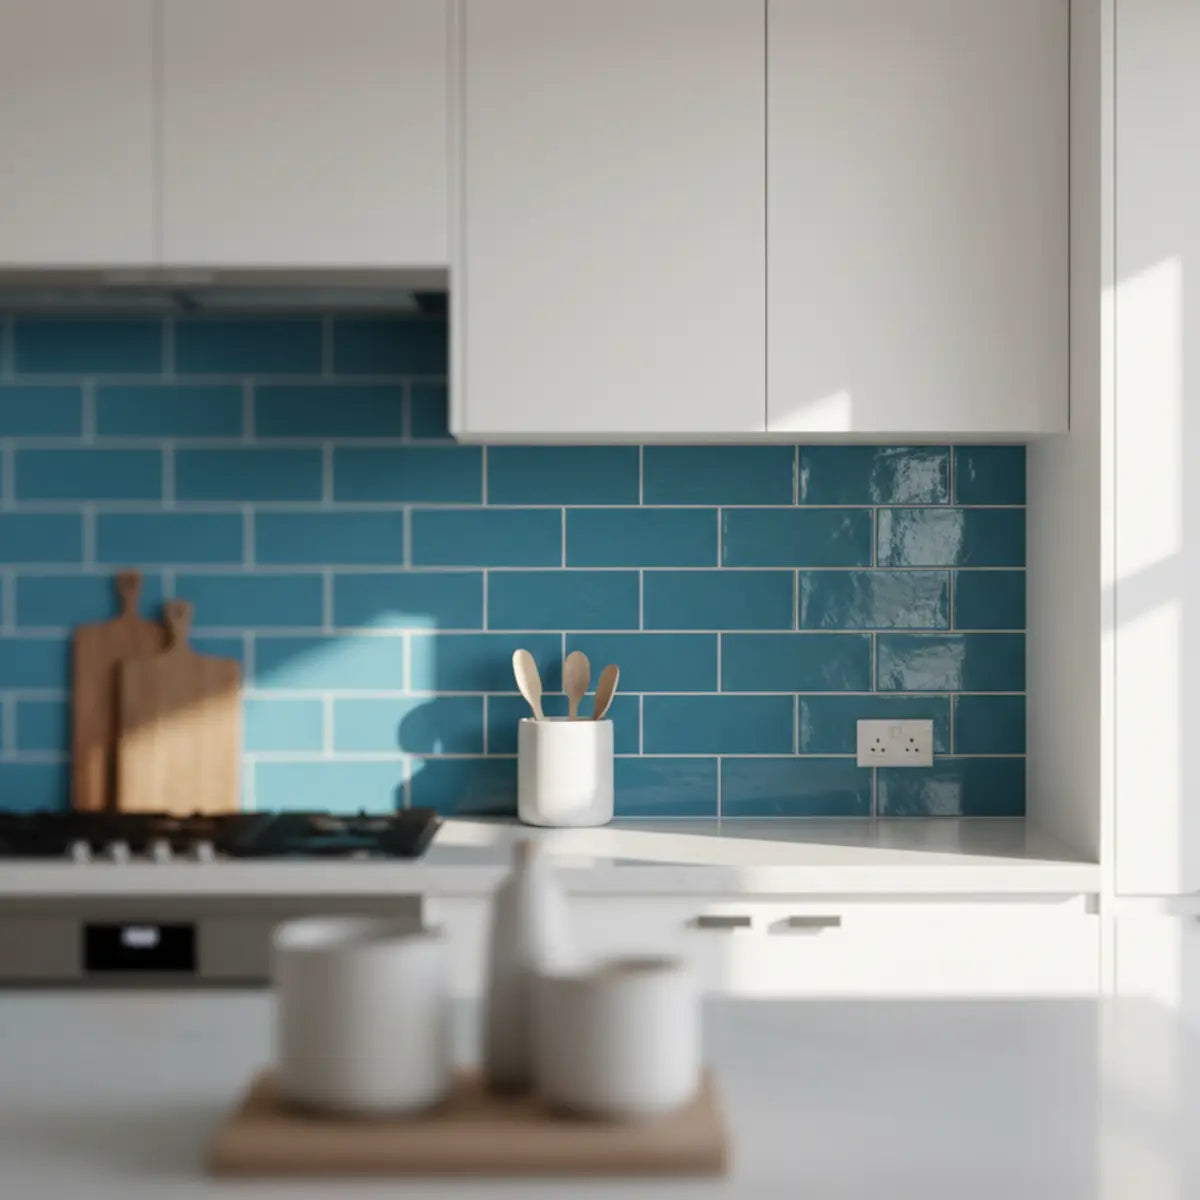
You’ve found it—the perfect shade of blue subway tile. Maybe it’s a deep, dramatic navy or a light, airy aqua. You can already picture it transforming your kitchen or bathroom. But now comes the real part: the installation. The dream of a stunning backsplash can quickly turn into a DIY nightmare filled with questions about tools, grout, and getting those lines perfectly straight.
Quick answer: a blue backsplash starts with the same layout decisions as any other tile project—sample the color, inspect the wall, establish reference lines and plan cuts around outlets and edges. The installation materials then depend on the tile construction: conventional ceramic and self-adhesive wall tile are not the same workflow.
Explore this guide
How to Plan and Install a Blue Tile Backsplash
Installing a blue subway tile backsplash involves four main stages:
- Preparation: Clean the wall, measure the area, and mark a level starting line.
- Adhesion: Apply a thin-set mortar or tile adhesive to the wall with a notched trowel.
- Installation: Press tiles into the adhesive, using spacers for even gaps. Make cuts for outlets and edges as you go.
- Finishing: After the adhesive cures (24-48 hours), remove spacers, apply grout, and clean off the excess. Seal the grout once it's fully cured.
We understand the hesitation. You worry about getting the layout right, choosing a grout color that doesn't clash, and ensuring your hard work lasts for years. This isn’t just about sticking tiles to a wall; it's about executing a vision with professional results.
This guide is your expert partner in that process. We’ll walk you through every step, from planning and preparation to the final polish. Let’s break down everything you need to know to bring your blue subway tile vision to life, confidently and correctly.
What Makes Blue Subway Tile So Popular?
The Question: "With so many tile choices, why does everyone keep coming back to blue subway tile?"
Blue subway tile isn't just a trend; it's a design classic that continually reinvents itself. Its power lies in its incredible versatility. A kitchen with white cabinets can feel sterile, but add a navy blue tile backsplash and it suddenly has depth and character. A small bathroom can feel expansive and serene with a soft aqua tile.
The range of shades is a huge part of its appeal. From the moody depth of navy to the playful energy of turquoise, there's a blue for every mood and style. Interior design reports for 2025 show that homeowners are craving color that connects them to nature, and these oceanic and sky-like tones fit perfectly.
Designs It Elevates
- Modern & Transitional: A glossy navy blue tile creates a sophisticated, bold statement, especially paired with brass hardware and white quartz countertops.
- Coastal & Farmhouse: Light blue or sea-glass shades evoke a breezy, relaxed feel. They pair beautifully with natural wood tones and white shiplap.
- Classic & Traditional: A medium or dusty blue in a traditional offset pattern provides a timeless look that feels both fresh and established.

What Do I Need to Prepare for Tiling?
The Question: "I'm ready to start, but what tools and prep work are absolutely essential to avoid a disaster?"
Think of your wall as a canvas. You wouldn't start a painting on a dirty, uneven surface. The same principle applies here.
Your Essential Tool & Material Checklist
- Adhesive: Thin-set mortar or a premixed tile adhesive.
- Grout: Sanded or unsanded, depending on your tile joint width.
- Notched Trowel: The size of the notches depends on your tile size.
- Tile Spacers: To ensure consistent grout lines.
- Tile Cutter or Wet Saw: A wet saw is best for clean cuts on glass or ceramic tiles.
- Level & Measuring Tape: For marking your layout lines.
- Grout Float: For pressing grout into the joints.
- Sponges & Buckets: For cleanup.
- Safety gear: Use eye, hand and other protection required by the cutting method, adhesive or grout product you are using.

Surface Preparation and Layout
- Clean the Wall: Remove all grease, dust, and grime with a good degreasing cleaner. The wall must be completely dry before you start.
- Smooth the Surface: Patch any holes and sand down any bumps. The adhesive can’t compensate for major imperfections.
- Mark Your Lines: Find the center point of your backsplash area and draw a level horizontal line and a plumb vertical line using your level. These are your guides. Don't assume your countertops are perfectly level—always use a level to create your own starting line.
A common misconception is that you can just start from the countertop and work your way up. This often leads to crooked lines that become more obvious with every row. Always establish your own level starting line.
How Do I Install a Blue Subway Tile Backsplash Step-by-Step?
Choose the installation path before following the steps below. The adhesive-setting and grouting sequence describes conventional tile that requires those materials. A peel-and-stick or other self-adhesive wall tile follows its own manufacturer instructions and normally should not receive a separate mortar or grout step unless that exact product calls for one.
For self-adhesive products, use the peel-and-stick installation guide and compare peel-and-stick subway wall tiles only after the wall and location meet the product requirements.
The Question: "What's the actual process of getting the tiles on the wall without them looking crooked or messy?"
With your wall prepped and your tools ready, it's time for the most rewarding part. Work in small, manageable sections (about 2x2 feet at a time) to prevent the adhesive from drying out before you can set the tiles.
Step 1: Apply the Adhesive
Using the flat side of your trowel, spread a thin layer of adhesive onto your first small section of the wall. Then, switch to the notched side and comb through the adhesive at a 45-degree angle. The goal is to create uniform ridges.
Think of it like frosting a cake: you want even coverage without any bare spots.
Step 2: Set Your First Tiles
Start at the intersection of your level and plumb lines. Press your first tile into the adhesive with a slight twisting motion to ensure a strong bond. Place your next tile beside it, using tile spacers to create the gap for your grout line. Continue this process, checking for levelness every few rows.
For those new to this process or looking for a simpler entry point, a great alternative is a peel-and-stick tile. For a complete walkthrough on this method, our Easy Guide: Install Peel & Stick Subway Tiles is the go-to resource.
Step 3: Making Cuts
When you reach an outlet or the end of a wall, measure the space carefully and mark the tile. Use your tile cutter or wet saw to make the cut. Always cut on the outside of your marked line to be safe. It’s better to have to trim a tiny bit more off than to cut the tile too short.

Step 4: Grouting and Cleaning
Let the adhesive cure completely, which typically takes 24-48 hours. Remove all the tile spacers. Apply grout with your grout float, pressing it into the joints at a 45-degree angle.
After about 15-30 minutes, use a damp sponge to gently wipe the excess grout off the tile surface. You'll likely need to do several passes, rinsing your sponge frequently. A light haze may form as it dries; this can be buffed off later with a dry cloth.
What Is the Best Grout Color for Blue Subway Tile?
The Question: "I'm stuck. How do I pick a grout color that complements my blue tile instead of ruining the look?"
Grout is the finishing touch that can either make your tile pop or help it blend seamlessly. The choice between a contrasting or a coordinating color completely changes the final aesthetic. There is no single "best" color—it all depends on the look you want to achieve.
A common myth is that you should always match the grout to the tile. While this creates a uniform look, a contrasting grout is what truly defines the shape and pattern of the tile, which is especially effective for classic subway layouts.
Interactive Grout Color Visualizer
Current Selection: White Grout
To make the decision easier, here’s a direct comparison:
| Grout Color | Effect with Navy Blue Tile | Effect with Aqua/Light Blue Tile | Maintenance Level |
|---|---|---|---|
| White | High Contrast, Classic | Fresh, Bright, Coastal | High |
| Gray | Subtle, Modern | Soft, Muted, Cohesive | Medium |
| Black | Bold, Graphic, Industrial | Dramatic, Defines Shape | Low |
| Blue | Monochromatic, Seamless | Monochromatic, Seamless | Medium |
Pro-Tip on Grout Finish
Consider the grout's finish as well. A standard smooth grout is classic, but a grout with a slight shimmer can add an unexpected touch of luxury, especially with glossy glass tiles. If you're leaning toward a bold, high-contrast look, exploring the pros and cons is essential. For more on how bold grout choices can define a space, our Subway Tile Backsplash with Black Grout: 2025 Guide offers excellent insights and planning advice.

How Do I Pair Blue Subway Tile with Cabinets and Countertops?
The Question: "How can I be sure my blue tile will look good with my existing white cabinets or quartz countertops?"
Your backsplash doesn't exist in a vacuum. It needs to work in harmony with your cabinets, countertops, and even your lighting to create a unified design. Getting this combination right is what separates a nice room from a truly stunning one.
Blue Tile with White Cabinets
This is a can't-miss combination. The crispness of white cabinets makes any shade of blue stand out.
- Navy Blue Tile: With white cabinets, this creates a timeless, almost nautical look that feels both classic and sophisticated. It's a favorite in transitional kitchens.
- Light Blue Tile: Paired with white, light blue tile feels airy and open. It's perfect for creating a coastal or modern farmhouse vibe.
Pairing with Quartz Countertops
If your blue tile is the star of the show, choose a quiet, solid white or light gray quartz. If you want more drama, pick a quartz with bold gray or even gold veining that echoes the colors in your hardware or fixtures.
The Impact of Lighting
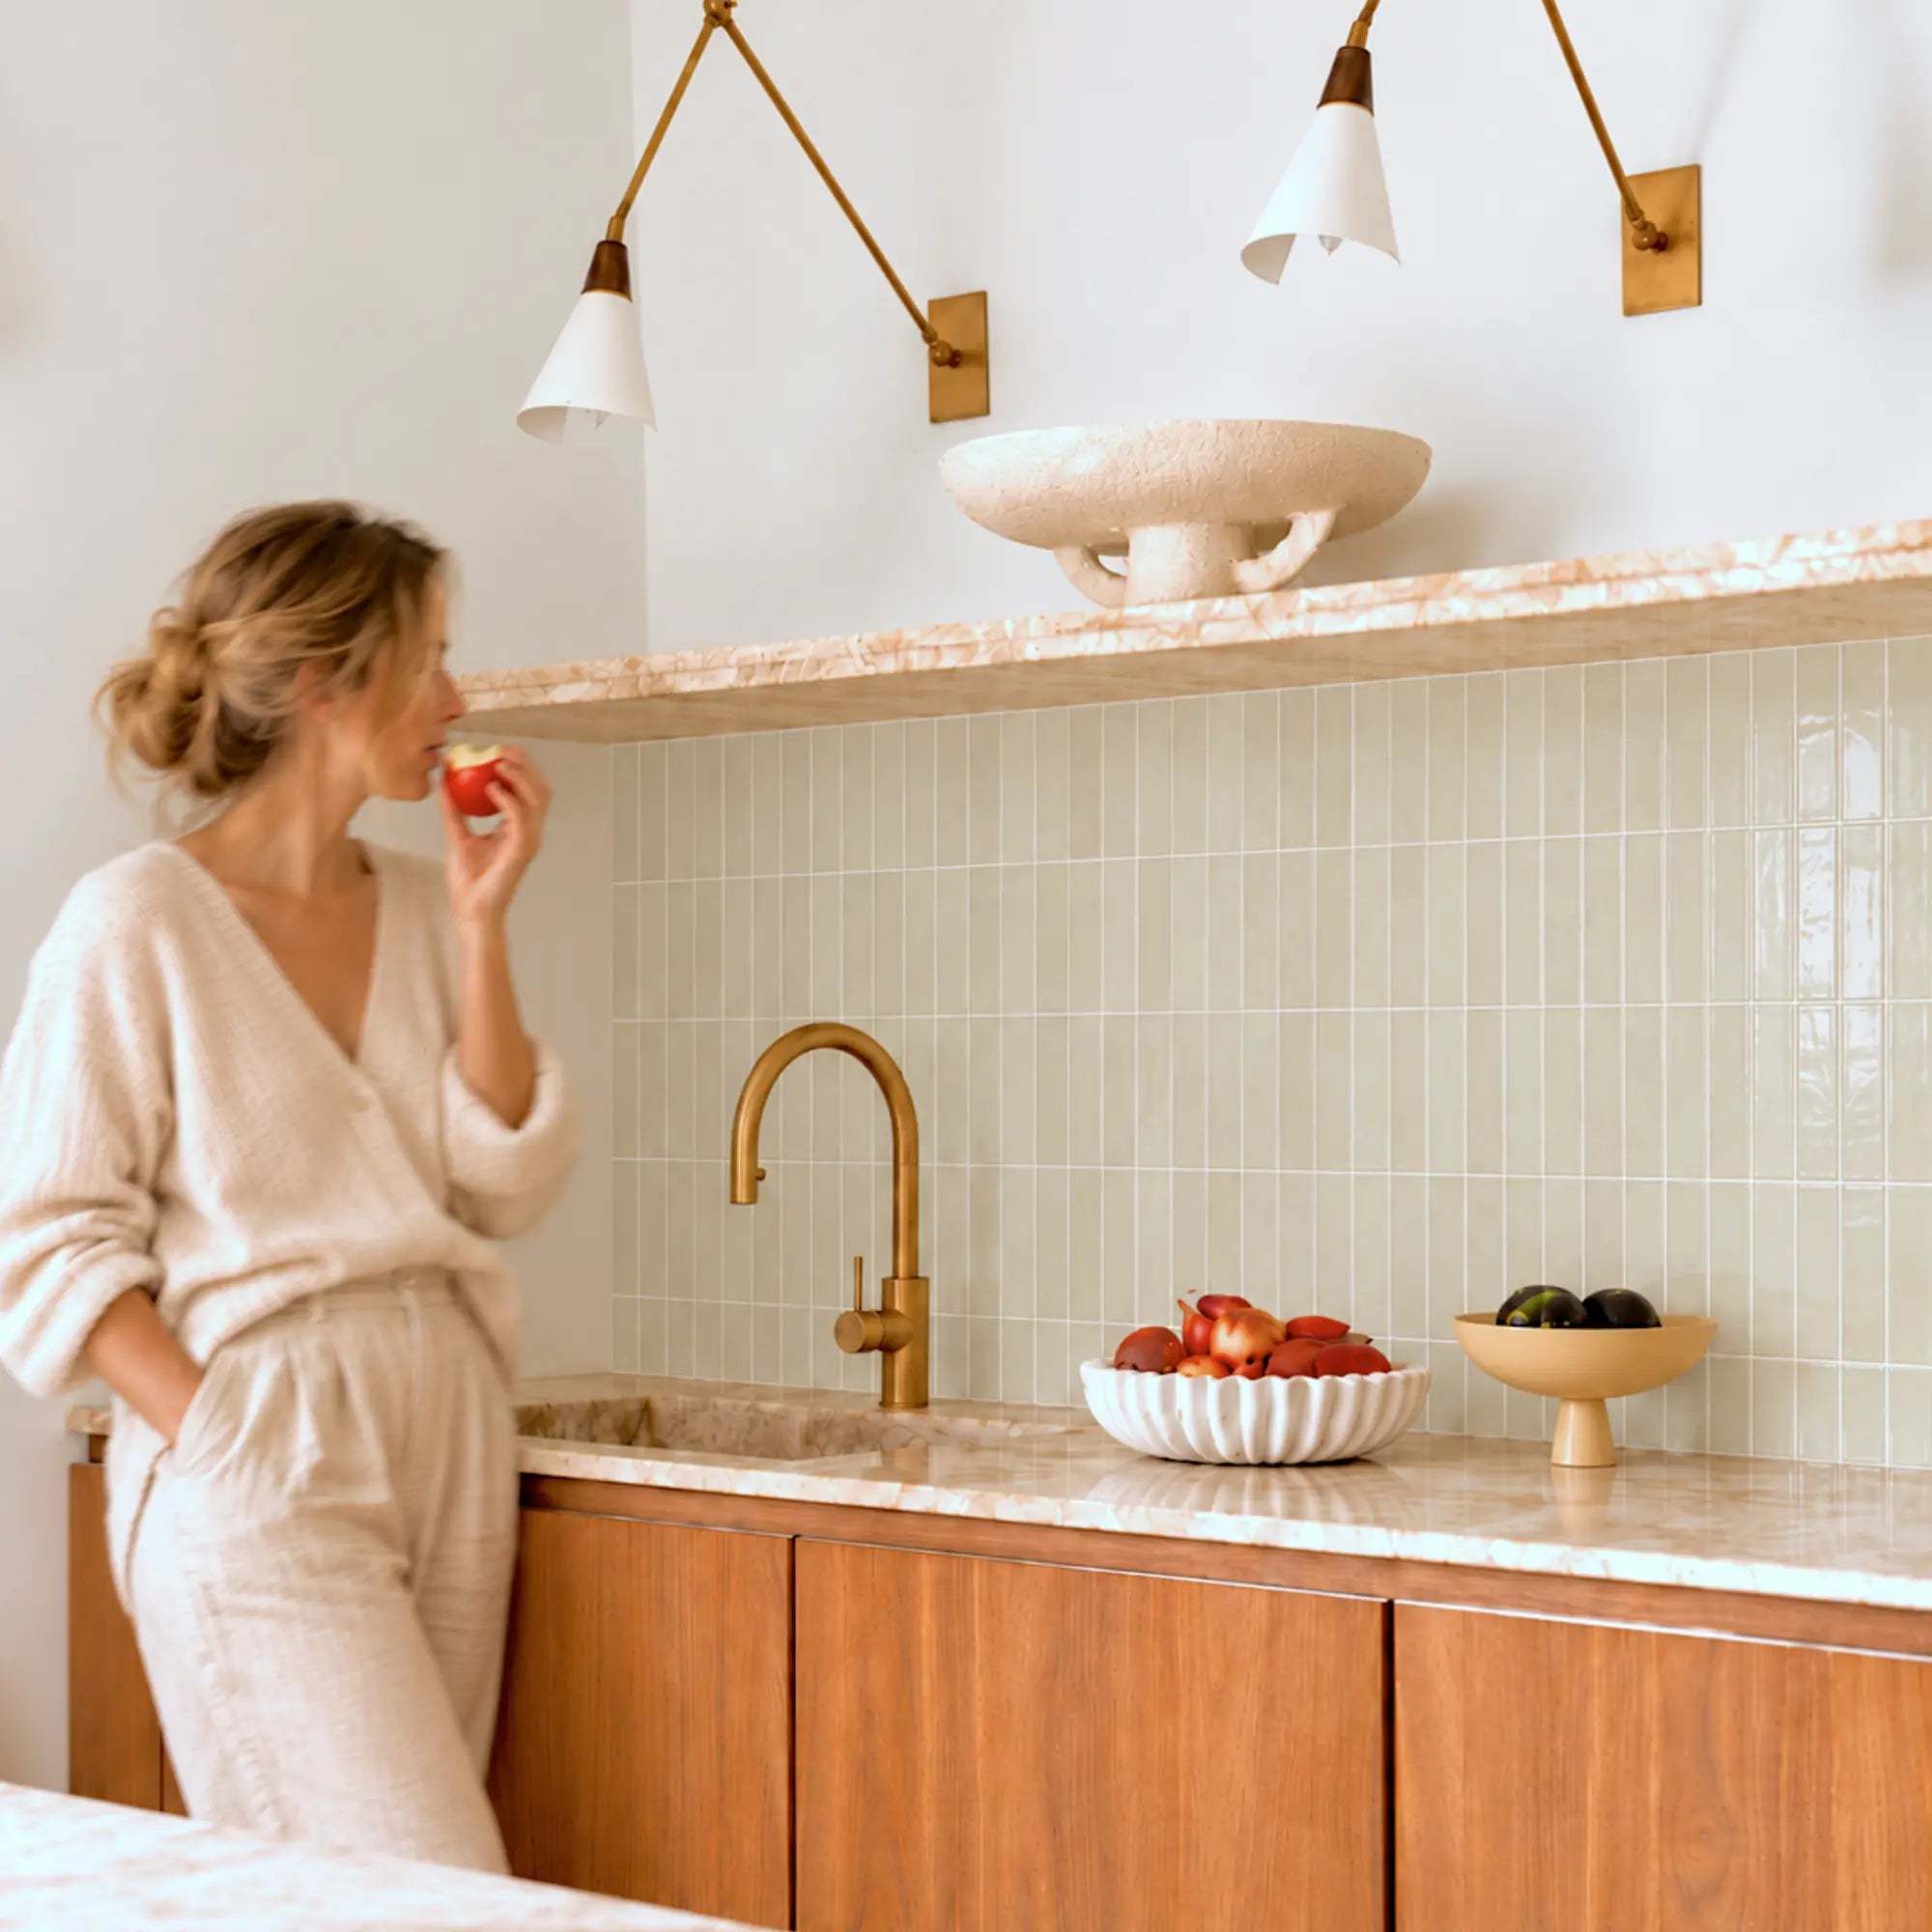
Lighting dramatically affects how your tile looks. Under-cabinet LED strips are essential for a backsplash. They not only provide functional task lighting but also highlight the color and finish of your tile.
- Glossy Tiles: A glossy finish will reflect light, making the space feel brighter and the color more vibrant. This is great for smaller or darker kitchens.
- Matte Tiles: A matte finish absorbs light, creating a softer, more modern and understated look. It's excellent for reducing glare.
Choosing the right tile is the foundation of your kitchen's new look. For more inspiration on pairing tiles with your kitchen elements and to see a wide array of options, our comprehensive What Kitchen Backsplash Tile Guide is an invaluable resource.
How Can I Use Blue Tile in Showers and on Accent Walls?
The Question: "I love blue tile but want to use it somewhere other than a kitchen. What do I need to know for a bathroom?"
Blue subway tile is a fantastic choice for bathrooms, where its water-like hues create a naturally calming and clean atmosphere. However, using tile in a "wet area" like a shower requires an absolute focus on waterproofing.
Treat Waterproofing as a Separate System
When it comes to a full bathroom renovation, you want to get it right from the start. For a deep dive into the process, the ultimate resource is our Subway Tile Shower Makeover Guide, which covers waterproofing and design in comprehensive detail.
Ideas for Showers and Walls
- Full Shower Surround: Use a light aqua or sea-glass blue tile to make a small bathroom feel like a spa-like oasis.
- Accent Niche: If a full blue shower is too much, tile the inside of your shower niche with a bold navy blue for a pop of color.
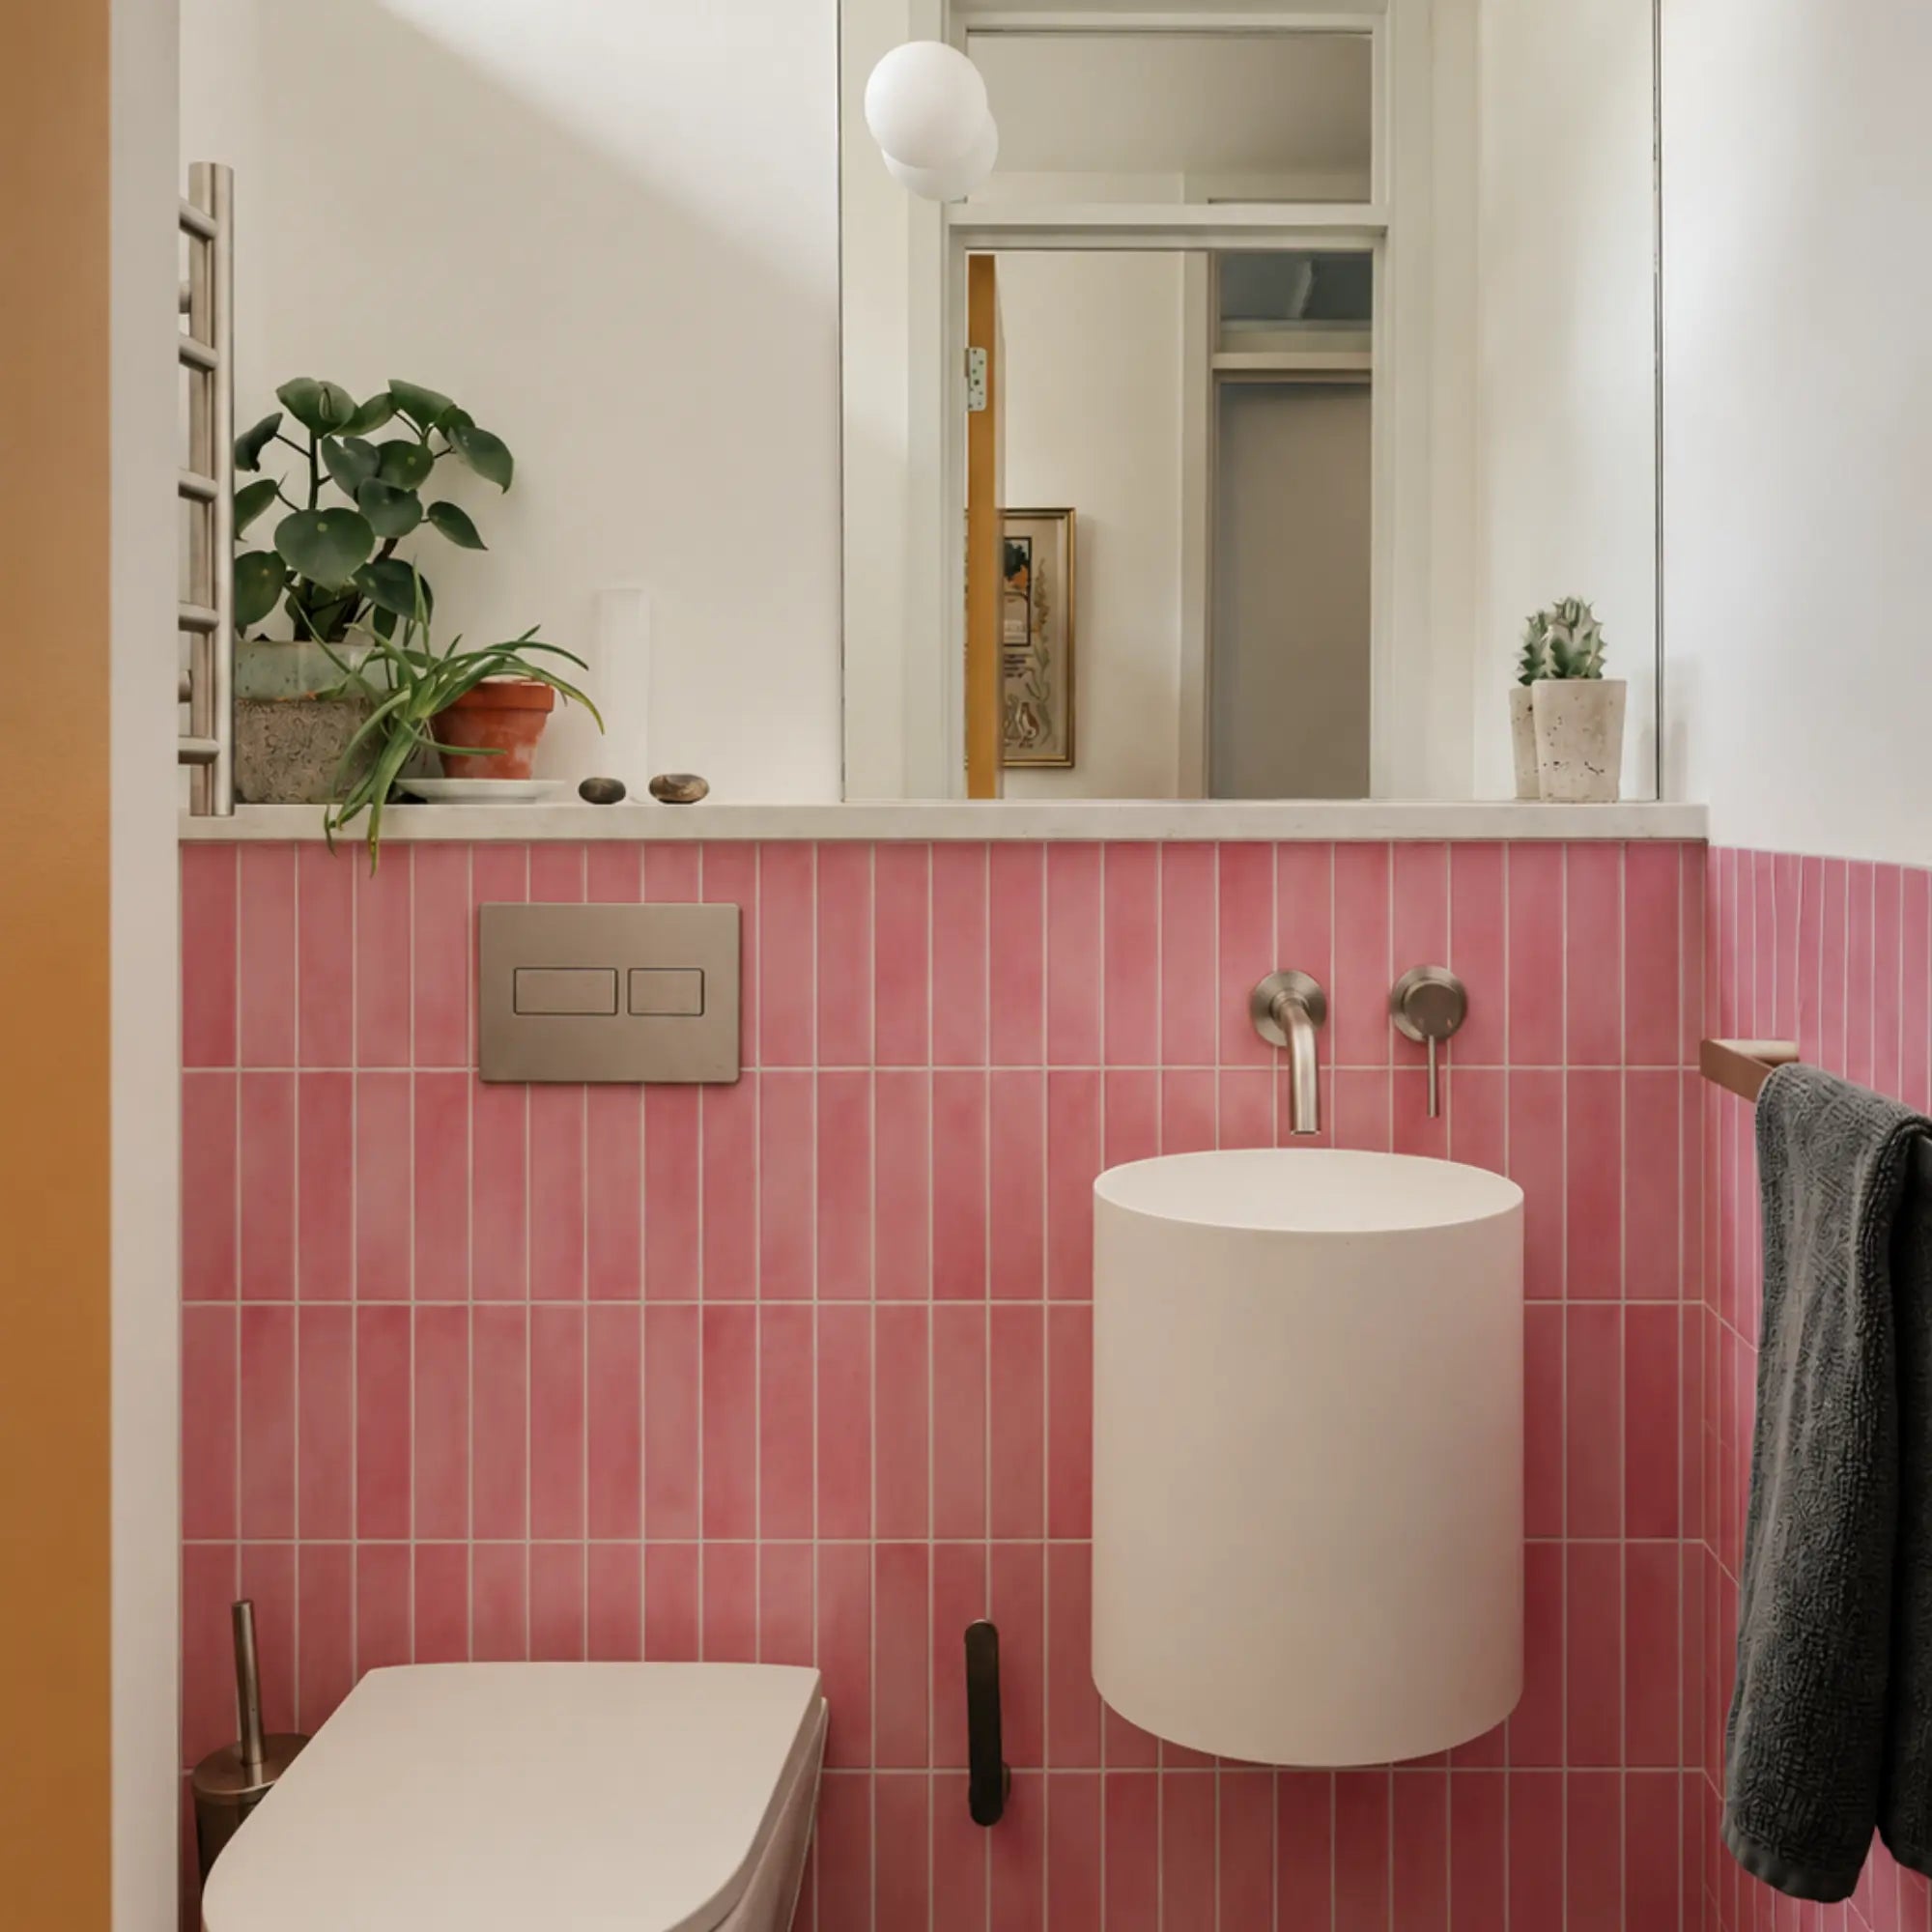
- Vertical Stack Accent Wall: Create a feature wall behind your vanity by installing blue subway tiles in a vertical stack pattern. This draws the eye upward, making the ceiling feel higher. This is a perfect example of a trendy pattern discussed in our Guide to Trendy Subway Tile Patterns.
What Is the Best Way to Maintain My Blue Tile?
The Question: "Now that my beautiful tile is installed, how do I keep it looking brand new and prevent staining?"
Proper maintenance is simple, but it requires consistency. The goal is to prevent soap scum and hard water stains from building up and to protect your grout from discoloration and mildew.
A frequent error is using harsh, acidic cleaners like vinegar on grout. While effective on some surfaces, acid can eat away at the cement in your grout over time, leading to crumbling and failure. Always opt for pH-neutral cleaners.
Your Weekly Maintenance Checklist
- Clean Regularly: Wipe down your backsplash or shower walls weekly with a pH-neutral cleaner and a soft cloth or sponge.
- Address Spills Quickly: In the kitchen, wipe up splatters from things like tomato sauce or oil as soon as they happen to prevent grout stains.
Long-Term Care: Sealing the Grout
Grout is porous, and sealing it is crucial, especially for lighter colors. The sealer creates an invisible barrier that repels water and stains.
- Initial Seal: Seal your grout about 72 hours after installation, once it has fully cured.
If you're considering using tile of a different hue, such as a vibrant green, the core principles of preparation and maintenance remain the same. To see how these steps apply to other colors, our guide on How to Install a Green Subway Tile Backsplash offers a parallel walkthrough with color-specific tips.
What Are the Trending Blue Tile Styles for 2025?
The Question: "I want my project to feel current. What are the latest trends in blue tile and are there any eco-friendly options?"
New Shades and Finishes
Look for shades of cobalt and deep teal to make a bold statement. The "zellige" style, a handcrafted Moroccan tile with slight variations in color and texture, is also surging in popularity. Its imperfect, glossy surface adds incredible depth and character.
Sustainable and Budget-Friendly Innovations
- Recycled Glass: Blue tiles made from recycled glass are an excellent eco-friendly choice. They have a unique luminescence and prevent waste from ending up in landfills.
- Peel-and-Stick Advances: Don't overlook modern peel-and-stick tiles. The technology has improved dramatically, offering realistic textures and durable finishes that are perfect for budget-conscious renovators or renters.
The world of peel-and-stick tiling has evolved significantly, offering styles that rival traditional materials. To see the top designs for the upcoming year and master the technique, check out our go-to guide on How to Install Peel and Stick Tiles & Best Designs 2025.
Final Thoughts on Your Blue Tile Project
Installing a blue subway tile backsplash is a project that delivers a massive visual return. By focusing on diligent preparation, thoughtful design pairing, and consistent upkeep, you can absolutely achieve a finish that looks like it was done by a seasoned professional.
You have the knowledge to move past the uncertainty and start creating. The key is to take it one step at a time, from drawing that first level line to wiping away the last bit of grout haze. Your effort will be rewarded every time you walk into the room.
Ready to find the perfect materials for your vision? Explore our recommended blue tile collections and pro-grade tools to get started on your transformation today.
Frequently Asked Questions
Can I install subway tile over existing tile?
How long does a tile backsplash installation take?
For a typical kitchen backsplash, a DIYer should set aside a full weekend. Day one is for preparation, layout, and setting the tiles. You must then wait at least 24 hours for the adhesive to cure. Day two is for grouting, cleaning, and sealing. Rushing the curing time is a common mistake that can lead to loose tiles.
What's the difference between ceramic and glass blue subway tile?
Ceramic tile is classic, durable, and generally more affordable. It has an opaque, solid color. Glass tile has a translucent quality that reflects light, giving it more visual depth and vibrancy. It can make a space feel brighter but is often more expensive and can be trickier to cut without chipping, usually requiring a wet saw designed for glass.
Is peel-and-stick tile a good alternative?
Absolutely. Modern, high-quality peel-and-stick tiles are an excellent alternative for DIYers, renters, or anyone on a tight budget or timeline. They have come a long way from the flimsy versions of the past. To avoid common pitfalls and ensure a flawless finish, review our essential tips in the article on how to perfectly stick and tile.
Choose the blue under the real kitchen lighting
Navy, cobalt, teal, dusty blue and gray-blue can shift substantially beside warm wood, white cabinets and different lamps. Compare actual samples in daylight and at night.
DOE lighting guidance is useful context because color appearance depends partly on the light source and surrounding materials.
Decide whether blue is the focal point
A saturated blue wall can carry the room visually, while a pale blue can act more like a neutral. Keep countertops, cabinet color and hardware in the comparison.
Avoid adding several competing bold surfaces simply because each works independently.
Identify the exact tile system
Blue describes color, not material. Ceramic, glass, composite and peel-and-stick formats require different preparation, cutting and joint details.
Use installation guidance for the selected system rather than one generic blue-tile process.
Establish reference lines from measurement
Counters and cabinets can be slightly out of level. Use an appropriate level or layout method for the chosen system and preview how the final rows land.
Do not treat center-start as a universal rule; choose the start that gives the best visible edge conditions.
Practice cuts around outlets and ends
Use spare material to practice the tool and cut required by the exact tile.
Keep electrical covers and service access removable.
Plan joint contrast deliberately
For systems with real grout, a contrasting joint makes the rectangular or geometric pattern more visible. A closer color can soften it.
Printed or embossed joints should be evaluated across several pieces because their contrast is fixed.
Treat showers as full assemblies
A blue tile shower requires a documented waterproofing system appropriate to the substrate, penetrations and fixtures. Tile and grout alone should not be treated as the entire water-control strategy.
Decorative peel-and-stick finishes should not substitute for a wet-area system unless the complete assembly is documented for that use.
Keep kitchen and shower advice separate
A backsplash sees different water exposure from a shower enclosure. Do not transfer sealing, adhesive or substrate advice between them merely because the visible tile is blue.
Use the room and system documentation for each application.
Use cleaner guidance for the actual surface
Acid sensitivity, grout care and permitted cleaners depend on the actual tile and joint materials.
Avoid universal vinegar or resealing schedules in favor of manufacturer guidance.
Plan repair stock
Keep matching tile, joint material information and color identifiers where practical.
A later repair is easier when the original finish can be matched rather than guessed from photographs.
Use a final blue-backsplash check
Confirm color, material, wall preparation, layout, cuts, joint system, room exposure and cleaning before starting.
A strong color works best when the technical details disappear into a controlled installation.
Keep the first installed row as a quality gate
After the first row or first complete pattern unit is placed, step back and inspect level, color distribution, joints and exposed ends before continuing.
Correcting a layout error early is easier than compensating across the rest of the wall.
Separate decorative caulk from waterproof-system details
Perimeter sealant in a kitchen or shower may have a specific role in the documented assembly. Do not prescribe one bead or resealing interval for every product.
Follow the visible-finish and water-management system instructions for the actual application.
Use a final blue-tile record
Store tile identification, joint material or printed-joint details, cleaner, spare pieces and installation photos together.
A strong color is easier to repair when the exact shade and system remain identifiable.
Keep edge and corner colors coordinated
A strong blue field can make exposed backing, white trim or mismatched caulk more visible. Plan the edge material and color before the first row is installed.
A clean termination lets the blue remain the focal point instead of drawing attention to unfinished boundaries.
Use one final wall elevation
Sketch the blue field with outlets, cabinets, hood and window before cutting.
This makes the pattern distribution and end cuts easier to review than measuring each piece in isolation.
Keep color selection separate from installation confidence
A beautiful blue sample does not make an uncertain substrate acceptable. Resolve wall and system questions before committing to the color.
Design and installation readiness should both pass independently.
Keep one full spare blue piece
A full piece preserves the actual shade, sheen and dimensions for future comparison and repair.
Use the room’s fixed blue-adjacent colors
Compare the sample with stainless, black, brass, wood and countertop veining before committing.
Blue is versatile, but the undertone and sheen still need to relate to the actual room.
Close with a cleaning note
Keep the exact cleaner and joint-care instructions with the spare tile.
Keep one final installation boundary
If the wall condition, waterproofing system or appliance zone is unresolved, stop before that area rather than extending blue tile for visual continuity.
Keep the blue field easy to inspect
Do not hide recurring moisture, cracked substrate or service joints behind a strong decorative pattern.
A successful backsplash keeps building conditions visible enough to maintain.
Keep one final blue sample
Store a full sample with the cleaner and installation record.
Keep the final layout photo
Store one straight-on image of the finished field.
Final reminder
Keep the exact tile and joint details recorded.
Sources and scope
- US DOE: Color and Spectrum — Lighting and color-rendering context; not a material rating.
- US EPA: Mold, Moisture and Your Home — Moisture-control guidance; not approval of a wall covering.



Leave a comment
This site is protected by hCaptcha and the hCaptcha Privacy Policy and Terms of Service apply.