





















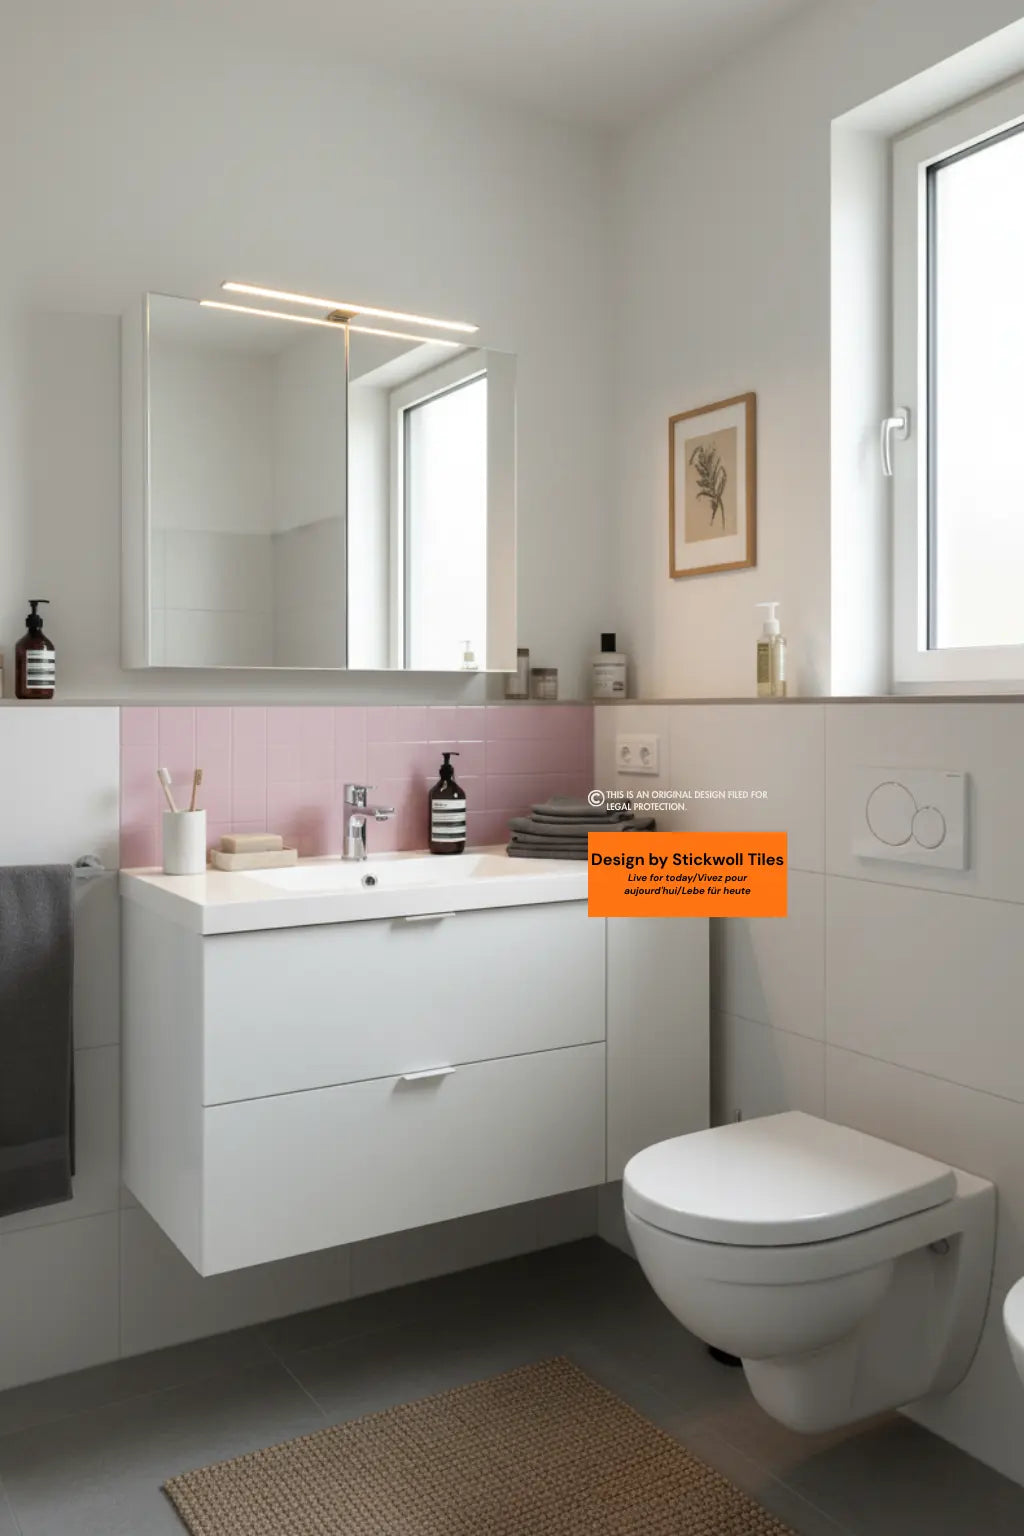
Bathroom Makeover: Peel & Stick Tile Transformations
Explore this guide
Ever scrolled through Pinterest or Instagram and thought, why doesn’t my bathroom look that polished? The glossy marble showers, rustic farmhouse vanities, and modern monochrome spaces always manage to look like something straight out of a boutique hotel. But for most of us, retiling a bathroom means budgets, contractors, and weeks of mess. And if you’re renting, a permanent renovation isn’t even an option.
That’s where peel-and-stick tiles come in. They’ve become the not-so-secret weapon for fashioning a bathroom glow-up you can actually live with—both in terms of time and money. Still, many hesitate because they imagine a cheap-looking result, or they can’t quite visualize how something temporary could feel stylish.
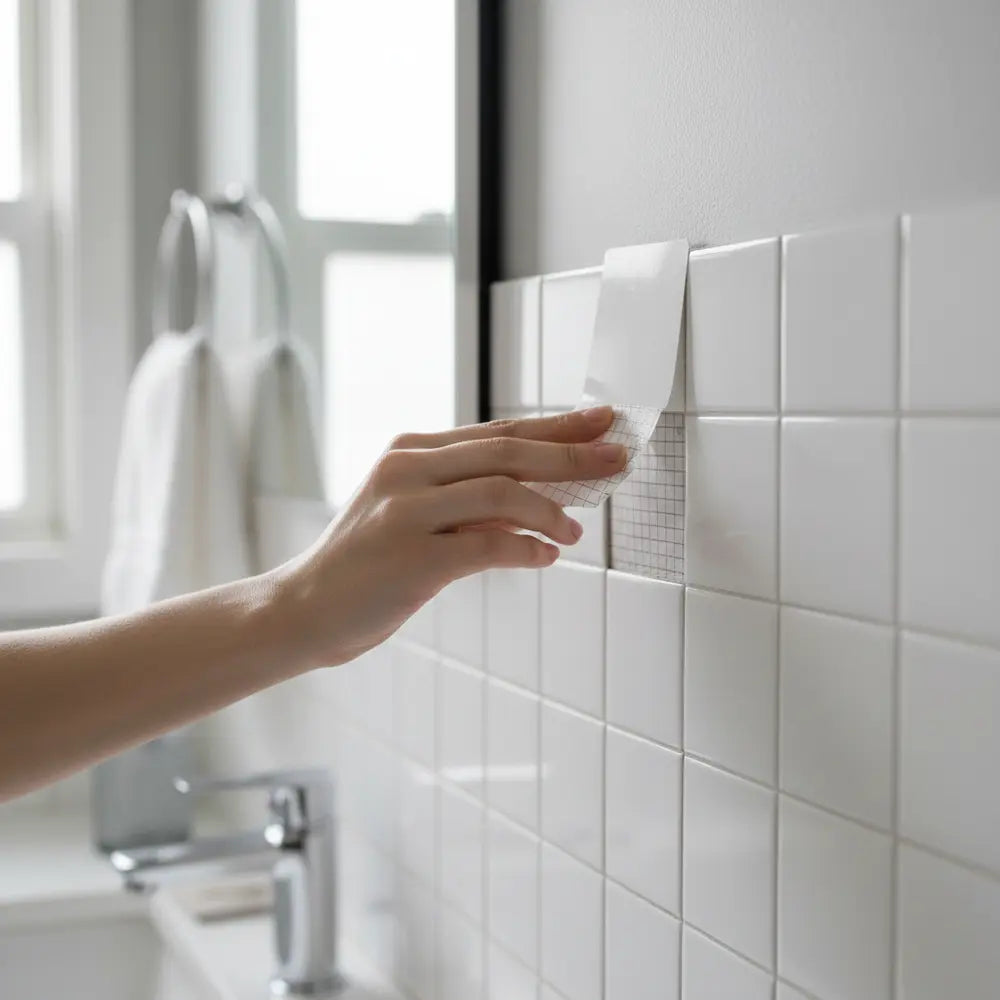
Peel-and-stick wall tile can create a strong decorative change when the product, wall and moisture exposure are suitable. Renters should treat permission and restoration as separate requirements rather than assuming deposit-safe removal.
In this guide, you’ll see curated before-and-after bathroom transformations, style mood boards, and real DIY user submissions. The goal is simple: help you see how different styles—modern cool tones, rustic farmhouse warmth, space-saving tricks for small bathrooms, or even luxe hotel-worthy designs—come alive with nothing more than peel-and-stick tiles.
Let’s look at how peel-and-stick tiles are reinventing bathrooms—one transformation at a time.
Vote Your Bathroom Style
What’s your dream bathroom aesthetic? Choose below:
Why Peel and Stick Tiles Are the Secret to Stylish Bathroom Makeovers
Peel-and-stick bathroom tiles are stirring up a quiet revolution in home design. They’re affordable, renter-friendly, and available in every look you’d expect from traditional tiling—from sleek marble to rustic brickwork. But what makes them truly transformative is accessibility.
Unlike demo-based renovations, peel-and-stick bathroom DIYs take hours instead of weeks. There’s no dust, no hiring a crew of contractors, and no permanent changes you’ll regret later. Many renters love them as a way to get their dream aesthetic without losing a deposit, while homeowners often use them as a test run before committing to longer-term renovations.
Example 1: A Renter-Friendly Upgrade
A Brooklyn renter tired of dingy beige bathroom walls installed white peel-and-stick subway tiles behind her sink and vanity. The result was a crisp, modern backdrop that photographed beautifully. Most importantly, she was able to remove the tiles after moving out, leaving no damage behind.
Example 2: Design Blogger’s Instant Refresh
A popular design blogger transformed her guest bathroom in a single afternoon by layering faux-stone peel-and-stick tile in a herringbone pattern. What could have been a forgotten powder room quickly turned into a space that looked designed, not forgotten. Her readers loved the budget-friendly approach, with many replicating the same idea.
Peel-and-stick tiles have gone way beyond the “DIY hack” label—they’re now an aesthetic solution in their own right.
If you’d like to go deeper into helpful renter-friendly upgrades and learn more hacks, you’ll love our guide on Renter-Friendly Bathroom Upgrades with Peel & Stick Tiles.
Before-and-After Inspiration: Modern Bathroom Peel and Stick Tile Ideas
Modern bathrooms thrive on minimalism, clean contrasts, and natural finishes. Peel-and-stick tiles happen to offer all three in easy-to-install form.
- Minimalist subway tiles: White subway peel-and-stick strips can reframe a bathroom almost instantly, giving walls that fresh, architectural look.
- Matte black + white contrast: Black peel-and-stick tiles used as an accent wall create bold depth against white fixtures.
- Neutral stone tones: Spa-like grays, beiges, and pale stone looks soften a bathroom while keeping it minimalist and clean.
Case Study: Small Urban Apartment
A young professional in Chicago used matte white subway peel-and-stick tiles on the entire back vanity wall, paired with a slim strip of matte-black tiles above the mirror. The apartment bathroom went from generic rental beige to gallery-style monochrome chic. She styled the space with eucalyptus stems and matte soap dispensers—a bathroom that looked good enough for Instagram Stories in under one weekend.
The beauty of peel-and-stick tiles lies in layering: a modest space with limited square footage suddenly feels designed rather than functional.
Interested in exploring stylish accent walls and patterns specifically for modern bathrooms? Check out our feature on Modern Peel and Stick Tiles: Accent Walls & Patterns.
Small Bathroom Hacks with Peel and Stick Tiles
Tight bathroom layouts don’t need to feel cramped. Strategic use of peel-and-stick tiles can actually manipulate the perception of space.
- Vertical illusions: Place tiles in a vertical layout rather than the classic horizontal one. This stretches the eye upward, making ceilings look taller.
- Light, reflective colors: White marble or pale stone echoes natural light, opening up the room visually.
- Mix with mirrors: Mirrored medicine cabinets layered above reflective tiles amplify depth, tricking the eye into thinking the powder room is larger.

Transformation Example: Powder Room Glow-Up
For a hypothetical powder-room layout, light marble-inspired tile laid vertically can create a strong directional effect; test the actual sample before deciding. Paired with a round brass mirror and soft lighting, the once-claustrophobic space now appears airy and taller. The transformation photos looked more like a boutique hotel powder room than a family home hallway bath.
Pro-tip: If you’re working in a tiny bathroom, keep grout lines and designs minimal—busy patterns tend to shrink visual space.
For those specifically worried about bathroom moisture when applying these hacks, you should explore our article on Peel Stick Bathroom Tile for Moisture. For broader planning, see our bathroom wall guide.
Rustic & Farmhouse Looks with Peel and Stick Tiles
Rustic bathrooms thrive on texture and warmth—both of which can be recreated without wood planks or stone. Peel-and-stick versions of barnwood, shiplap, and brick bring farmhouse vibes into even the most urban apartment.
- Wood-look adhesives: These tiles mimic reclaimed barnwood without the maintenance.
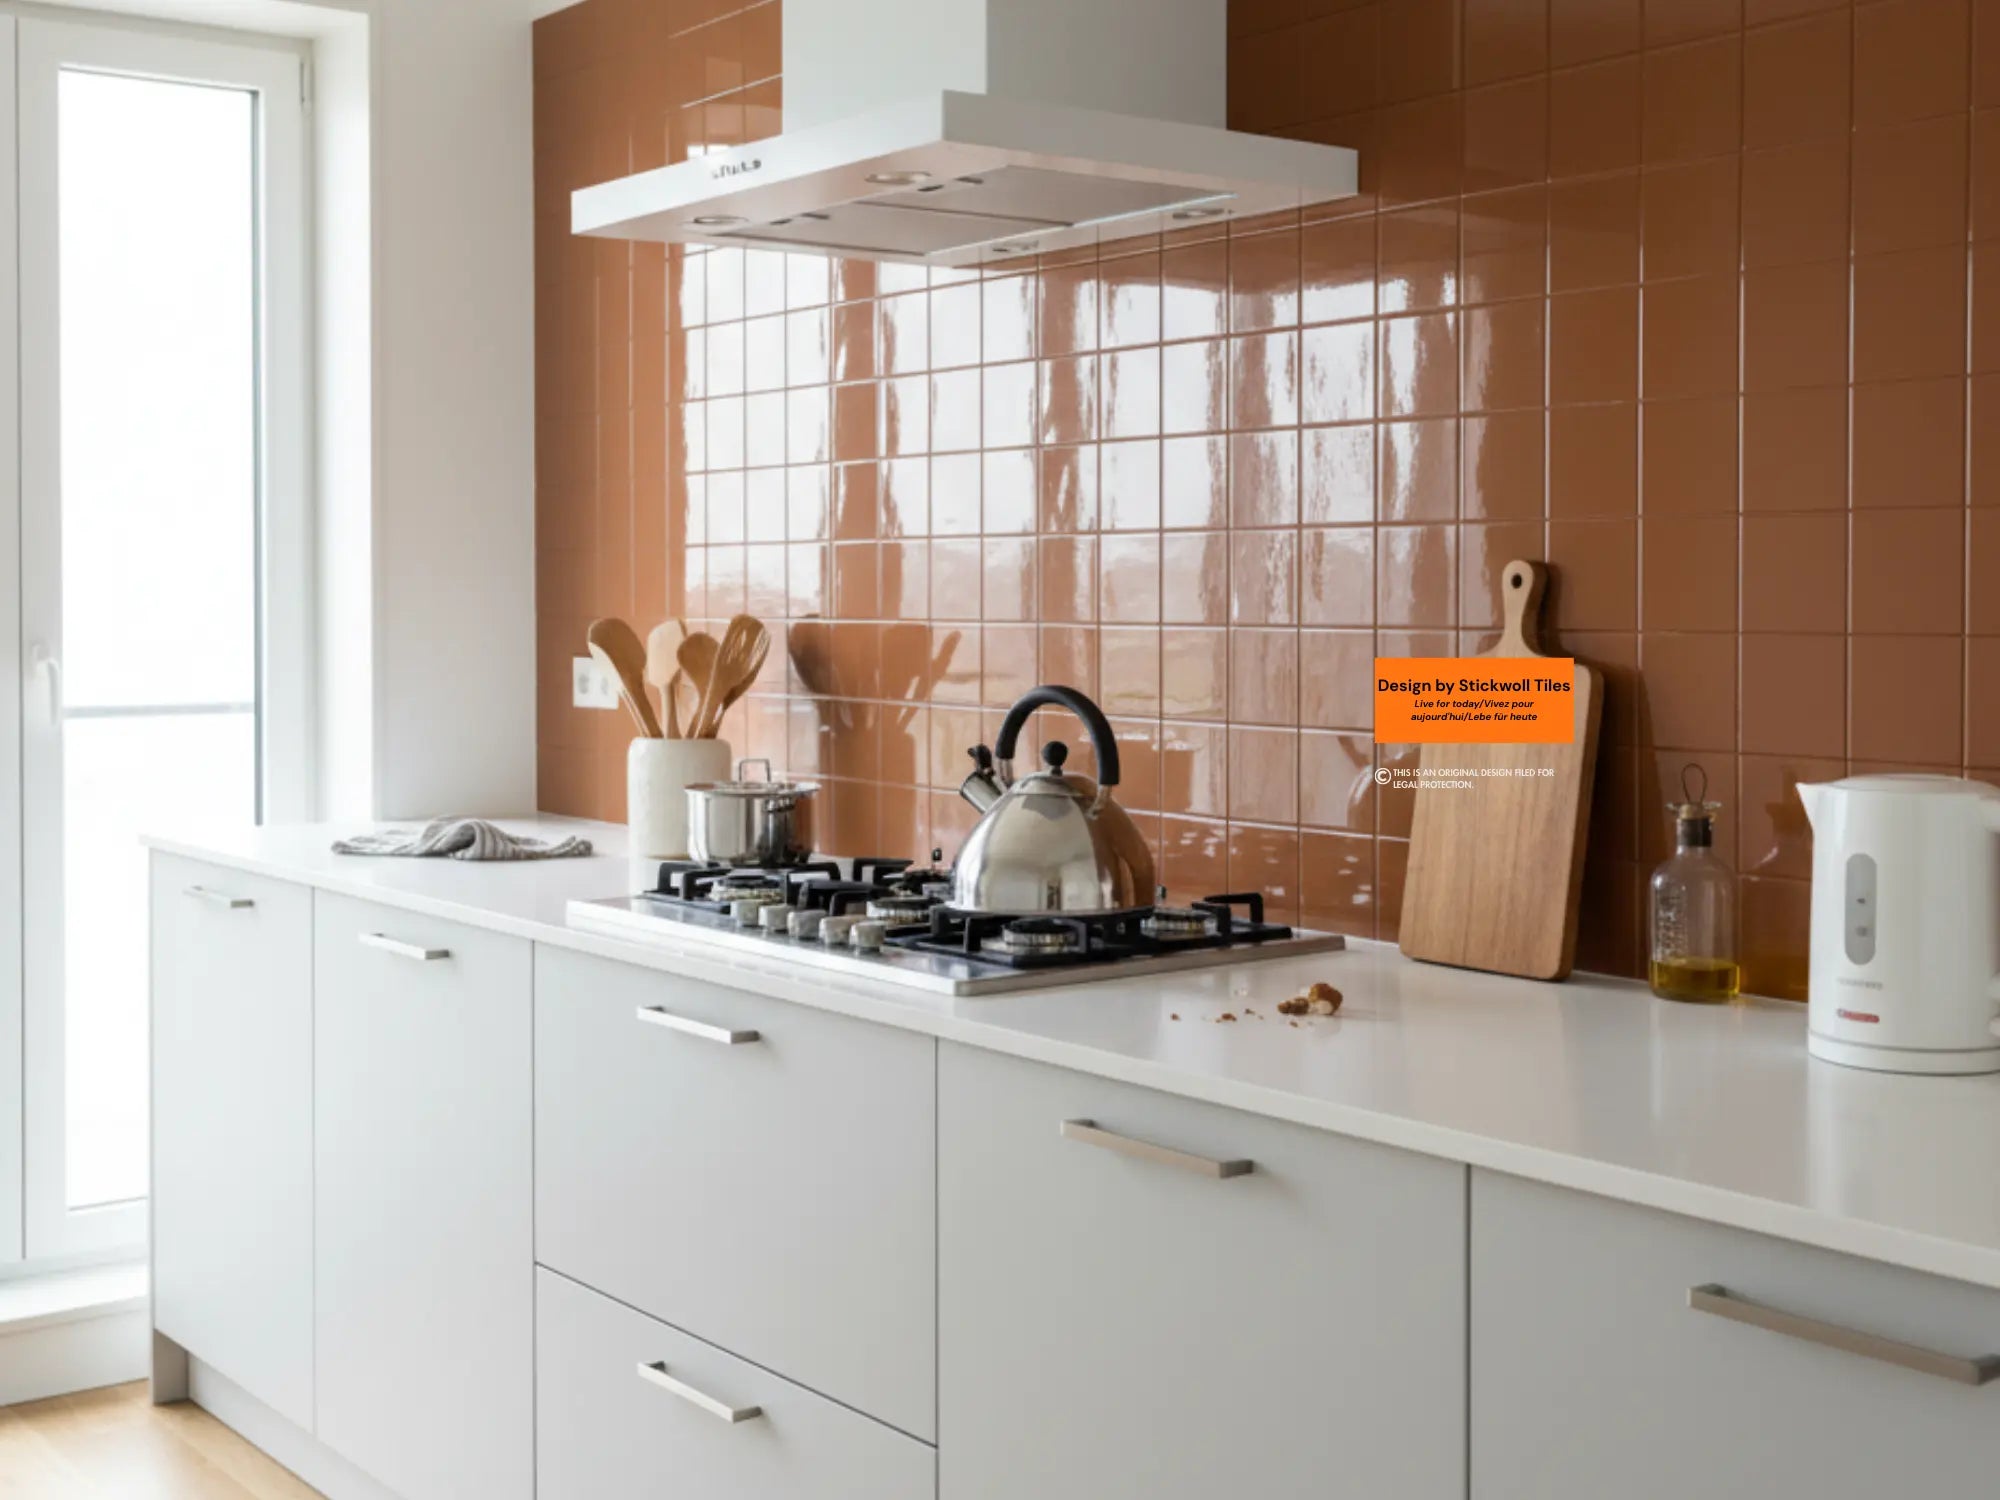
- Earthy palettes: Warm beige and terra-cotta tones create a grounded feel.
- Mix shiplap with tile: Shiplap walls paired with distressed peel-and-stick flooring marry farmhouse style with modern practicality.
Rustic Makeover Story
A couple renovating their guest cottage bathroom chose peel-and-stick tiles resembling aged oak. They layered them as flooring and accented the walls with crisp white shiplap. The end result was a cozy, rustic retreat that looked intentional and charming—but without the expense of custom carpentry.
For farmhouse aesthetics, accessorizing makes the look sing: galvanized buckets as storage, woven baskets, and textured linens all blend with the tiles seamlessly.
Luxury Look on a Budget: Marble and Metallic Peel and Stick Tile Transformations
High-end bathroom inspiration often uses stone, metal, custom cabinetry and carefully planned lighting. A lower-disruption decorative wall update can borrow colors or patterns from those rooms without claiming the same material construction or project scope.
Marble-Inspired Spa Retreat
Marble-look peel-and-stick tiles are one of the most convincing options available. When paired with chrome or brass hardware, they offer immediate spa-like elevation. A hypothetical bathroom can use marble-inspired decoration on a suitable vanity wall while reserving a direct-wet shower surround for a complete approved wet-area system. She styled the update with plush white towels, eucalyptus, and brass accents. Friends who visited assumed she’d torn out the tiles entirely—proof of the realistic finish.
Glam-Up with Metallic Details
Metallic peel-and-stick mosaics—often in shades of gold, copper, and brushed silver—add glam without being overwhelming. Used sparingly, such as along a vanity backsplash or niche shelf, they strike the perfect “hotel chic” note. The shimmer of metallics contrasts beautifully with matte tiles, creating dimension and luxury at once.
Hotel-Inspired Layers
Think of layering your bathroom like a boutique hotel suite: large-format marble peel-and-stick on the walls, smaller metallic mosaics lining recessed cubbies, and a soft, dimmable lighting scheme to finish. The trick is restraint: you don’t need every surface covered. Just as hotels use focal points, applying peel-and-stick tiles strategically keeps the look elevated rather than overwhelming.
Pro-Tip: Large-format marble patterns look higher-end than small repeating tiles. Focus on scale for instant luxury cues.
See our Mint Garden Peel and Stick Tiles for a stylish luxury transformation
User-Submitted Before & Afters: Real Bathrooms, Real Transformations
Nothing builds trust like seeing actual bathrooms transformed by regular people. These mini case studies show the breadth of peel-and-stick potential.
Story 1: The Renter
Lacey, a renter in Austin, layered faux-stone peel-and-stick behind her sink as a backsplash. For under $70, she masked dull plaster walls and created the appearance of professional tilework. Her landlord was none the wiser when she left—removing the tiles without issue.
Story 2: The Homeowner
Daniel and Selina, a couple in Michigan, tackled their dated main bathroom. They went with a matte-black herringbone peel-and-stick floor. The striking change turned a “builder-basic” bathroom into what looked like a designed feature space. Photos shared on Instagram gained thousands of likes.
Story 3: The First-Time DIYer
A college student redid her shared apartment bathroom with pale terrazzo peel-and-stick tiles on the floor. With no past DIY skills, she managed to complete it in four hours. The update not only made the bathroom feel fresh, but it also gave her confidence to start more DIY projects.
These examples highlight the real-world accessibility: renters, homeowners, and complete beginners all achieve impactful, photo-worthy upgrades.
Want to dive deeper into before-and-after case studies and discover if peel and stick works on old tiles? Read our ultimate guide How to Transform Your Bathroom with Peel and Stick Tiles 2025.
Mood Boards by Style: Visualizing Your Dream Bathroom
Mood boards are key for visual thinkers. Before splurging on tiles, envision how everything pairs together—from fixtures to towels.
Modern
White subway peel-and-stick, black hex floor, chrome fixtures, eucalyptus in a matte vase.
Rustic
Faux-barnwood flooring, white shiplap walls, oil-rubbed bronze hardware, woven baskets for storage.
Small-Space
Light marble peel-and-stick, round brass mirror, floating vanity with under-lighting, frosted glass accessories.
Luxury
Marble-look walls, metallic mosaic strip accents, brushed brass fixtures, spa linens, and soft scented candles.
The power of a mood board is that it prevents mismatched buys. Snap your board, pin it on Pinterest, and carry it on your phone while shopping for bathroom accents.
See our Subway Tile Shower Makeover Guide for more visual ideas
How to Choose the Right Peel and Stick Tile for Your Bathroom
Investing even a modest amount of time in tile selection saves frustration later. Consider these essentials:
Durability & Waterproofing
Bathroom humidity and splash exposure should be checked against the exact product and wall assembly. Do not rely on a generic waterproof rating or material category to approve a sink, tub or shower location.
Match Style to Size
Large format tiles can overwhelm small bathrooms, while tiny mosaics may look busy in spacious ones. Balance scale to square footage.
Budget vs. Longevity
Some peel-and-stick tiles last years; others serve best as temporary fixes. Weigh whether your project is a mid-term refresh or a short-term rental solution.
Checklist Before Buying Tiles
- Is the tile waterproof?
- Can it be removed without wall damage?
- Does the scale fit my space?
- Does the color coordinate with existing fixtures?
- Am I looking for temporary or semi-permanent use?
This simple checklist helps cut through the overwhelm of online shopping.
We also recommend learning about proper installation to ensure professional-looking results. Explore our tutorial on How to Install Peel and Stick Tiles & Best Designs 2025.
Additionally, for humid showers, our curated picks on Top Waterproof Peel and Stick Shower Tiles for 2025 are a must-read.
For even more inspiration and design-savvy solutions, discover backsplash designs you can use for inspiration.
Conclusion
Peel-and-stick tiles aren’t a design compromise—they’re a transformation tool. From modern subway silhouettes to rustic farmhouse warmth or spa-like marble luxury, they instantly change the story your bathroom tells.
Instead of imagining what your bathroom could look like, visualize your own before-and-after. Whether you rent, own, or just want a quick upgrade before guests arrive, peel-and-stick tiles give you designer results without the renovation drama.
Follow us on Pinterest and Instagram for more transformations, explore related DIY bathroom tile guides, and download our free Peel-and-Stick Tile Style Guide for layouts and color pairings that suit every home.
Q&A Section
Q1: Are peel-and-stick bathroom tiles waterproof? Some products have water-resistant or waterproof faces, but the complete installed wall, seams, substrate and intended zone still matter. Use only products documented for the actual exposure; a decorative face does not replace shower waterproofing.
Q2: Can I install peel-and-stick tiles directly over old tiles?
In most cases, yes. As long as the surface is clean, flat, and free of cracks or peeling surfaces, peel-and-stick installs smoothly over existing tile.
Q3: How long do peel-and-stick tiles last?
Service life varies by exact product, surface preparation, exposure and maintenance. Do not apply one three-to-ten-year range to the whole category.
Q4: Will peel-and-stick tiles damage rental walls?
Some removable products may release cleanly under their stated conditions, but paint condition, dwell time and removal method can still affect the wall, though thicker options may need gentle heat (like from a hairdryer) during removal.
Turn inspiration into an exposure map
Start by drawing the bathroom rather than by choosing a style name. Mark the vanity, tub, shower, toilet, door swing, fan, window and storage. Then mark what actually becomes wet during normal use. A dramatic wallpaper-like feature behind a mirror may be a low-exposure decorative surface, while the inside of a shower requires a complete wet-area system. Treating both as simply bathroom walls creates bad product comparisons.
Photograph the room after normal bathing or showering. Note where condensation remains, where water splashes and where cleaning products are applied. If a wall shows recurring dampness, fix the source before decorating. EPA moisture guidance is clear that moisture control comes before cosmetic covering.
Use that map to decide where a peel-and-stick wall product is even a candidate. You may end up decorating one vanity wall instead of the entire room, which can create a stronger focal point and reduce risk, cost and future removal work.
Build a mood board with fixed elements first
List the items that are not changing: floor, vanity, countertop, tub, plumbing finish, mirror and major lighting. Place real samples of tile, paint and textiles beside those fixed surfaces. Online images are useful for direction but can exaggerate brightness, hide seams and change color through editing or screen settings.
If the room already has a patterned floor, a quieter wall can provide balance. If the room is mostly plain, one stronger pattern can become the focal surface. Do not assume that a vertical layout always makes the ceiling appear taller or that a glossy wall always makes a small bathroom feel larger. Test the specific combination in the actual room.
Check the sample at night as well as during daylight. Bathroom mirrors and vanity fixtures can produce concentrated reflections. A glossy marble-inspired face may look luxurious in diffuse daylight yet distracting under exposed lamps. A matte finish may reduce sharp reflections but can also look flatter in a dark room. Let the room decide.
Keep floor ideas separate from wall ideas
Many bathroom inspiration boards mix wall finishes and floor finishes without explaining the performance difference. A product used vertically as decoration may not be intended for foot traffic, rolling loads, transitions, water on the floor or slip considerations. Use a floor-rated product and installation system for floors.
The same distinction applies to faux wood, terrazzo and herringbone. The visual language can be repeated across surfaces using different products. You can coordinate a wall tile with a separate floor system instead of forcing one self-adhesive material into every location.
If you cover an existing floor, verify the existing material, stability, flatness and compatibility. A floating or cushioned floor can behave differently from a bonded surface. Do not rely on a bathroom mood board as installation guidance.
Plan the project around fixtures and cleaning
Before measuring tile, consider the mirror edge, faucet trim, outlet covers, medicine cabinet and any shelves or towel bars. Heavy objects need proper support in the wall; the decorative covering is not a structural fastener. Plumbing trim should remain serviceable, and electrical boxes should not be buried behind the finish.
Ask what cleaner is used on the wall and nearby fixtures. Toothpaste, hair products, cosmetics and hard-water residue may need different care from ordinary dust. Check the tile care instructions before assuming that bathroom cleaner, bleach, vinegar or an abrasive pad is acceptable.
Keep joints inspectable. A bead of caulk can be part of a specified detail, but it should not be used to hide a lifting edge or active dampness. If an edge repeatedly fails, investigate the surface and exposure before replacing another piece.
Estimate quantity with the real layout
For a hypothetical vanity feature 7 feet wide and 4 feet high, the face area is 28 square feet. A 5-square-foot mirror opening reduces the tile field to 23 square feet. If the pattern and cuts justify a 12 percent allowance, the planning quantity is 25.76 square feet. Divide by the actual usable pack coverage and round up. Those numbers are an example, not a universal waste rate.
Add trim, preparation materials, tools, possible professional work and a repair reserve. Renters should also include possible repainting or patching at move-out. This produces a realistic project scope rather than comparing only the price printed on the tile box.
Use before-and-after examples honestly
A real before-and-after should identify the actual room, product, preparation and date. If those records are unavailable, present the scene as a design example rather than inventing a named homeowner, installation time, social-media response or landlord outcome. Inspiration remains useful without pretending that a fictional story is a customer testimonial.
When you document your own project, take the before photograph from the same viewpoint you will use later. Record the wall condition and lighting. After installation, photograph the same area and keep the original files. That makes the visual comparison more useful and avoids overclaiming what the finish changed.
Create a one-page bathroom decision sheet
Summarize the project on one page: eligible wall, actual moisture exposure, substrate, product, cleaning method, quantity, edge details and any permission required. Attach a photograph and the product instructions. This turns a mood-board idea into a project that another person can understand.
Add a section for what the project will not cover. For example, the vanity wall update may not include the shower enclosure, floor, plumbing changes or mold repair. Stating those exclusions keeps the makeover from expanding into unsupported uses simply because the visual style is consistent.
Finally, add stop conditions: recurring dampness, loose existing tile, unknown paint failure, blocked service access or a supplied product that does not match the approved sample. A clear stop list protects both the design and the wall.
Choose accessories after the wall sample is approved
Do not buy towels, shelves and hardware solely from an online rendering. Approve the wall sample under the room lighting first, then coordinate movable accessories. This reduces the chance that the backsplash is forced to match purchases that are easier and cheaper to change.
When adding shelves or hooks, mount them to appropriate support rather than to the decorative face. If the accessory crosses the tile boundary, plan the penetration and future removal before installation. A successful makeover remains serviceable after the styling is complete.
Keep the makeover visually coherent without covering every surface
A bathroom can feel coordinated even when different surfaces use different materials. Repeat color, shape or finish rather than one construction. For example, a blue vanity-wall pattern can coordinate with a separately rated floor through color and hardware. This allows the direct-wet and traffic zones to use systems designed for them while the decorative wall still defines the style.
Use accessories to bridge materials: towels, art, storage containers and hardware are easy to change and can connect the palette. This is usually safer than extending a decorative self-adhesive product into a zone simply because visual continuity seems desirable.
Use lighting and mirrors without turning them into performance claims
Mirrors and light fixtures strongly influence a bathroom makeover. A large mirror can reflect the new backsplash and double its visual presence, while directional vanity lights can emphasize relief, gloss and seams. Test the sample in the reflected view as well as directly. A surface that looks subtle from the doorway may become dominant when repeated in a mirror.
Choose lighting for the bathroom task first, then see how the finish behaves under it. Do not change light levels only to make a particular tile photograph well. Glare, shadow and color rendition affect comfort and appearance, but they do not establish the tile's moisture or cleaning performance.
Plan fixture replacement separately. Electrical boxes, rated fixtures and clearances are building-system issues. The decorative finish should end cleanly around them without hiding mounting or service requirements.
Decide whether to repair, decorate or renovate
Before buying, place the project in one of three categories. Repair means correcting water damage, loose tile, failed caulk, weak paint or another defect. Decorate means the wall is already sound and the goal is a reversible or lower-disruption visual update. Renovate means the project changes plumbing, waterproofing, substrate or other permanent systems. A bathroom can involve more than one category, but each needs its own scope.
This distinction prevents an inexpensive decorative product from being asked to solve a repair problem. It also prevents a small makeover from being compared unfairly with a contractor quote that includes demolition, waterproofing and plumbing. Decide what the bathroom actually needs, then compare methods that perform the same job.
If the answer is uncertain, investigate first. Delaying the tile purchase is often cheaper than installing over a condition that must soon be opened again.
Sources and scope
- US EPA: A Brief Guide to Mold, Moisture and Your Home — Moisture control and prompt drying guidance; not a tile approval or hidden-wall diagnosis.
- Smart Tiles official FAQ — Manufacturer-specific examples for its products only; not Stickwoll specifications.
- Schluter: Pipe and Mixing-Valve Waterproofing Seals — Shows that pipe penetrations belong to a complete waterproofing system; not approval of decorative self-adhesive tile in showers.


Leave a comment
This site is protected by hCaptcha and the hCaptcha Privacy Policy and Terms of Service apply.