






















Peel and Stick Kitchen Tiles: 2025 Trends & DIY Guide
Ever stare at your kitchen walls and dream of a change? Maybe it’s the bland, builder-grade backsplash or the dated tiles that came with your rental. You want a kitchen that feels like you—stylish, fresh, and modern. But the thought of a full-blown, dusty, and expensive renovation makes you stop in your tracks.
Explore this guide
This is the exact dilemma that has propelled peel and stick tiles from a niche DIY product into a mainstream design movement. They offer a powerful answer to a very common problem.

The Direct Answer: What Are Peel and Stick Tiles and Why Are They the Perfect Kitchen Solution?
Peel-and-stick kitchen wall products use factory-applied adhesive but vary in face, backing and intended use. Treat design trends as inspiration and verify the exact wall, heat, moisture, cleaning and removal conditions separately.
For years, we've seen clients and fellow DIYers feel stuck, believing a beautiful kitchen was out of reach without a huge investment. But that's simply not true anymore. Today’s peel and stick options are sophisticated, durable, and offer incredible design flexibility.
In this guide, we’ll walk you through everything you need to know. We'll explore the biggest 2025 design trends, give you the honest truth about their durability, and provide a step-by-step installation plan that anyone can follow. It's time to create the kitchen you've been dreaming of.
Why Are Peel and Stick Kitchen Tiles Trending in 2025?
The Question: "Is this just a cheap, temporary fad, or is there a real reason everyone's talking about them?"
The Promise: This section explains the powerful forces—from economic shifts to design innovation—that make peel and stick tiles a smart, lasting trend.
It’s easy to see the appeal, but the boom in removable kitchen backsplashes is more than just a passing fad. It’s a reflection of how we live now. From our experience in the design world, we see three major factors driving this trend.
A Solution for the Renter Economy
More people are renting for longer, but the desire to personalize a space hasn't gone away. Permanent changes are off the table, which historically meant living with whatever kitchen you inherited. Peel and stick tiles completely change that equation.
They empower renters to make significant, non-destructive aesthetic upgrades. A quick scroll through Instagram or TikTok reveals thousands of incredible renter-led kitchen transformations, turning drab spaces into designer-worthy showcases—all with the peace of mind that it can be undone.

Incredible Leaps in Design and Realism
Let's be honest: early versions of peel and stick tiles often looked... well, like stickers. But technology has come a long way. The 2025 generation of tiles features high-definition printing, realistic textures, and authentic-looking finishes that are hard to distinguish from the real thing.
Modern products can offer varied textures and printed effects, but a trend-search percentage is not evidence of product suitability. Compare the actual sample and documentation instead.
The Rise of Sustainable and Budget-Friendly DIY
Home renovation costs continue to climb. A traditional tile backsplash installation can cost thousands of dollars when you factor in materials, tools, and labor. A peel and stick project, by contrast, can often be completed for a few hundred dollars.
This affordability makes high-end looks accessible to a much wider audience. Furthermore, as consumers become more eco-conscious, many are seeking less wasteful options. Applying tiles directly over an existing surface avoids the demolition and landfill waste associated with a full renovation. For those ready to start their project, we've outlined the essentials in our guide to a DIY peel and stick kitchen makeover, ensuring your transformation is both stylish and sustainable.
What Are the Top Peel and Stick Tile Design Trends for 2025?
The Question: "I'm overwhelmed by the options. How do I choose something that feels modern and won't go out of style next year?"
The Promise: We'll cut through the noise and reveal the three dominant design directions for 2025, helping you find a style that fits your vision.
The beauty of today's market is the sheer variety of choices. Forget the basic patterns of the past. The trends for 2025 are all about sophisticated colors, rich textures, and timeless materials reimagined. For even more inspiration, the go-to resource is our deep-dive article on Top Peel & Stick Tile Patterns for 2025.
What are the boldest new colors and patterns?
The Question: "I love the idea of a statement kitchen, but I'm afraid of using bold colors or patterns. Will it look tacky?"
The Promise: Learn how to confidently use 2025's trending colors and patterns to create a high-impact, tasteful look.
While white kitchens will always be classic, 2025 is seeing a confident return to color and pattern. Homeowners are craving spaces with more personality and warmth.
- Deep, Moody Hues: Think rich forest greens, deep navy blues, and earthy terracotta. These colors create a cozy, dramatic backdrop that feels incredibly high-end. They work especially well in kitchens with good natural light to keep them from feeling too dark.
- Large-Scale Geometric Patterns: Forget small, busy designs. The modern approach is all about large, repeating Art Deco-inspired fans, bold hexagons, and clean interlocking lines. These patterns add visual interest without overwhelming the space.
- A Pro-Tip: If a full wall of pattern feels too intimidating, start with a smaller, contained area. The wall behind your coffee station or open shelving is the perfect place to experiment with a bold design. To see how these ideas come to life, explore our gallery of trendy kitchen wall ideas for 2025.
Is the marble and stone look still in style?
The Question: "Can a peel and stick tile that looks like marble or stone actually look realistic and high-end?"
The Promise: Discover the new generation of hyper-realistic stone-look tiles that rival the beauty of natural materials without the cost or maintenance.
The look of natural stone is timeless, but the cost, and especially the upkeep, is a major barrier for many. This is where peel and stick technology truly shines in 2025.
The common misconception is that all faux-stone tiles have an obviously repetitive, fake-looking pattern. In reality, premium designs now feature non-repeating variations in the veining, so over a large area, no two tiles look exactly alike. This tiny detail makes a huge difference in creating a believable look.

Look for finishes that mimic popular high-end stones like Calacatta Gold marble, with its warm gold veining, or the soft, muted texture of honed black slate. These sophisticated options can give you the million-dollar look for a tiny fraction of the price.
What if I prefer a minimalist or classic look?
The Question: "Trendy colors aren't for me. What are the best options for a timeless, minimalist, or modern farmhouse kitchen?"
The Promise: See how classic styles like subway tile are being updated with fresh textures and layouts for a modern-yet-timeless feel.
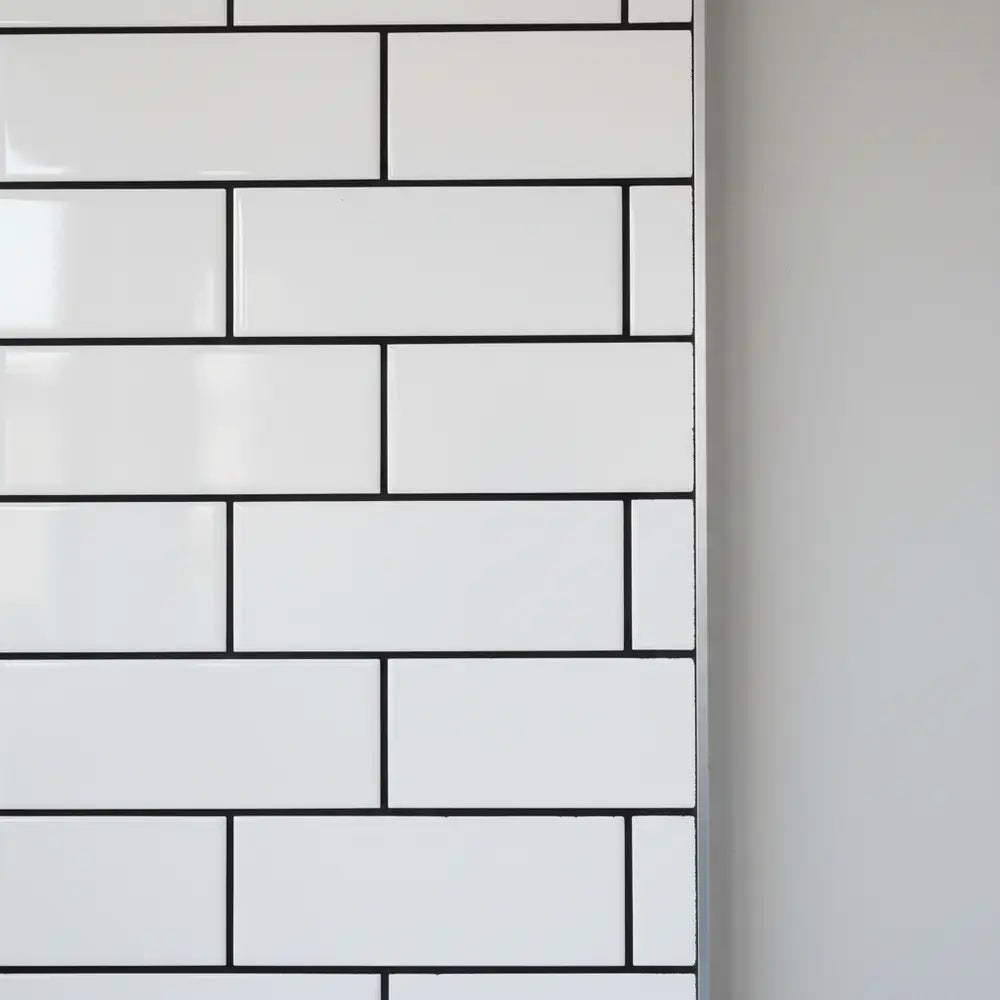
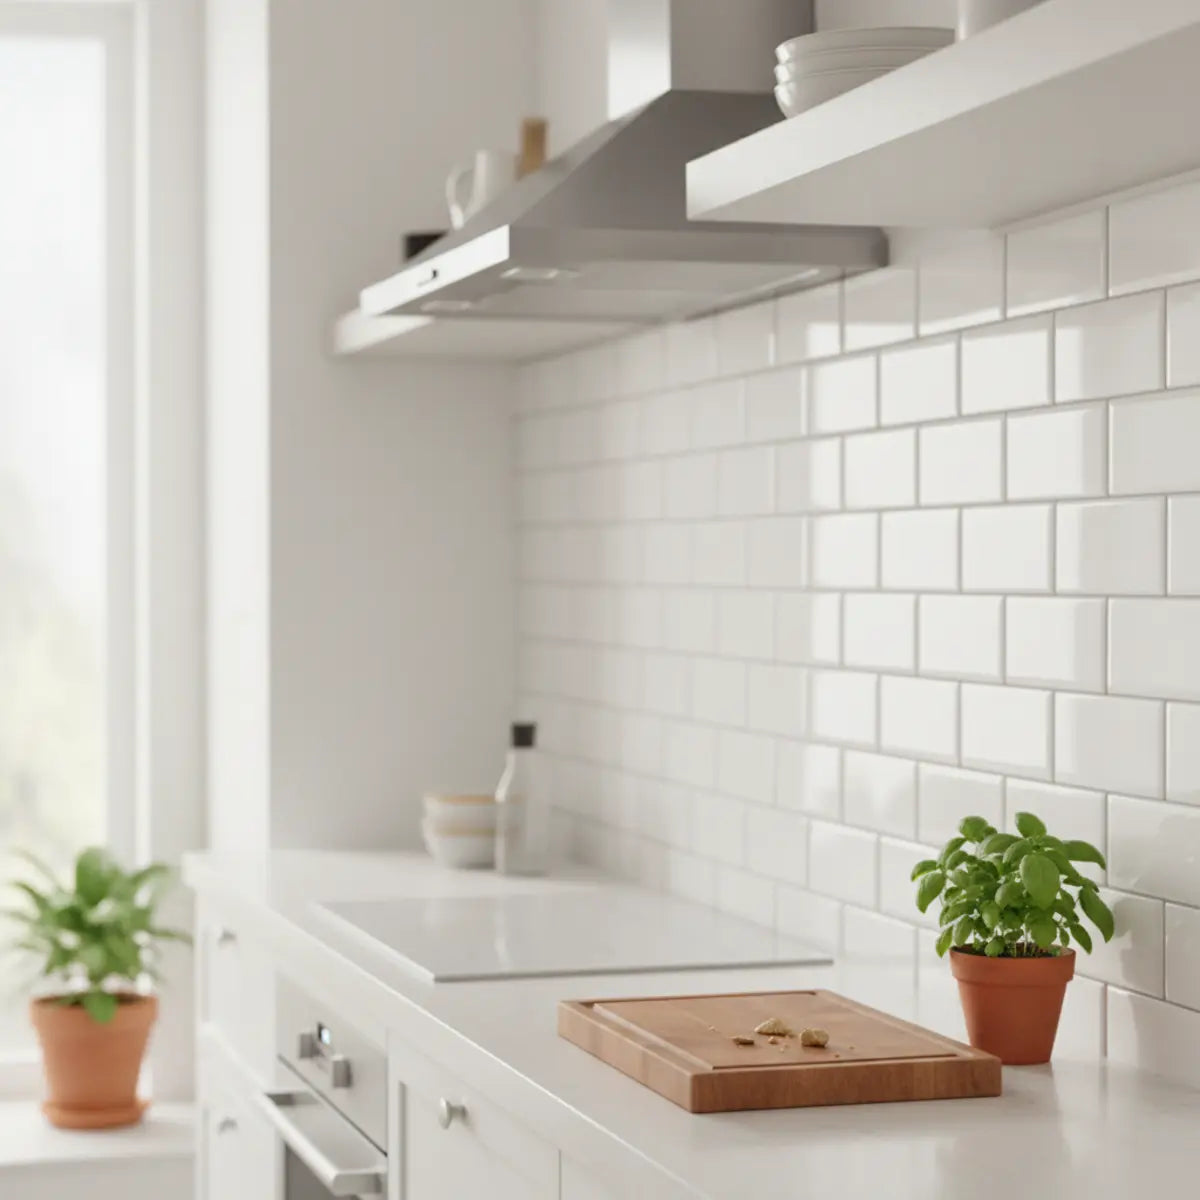
Minimalism isn't about being boring; it's about intentional simplicity. The classic white subway tile isn't going anywhere, but it is getting a modern update for 2025.
- The New Subway Tile: Look for new proportions. Longer, thinner "kit-kat" styles or tiles laid in a vertical stack instead of a traditional brick pattern can make a ceiling feel higher and add a subtle, custom touch.
- Texture is Everything: The biggest trend in minimalist tiles is the addition of subtle texture. Seek out designs that replicate the imperfect, handmade look of Zellige tiles or have a soft, matte finish instead of a high gloss. These textures catch the light beautifully and add warmth and depth to a neutral palette.
- Warm Neutrals: Pure, sterile white is giving way to softer, warmer neutrals. Think light mushroom grays, creamy off-whites, and subtle beige tones. These colors feel organic and inviting, perfectly complementing wood accents and natural materials.
Which Peel and Stick Tile Trend Fits Your Kitchen?
1. When you imagine your dream kitchen, you see...
Are Peel and Stick Tiles Actually Good for Kitchen Walls?
The Question: "My biggest fear is that these tiles will melt behind my stove, peel off from steam, or just fall apart in a few months. Can they really handle a real kitchen?"
The Promise: Get the definitive, expert answer on durability, heat resistance, and moisture tolerance so you can buy and install with total confidence.
This is, without a doubt, the most important question we get. The short answer is yes, high-quality peel and stick tiles are an excellent and durable choice for most kitchen walls and backsplashes. However, not all products are created equal. Success depends entirely on choosing the right material for the job.
How durable are modern peel and stick tiles?
The Question: "I don't want to do all this work just to have it look cheap and worn out in a year. How long will they last?"
The Promise: Understand the different material types and the key factors that determine longevity, allowing you to choose a product that will last.
The durability of a peel and stick tile is directly tied to its material composition. Think of it like buying a coat. A cheap plastic poncho might keep you dry in a single downpour, but a well-made jacket will protect you for years. The same logic applies here.
Generally, you can expect a quality tile to last for many years with proper care. Look for products with a thick wear layer, which protects the printed design from scratches and fading. Most manufacturers offer warranties, so be sure to check what's covered.
Can they handle the heat and moisture of a kitchen?
The Question: "Seriously, can I put this behind my stove without it being a fire hazard? What about behind the sink?"
The Promise: This section provides the product-specific requirements and safety guidelines for using tiles near heat and water sources.
This is where you must pay close attention to the product specifications. For any area behind a stove or near a sink, you absolutely must choose tiles that are explicitly rated as heat-resistant and water-resistant.
Here’s a breakdown of the most common materials and how they perform:
Heat check: Do not use a universal six-to-eight-inch flame gap. Follow the appliance and exact wall-product instructions for the proposed location.
What are their limitations?
The Question: "To avoid a DIY disaster, where should I not use these tiles?"
The Promise: Learn the few situations and surfaces where peel and stick tiles are not recommended, saving you time and frustration.
While versatile, these tiles aren't a magic solution for every surface. To ensure a successful and long-lasting application, avoid using them in these areas:
- On Textured Walls: Surfaces like brick, popcorn, or heavily textured plaster will prevent the adhesive from making full contact, leading to peeling. The wall must be smooth, clean, and flat.
- Inside a Shower: While many are water-resistant, they are not designed for the constant, direct water saturation of a shower enclosure.
- On Floors or Countertops: Do not use wall tiles on these high-impact surfaces unless the product is specifically rated for floor or countertop use. These require a much more durable wear layer.
- On Freshly Painted Walls: Paint needs time to cure fully. Wait at least 3-4 weeks after painting before applying peel and stick tiles to prevent adhesion failure.
Before-and-After Case Studies: Renter Kitchen Transformations
The Question: "I have a hard time visualizing how this would look in a real, imperfect kitchen like mine."
The Promise: See real-world proof from other DIYers that a stunning transformation is achievable, even on a tight budget and timeline.
Sometimes, seeing is believing. The best way to understand the impact of peel and stick tiles is to see them in action in real homes. These mini-case studies show what’s possible in just a single weekend. For more visual inspiration, be sure to check out our gallery of Stunning Kitchen Transformations.
Illustrative Scenario 1: A Small Rental Backsplash
- The "Before": The illustrative rental kitchen had a standard, boring beige laminate backsplash that made the whole space feel dated and dark.
- The Goal: To brighten the kitchen and add a pop of modern color without making any permanent changes.
- The Solution: She chose a peel and stick tile in a chic, vertically stacked subway pattern in a soft green.
- The Result: After installation, her kitchen was completely transformed. The new backsplash adds color, texture, and a modern feel. It looks like a custom-tiled job.
- Budget: replace with current product, delivery, preparation and finishing costs
- Time: depends on preparation, layout, cutting and finishing
Illustrative Scenario 2: A High-Impact Accent Wall
- The "Before": The illustrative kitchen was functional but lacked a focal point. A large, blank wall next to his dining nook felt like a missed opportunity.
- The Goal: Create a dramatic feature that would elevate the entire open-plan living area.
- The Solution: He opted for large-format peel and stick tiles with a hyper-realistic Calacatta Gold marble finish.
- The Result: By tiling the entire accent wall, he created a stunning, luxurious backdrop that makes the whole kitchen feel more expensive and thoughtfully designed. It’s now the first thing guests comment on.
- Budget: ~$250
- Time Spent: 6 Hours
DIY Installation Tips and Pro Hacks
The Question: "I'm not very handy and I'm scared I'll mess it up, making it look crooked or bubbly."
The Promise: This is a practical guide. Use the steps to reduce alignment and bubble problems, but the final result still depends on the product, wall, layout and installation.
This is the fun part! You don't need to be a seasoned contractor to get this right. With a little bit of patience and the right prep work, you can achieve a flawless finish. For an even more detailed walkthrough, our guide on How to Install Peel and Stick Tiles is the ultimate resource.

What tools and supplies do I really need?
The Question: "Do I need to go out and buy a bunch of expensive, specialized tools for this one project?"
The Promise: Here is the simple, minimalist toolkit you'll need to get the job done right, using items you likely already have.
One of the best parts about this project is the short tool list. No tile saws or messy mortar required.
- A Degreasing Cleaner: Follow the exact wall and product cleaning instructions. We recommend a TSP substitute or isopropyl alcohol to remove all grease.
- A Measuring Tape
- A Pencil
- A Level: A laser level is great, but a standard bubble level works perfectly.
- A Sharp Utility Knife or Box Cutter: Have extra blades on hand.
- A Cutting Mat or Board
- A Small Squeegee or Plastic Smoother (Optional): Helps press out air bubbles.
How do I prepare the wall for a perfect stick?
The Question: "What's the secret to making sure the tiles don't start peeling off after a month?"
The key planning step is to confirm that the wall is sound, compatible and prepared according to the exact product instructions.
This is the step where people get impatient, and it's the biggest mistake you can make. Preparation is 90% of the job. The wall must be perfectly clean, smooth, and dry.
The #1 enemy of tile adhesive is kitchen grease. Even if a wall looks clean, it has a layer of airborne cooking oils. You must wash the entire surface with a dedicated degreasing cleaner. A simple wipe with soap and water isn't enough. After cleaning, let the wall dry completely for several hours or overnight.
What is the step-by-step installation process?
The Question: "I have my tiles and a clean wall. Where do I even begin placing the first tile?"
The Promise: A simple, 6-step process that takes you from the first measurement to the final, perfectly placed tile.
-
1Plan Your Layout. Lay a few tiles out on the counter to decide on your starting point. You want to avoid finishing with a tiny, awkward sliver of a tile in a highly visible area.
-
2Draw a Level Guideline. Do not trust your counters or cabinets to be perfectly level. Use your level to draw a straight, horizontal line where the top or bottom of your first row of tiles will sit. This is your anchor.
-
3Make Your First Placement. Peel back only the top portion of the backing paper. Align the tile with your level guideline, and once you're happy with the position, gently press it onto the wall.
-
4Peel and Press. Slowly peel away the rest of the backing while smoothing the tile down from the center out to the edges. This pushes out any air bubbles.
-
5Overlap As Directed. Most peel and stick tiles are designed with a small overlapping edge for the "grout" line. Make sure you overlap these consistently for a seamless look.
-
6Cut for Edges and Outlets. For straight cuts, measure and mark the tile, then use your utility knife and a straight edge to score and snap it. For outlets, make a paper template, trace it onto the tile, and cut it out carefully with your knife.
For more hands-on visuals, our comprehensive DIY Peel and Stick Kitchen Guide breaks it down even further.
What are the best renter-friendly removal hacks?
For renters, removal planning matters as much as installation. Check permission, photograph the wall and budget for possible restoration.
The Promise: A removal-planning workflow that follows the exact product and wall conditions without promising damage-free removal.
This is the magic of peel and stick. When it’s time to remove them, don’t just pull. The secret weapon is heat.
Use heat only when the product’s removal instructions permit it. Follow the specified temperature, distance and timing, peel slowly, and stop if paint or drywall paper begins to lift.
Your Stylish Kitchen is a Weekend Away
What once felt like a massive undertaking—a kitchen makeover—is now a manageable and genuinely fun weekend project. We've seen how 2025's trends have brought sophistication and style to peel and stick tiles, making them a design-forward choice. We've confirmed that with the right product, they are more than durable enough to handle the heat and humidity of a real working kitchen.
Most importantly, you now have a clear, actionable plan to get it done. The days of being stuck with a kitchen you don't love are over. Start small, pick a wall, and see for yourself how easy it is to create a space that feels brand new.
Ready to find your perfect style?
Download our free 2025 Peel & Stick Kitchen Tile Trends GuideFrequently Asked Questions
How long do peel and stick tiles last in a kitchen?
There is no category-wide five-to-ten-year kitchen lifespan. Use the exact product documentation and inspect the installed wall over time.
Can I put peel and stick tiles over existing tiles?
Yes, in most cases you can. The existing tiles must be thoroughly cleaned and degreased. The surface must be flat and smooth. If your existing tiles have deep or textured grout lines, you may need to fill them with a skim coat of compound first to create a level surface for the new tiles to adhere to properly.
Are peel and stick tiles easy to clean?
Absolutely. Most peel and stick tiles have a smooth, non-porous surface that can be easily wiped clean with a damp cloth and a mild, non-abrasive cleaner. This makes them ideal for wiping away kitchen splatters. Avoid using harsh chemical or abrasive scrubbers, which can damage the finish.
Do peel and stick tiles look cheap?
While this was a valid concern with older products, modern, high-quality peel and stick tiles for 2025 do not look cheap. Advances in high-definition printing and textured finishes create incredibly realistic mimics of stone, ceramic, and glass. When installed correctly, it's often difficult to tell the difference without touching them.
What's the biggest mistake to avoid when installing them?
The single biggest mistake is improper wall preparation. Clean the wall according to the exact product and coating instructions. Grease can interfere with adhesion, but cleaner choice and failure causes are project-specific; do not assign a universal number-one cause.
Use trend imagery as inspiration, not evidence
Color and pattern trends can help you discover options, but they do not establish product performance or future resale appeal. Compare the actual sample with cabinets, countertop and flooring under the room’s normal light. DOE lighting research notes that spectral differences affect color rendition, which is why a product can read differently at home than in a styled image.
Remove the year label from decisions that should remain useful longer than one season. A strong color, marble effect or subway pattern can be evaluated through room scale, maintenance and personal preference without claiming that searches rose by a particular percentage or that a design is guaranteed to stay in style.
Replace renter hacks and fixed flame gaps with documented limits
Do not use a universal six-to-eight-inch flame gap or a hair-dryer removal trick as a substitute for the exact tile and appliance instructions. Heat exposure varies by appliance, and removal outcome varies by adhesive, paint, wall repairs and time in service. Use documented clearances and removal methods for the products involved.
A renter project should begin with permission and a photographed wall condition. Budget for possible restoration rather than promising security-deposit protection. If the tile or lease conditions do not support the planned location, changing the layout is more responsible than searching for a hack that forces the project to fit.
Sources and scope
- US DOE: Color and Spectrum — Lighting and color-rendering context; not a material-performance rating.
- US EPA: A Brief Guide to Mold, Moisture and Your Home — Moisture-control guidance; not product approval.
- 3M: Applying VHB Pressure-Sensitive Tape — Surface-preparation and pressure-sensitive-adhesive principles for named 3M tapes; not Stickwoll specifications.


Leave a comment
This site is protected by hCaptcha and the hCaptcha Privacy Policy and Terms of Service apply.