




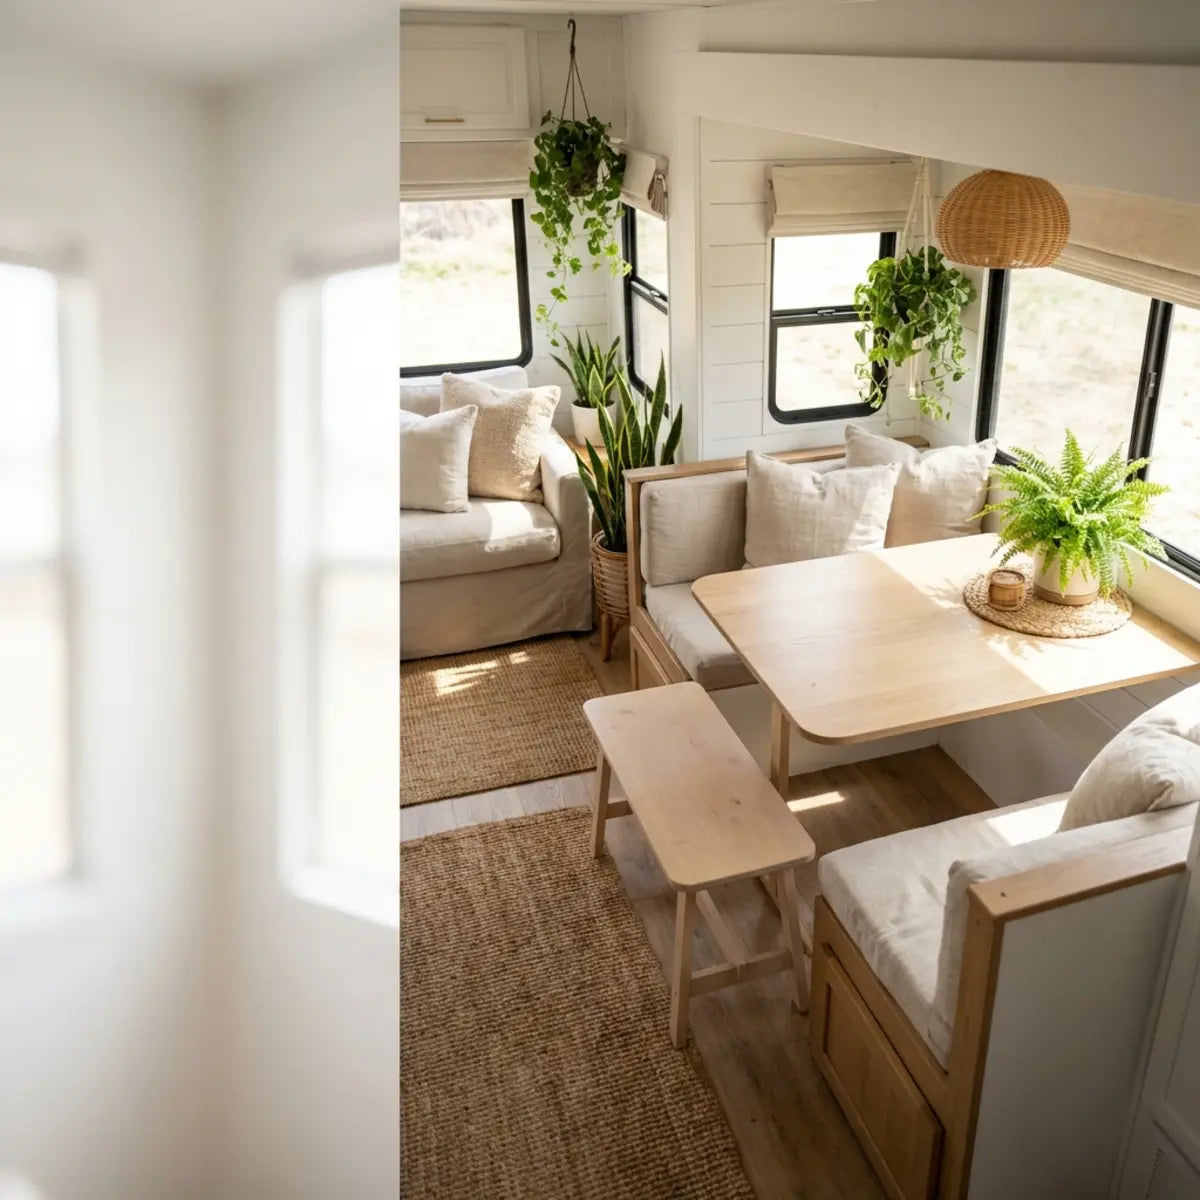
Renter-Friendly RV Makeover: Reversible Decor and Planning
Unlock the secrets of vanlife aesthetics without risking your security deposit.
Explore this guide
You’ve booked the rig, mapped out the route, and you’re ready to hit the open road. But stepping inside your rental RV often feels like stepping into a beige, sterile clinic rather than a cozy home on wheels. You want the "vanlife" aesthetic you see on Instagram, but you are terrified of losing your security deposit.
In our experience working with nomads and renters, we know the balance is delicate. You need comfort, but you also need to return the vehicle exactly as you found it. This guide focuses on Reversible design principles, Affordable, stylish decor, and Deposit-safe transformation strategies.
What Does a Renter-Friendly RV Makeover Mean?
The Question: Do you feel trapped by the fear that hanging a single picture might cost you hundreds in damage fees?
The Promise: This section defines exactly what is safe to change, giving you the permission structure to make the space your own without financial risk.
A renter-friendly RV makeover is the strategic application of cosmetic changes that can be completely undone within hours. It is about layering personality over the existing structure rather than altering the structure itself.
The core principle here is Non-Destructive Modification. This means avoiding nails, screws, permanent glues, or paint. Instead, we rely on tension, static cling, and removable adhesives designed specifically to leave no residue. Think of it like applying makeup rather than getting a tattoo. One changes how you look for the day or week and washes off; the other is a permanent commitment. Your goal is the "makeup" approach to interior design.

Why Reversibility Matters for Renters
The primary reason for reversibility is obvious: the security deposit. However, there is a deeper, psychological reason. When you inhabit a space that feels personal, your stress levels decrease. A study published in the Journal of Environmental Psychology suggests that personalizing a living space contributes significantly to a sense of security and well-being. For digital nomads on the road for months, this "hominess" prevents travel burnout.
Creating a temporary sanctuary isn't just about aesthetics; it is about mental health. When your environment reflects your taste, even if only via temporary means like throw pillows or a stick-on backsplash, you signal to your brain that you are "safe" and "home." This is crucial when the view outside your window changes every day.
Real-World Example: The Textile Transformation
Let’s look at Sarah, a freelance graphic designer we advised last year. She rented a Class C motorhome for a three-month cross-country trip. The interior was drab—brown cabinets and grey upholstery.
Sarah didn't use a single tool. Instead, she used:
- Magnetic Hooks: She utilized the metal frames around the slide-outs to hang heavy canvas storage bags.
- Slipcovers: She bought stretchable jersey fabric to cover the dinette cushions.
- Battery-Operated Sconces: She mounted lights with heavy-duty Command strips.
When she returned the RV, she spent 45 minutes packing her "decor kit." The owner complimented her on how clean the unit was, completely unaware it had looked like a boho studio apartment just hours before.
Key Definition: Tensile Strength
In this context, tensile strength refers to the maximum load a material (like a command strip or tension rod) can support without failing. Understanding this ensures your temporary decor doesn't fall off when the RV hits a bump.

How Can You Plan a Temporary RV Makeover Step-by-Step?
The Question: Does the idea of decorating a moving vehicle feel overwhelming and chaotic?
The Promise: This section provides a linear, fail-proof roadmap to planning your upgrade, ensuring you don't overspend or over-pack.
Planning a temporary makeover requires a different mindset than a permanent renovation. You must prioritize lightweight materials and ease of removal. The first step is always a thorough assessment of the physical space.
Step 1: The Layout Assessment
Before you buy a single item, you must understand the "bones" of the rental. If you haven't picked up the RV yet, request detailed photos or a floor plan from the owner.
- ✓ Identify Surfaces: Are the walls smooth fiberglass or textured wallpaper? Smooth surfaces accept peel-and-stick products; textured walls do not.
- ✓ Measure Vertical Space: Measure the distance between cabinets and counters. This is your prime real estate for backsplashes.
Pro-Tip: RVs vibrate intensely while driving. An object that sits securely on a shelf in a house will become a projectile in an RV. Your assessment must account for "motion safety"—every decoration needs a way to be secured while in transit.
Step 2: Set a Renter-Safe Design Budget
Because you cannot take the RV with you, you might be hesitant to spend money. However, if you are renting for a month or more, a small investment pays dividends in comfort. We recommend a "Portable Asset" strategy—buy things you can use in your next rental or your permanent home.
If you're worried about the complexity of DIY on a budget, you might assume you need a contractor's skillset. This isn't the case. We have compiled a comprehensive breakdown on How to Install Effortless Stick-On Tiles that simplifies the process into 5 easy steps, helping you understand the pros and cons before you spend a dime.

- They ignored the bedroom and focused entirely on the main living area.
- They purchased a large, washable outdoor rug to cover the worn linoleum ($60).
- They used removable peel and stick tiles to create a bright backsplash behind the kitchen sink ($50).
- They spent the rest on baskets and tension rods to organize the toddler's toys ($90).
The Result: The rug hid the ugly floor and provided warmth. The backsplash made the kitchen feel custom. They stayed under budget and removed everything in 30 minutes at the end of the trip.
What Are the Best Reversible Decor and Storage Ideas for RV Renters?
The Question: Are you tired of staring at brown paneling and cluttered countertops in your tiny kitchen?
The Promise: Here, we unveil the specific products and techniques that experts use to maximize style and storage without leaving a trace.
The best ideas for RV renters combine function with aesthetics. In a small space, a decorative item usually needs to do double duty. We focus on wall decor without nails, temporary flooring, and vertical storage.
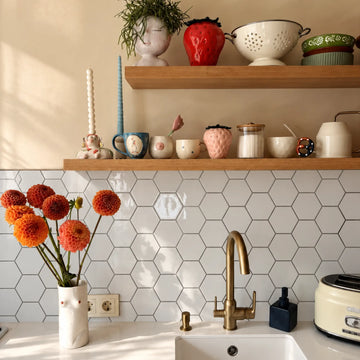
The Magic of Peel and Stick Backsplashes
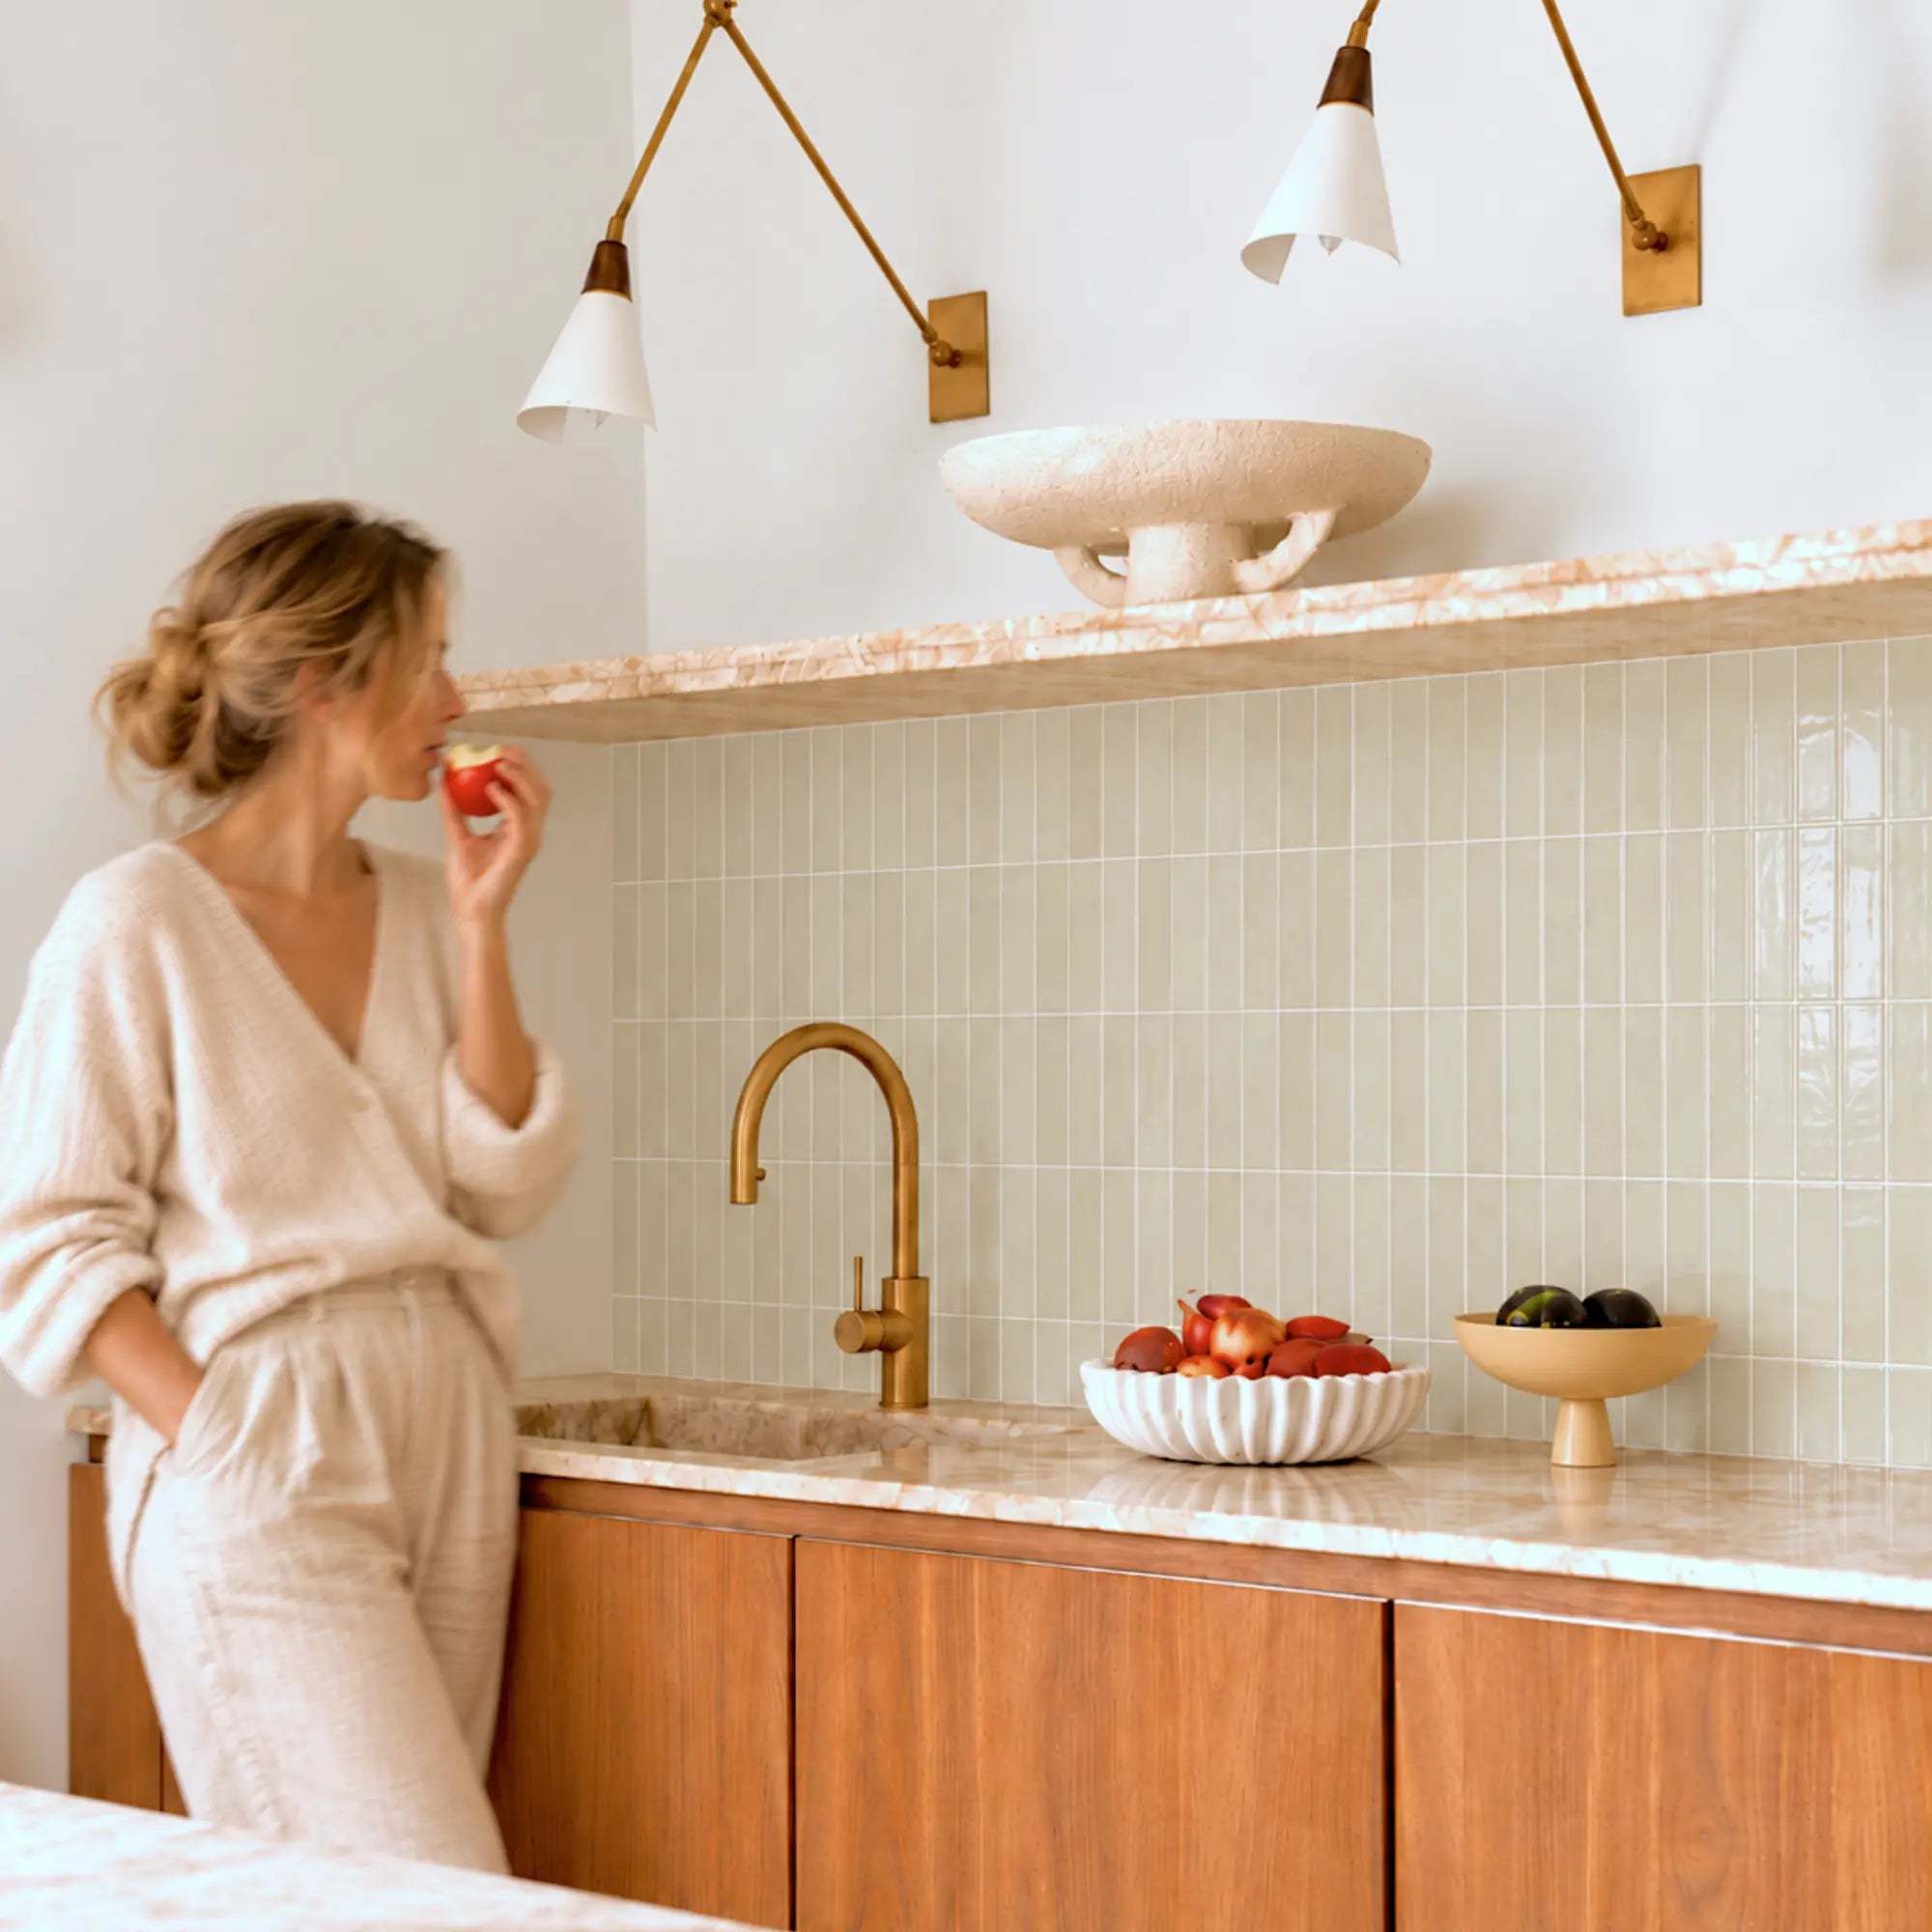
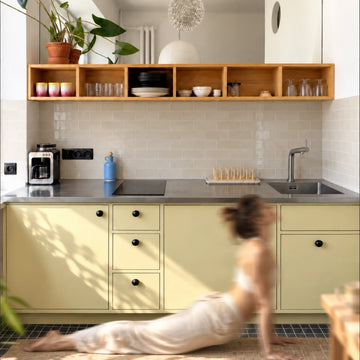
The single most impactful change you can make in an RV is upgrading the backsplash. Standard RV kitchens often have plain wallboard behind the stove, which is hard to clean and visually boring.
Why this works for renters:
Modern peel-and-stick technology uses a gel-based adhesive. It bonds strong enough to handle humidity but remains flexible enough to be peeled off with heat (from a hairdryer) without tearing the wallboard paper.
Steps for Renter-Safe Application:
- Clean the Surface: Use rubbing alcohol to remove grease. Adhesives fail on greasy walls.
- Plan the Layout: Dry-fit your tiles before peeling the backing.
- Apply and Press: Firm pressure activates the bond.
If you are nervous about the removal process, it is critical to know the technique before you start. We recommend reviewing Transform & Remove Renters Peel and Stick Tiles Safely. This guide provides peace of mind by showing exactly how to take the tiles down when your trip is over.
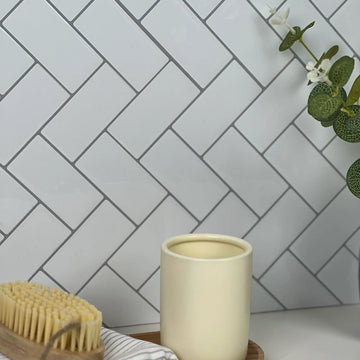
Furthermore, precision is key for a polished look. If you love the classic urban aesthetic, check out our Easy Guide: Install Peel & Stick Subway Tiles. It offers a visual-rich installation guide with troubleshooting tips that are particularly useful for first-time DIYers.
Recommended Choice:
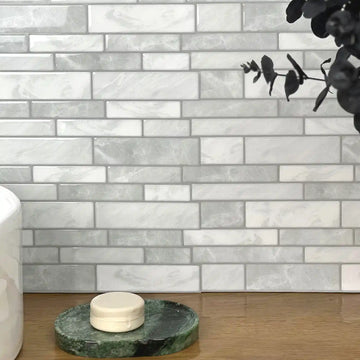
For a fresh, nature-inspired look that hides splashes well, consider Renter-Friendly Green Peel & Stick Backsplash Ideas. Green tones connect the interior of your RV with the outdoors, making the space feel larger.
RV Wall Decor Without Nails
You cannot use nails in an RV. The walls are thin, often comprised of luan plywood or composite with Styrofoam insulation behind them. A nail won't hold, and it leaves a permanent hole.
The Solution: Mechanical Tension and Adhesion
- • Command Strips: Use the "Velcro" style strips for picture frames. They absorb vibration better than the hook-style strips.
- • Museum Putty: This reusable clay-like substance is incredible for securing small items (like a vase or clock) to a countertop so they don't slide while driving.
- • Tension Rods: Use small tension rods inside cupboards to keep items from falling out, or vertically between shelves to create dividers.

Temporary Flooring Solutions
RV floors take a beating. They are often covered in generic, slippery vinyl.
Interlocking Foam Tiles: These are fantastic for families. They provide insulation (keeping the floor warm) and are soft underfoot. You can cut them to fit the exact shape of the RV floor plan with a utility knife. When you leave, just lift them up.
Runner Rugs with Grip: Use long runner rugs to cover high-traffic areas. Ensure they have a non-slip rubber backing. If they don't, you must add a rug pad, or they will slide dangerously when the RV brakes.
RV Storage Ideas for Renters
Storage is the biggest pain point in RVs. Renters often live out of suitcases because the built-in storage is awkward.
Visualizing Space: The "Vertical Inch" Rule
In an RV, every vertical inch matters. If a cabinet shelf is 12 inches high, but your plates are only 2 inches high, you are wasting 10 inches of storage.
The Solution:
- Cabinet Risers: Wire racks that double your shelf space.
- Over-the-Door Organizers: Use shoe organizers for toiletries, snacks, or charging cables.
- Suction Cup Bins: In the bathroom, use high-quality suction bins attached to the mirror or glass shower door to hold toothbrushes and soap.
For small kitchens specifically, layout is everything. For detailed hacks on maximizing these tight culinary spaces, look at How Small Kitchen Decor Hacks Transform Space. It offers brilliant visual examples of how organizing vertical space can make a kitchenette feel like a chef's galley.
Interactive: Is This Upgrade Safe?
Not sure if your idea will lose your deposit? Select an option below to test your RV safety knowledge.
Advanced Renter Hack: The Bathroom Transformation
The RV bathroom is often the bleakest room in the rental—yellowing plastic and inadequate storage.
The "Spa" Upgrade Strategy:
- Shower Organization: Use a tension rod across the corner of the shower to hang baskets for shampoo.
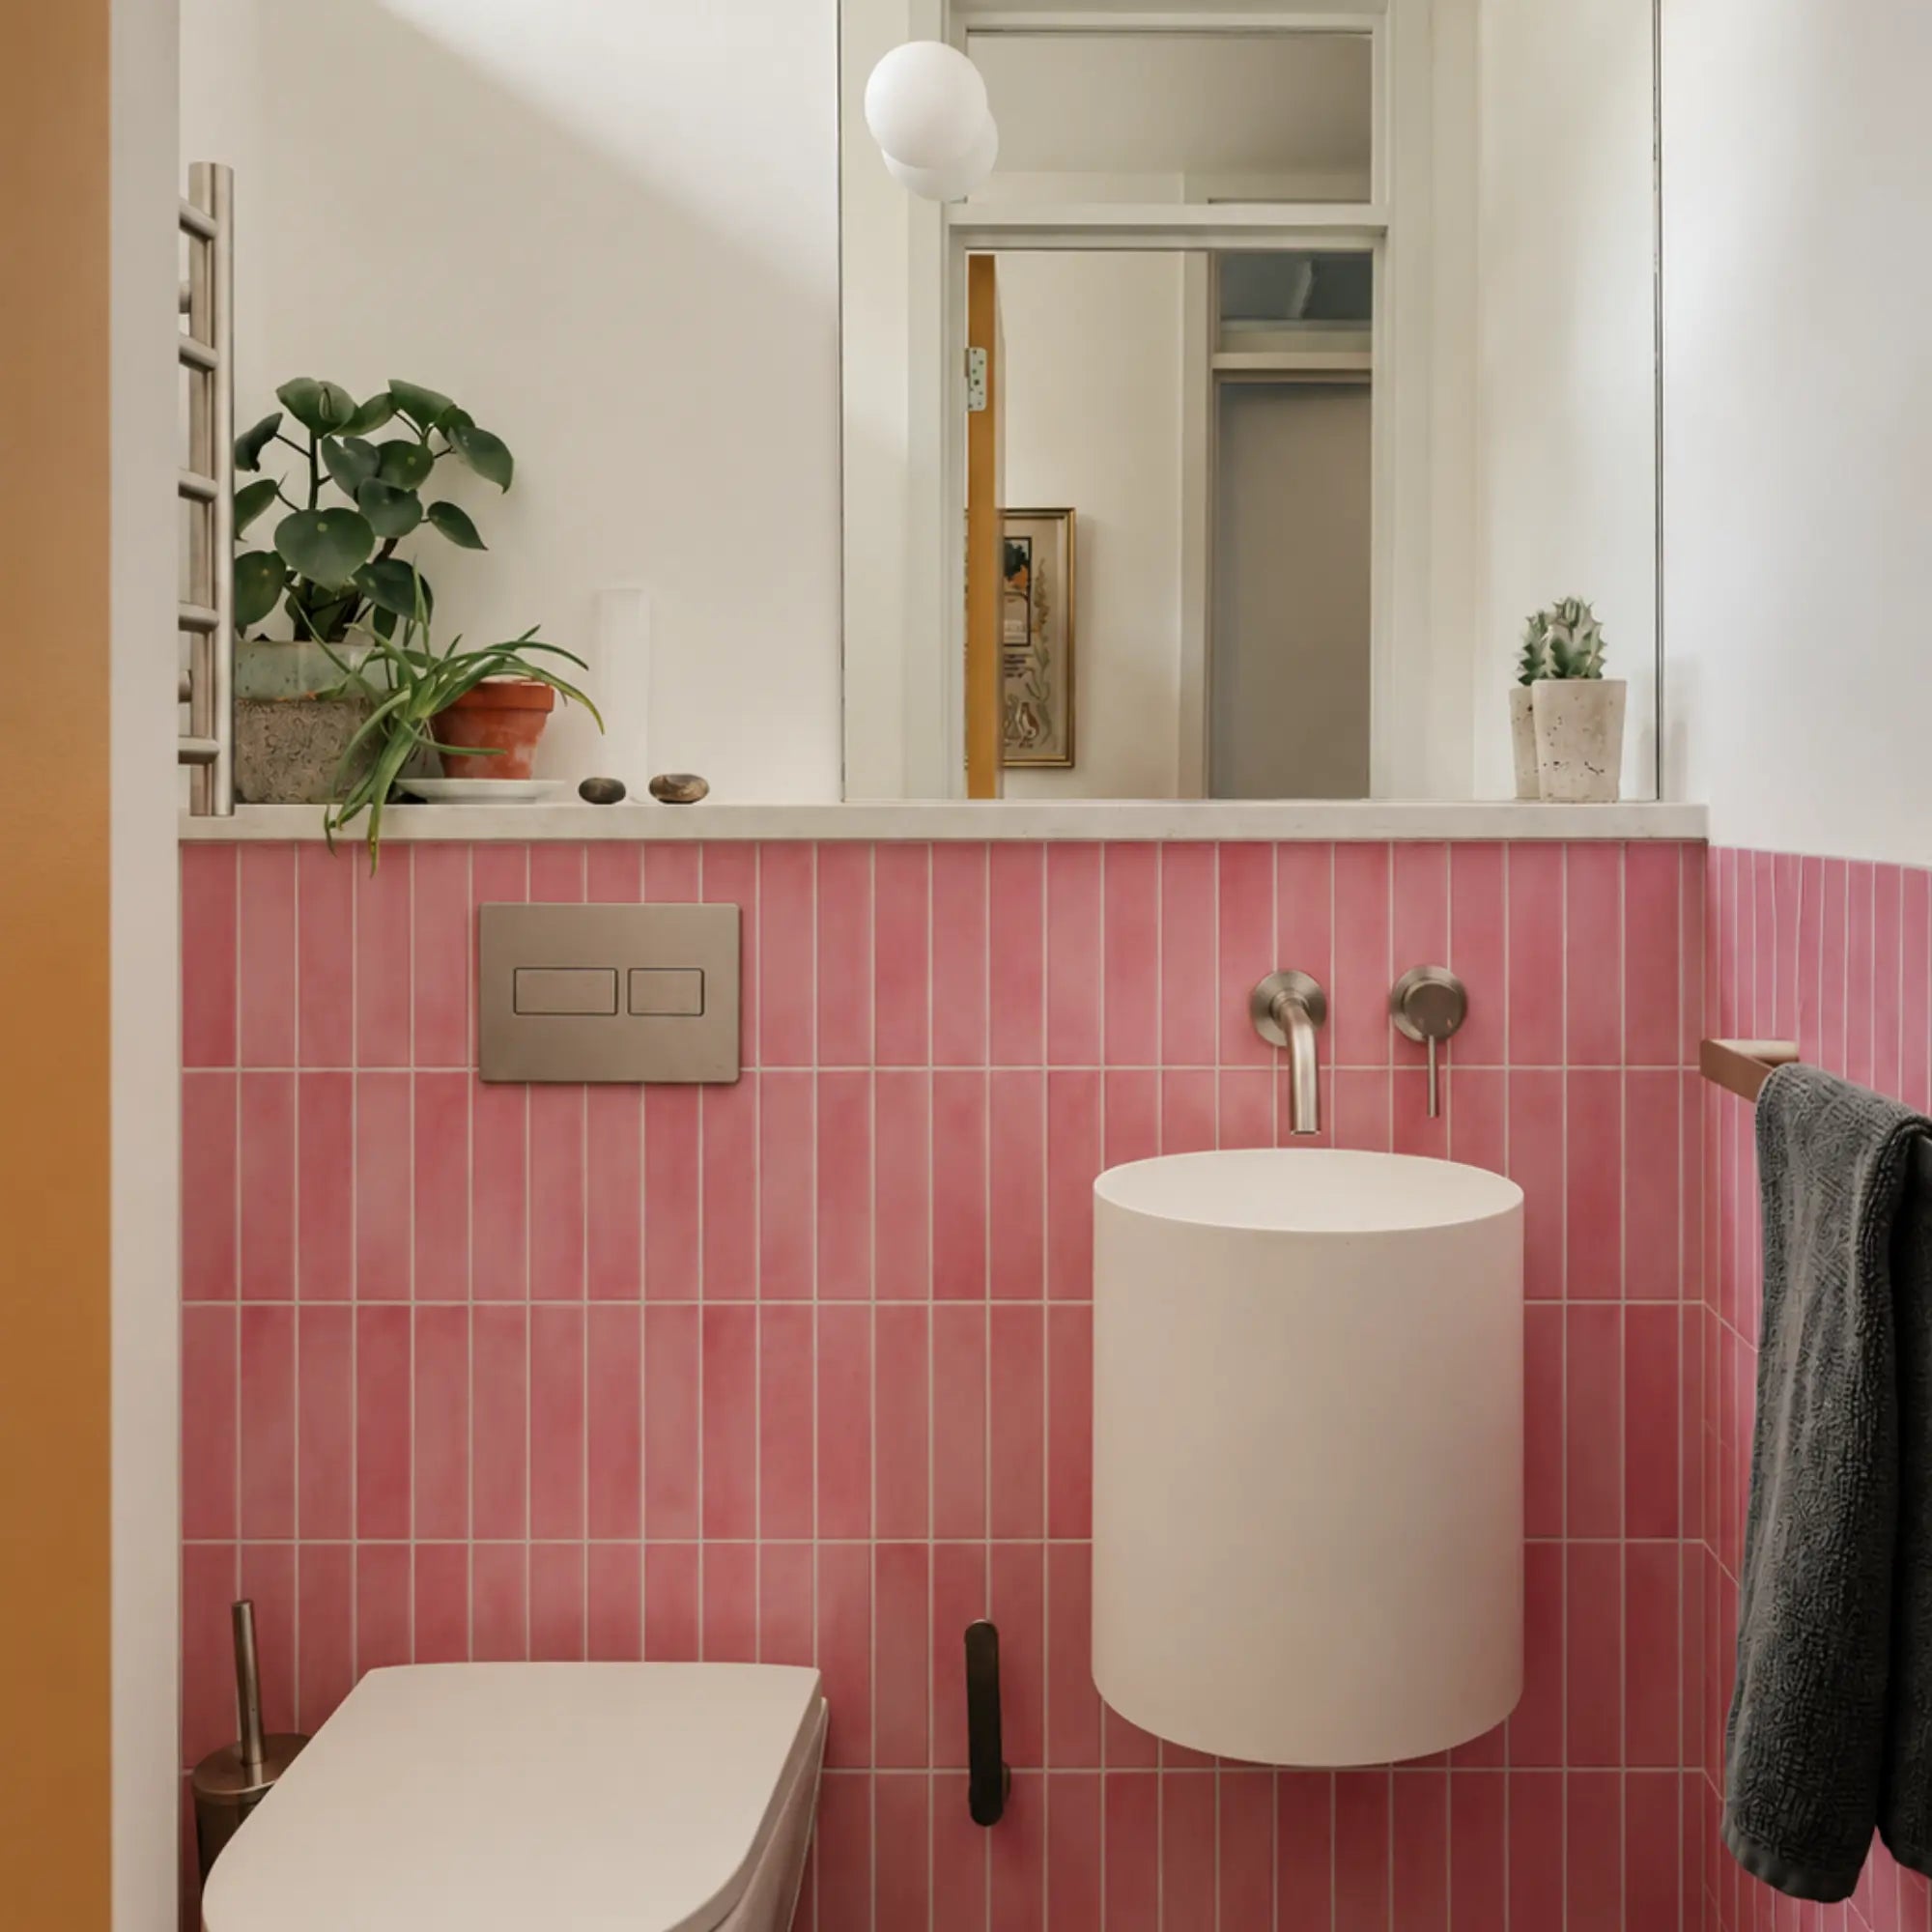
- Visual Upgrade: Apply a small strip of waterproof peel-and-stick tile above the sink.
- Removal: When removing tiles from a bathroom, use a hairdryer to soften the adhesive. This prevents any damage to the plastic surround.
Additionally, if the shower stall itself is looking grim, you might be tempted to hide it. While you can't replace the stall, you can enhance the surrounding area. Check out the Subway Tile Shower Makeover Guide for inspiration on how water-resistant adhesives can be used safely in high-moisture zones.
Frequently Asked Questions
Will peel and stick wallpaper damage RV walls?
Generally, no, provided you choose "removable" or "renter-friendly" specific wallpaper. RV walls are often covered in a vinyl "wallpaper" from the factory. If you apply a very aggressive adhesive over this, it might bubble or peel the factory layer upon removal. Always test a small, inconspicuous spot first and use heat (hairdryer) when removing.
Can I paint the walls in my rental RV?
How much does a temporary RV makeover cost?
You can achieve a significant visual change for $100 to $300. This budget covers a backsplash, a rug, throw pillows, and adhesive organizers. Since you can take 80% of these items with you to your next rental, the long-term cost is even lower.
How do I stop decor from falling down while driving?
The "earthquake" effect of driving is real. Use heavy-duty outdoor mounting tape for items that stay up (ensure it's removable), or Museum Putty for shelf items. For heavier wall hangings, industrial strength Velcro (hook and loop) is superior to standard hooks because it prevents the item from swinging and banging against the wall.
Final Thoughts
Making over a rental RV isn't about renovation; it's about adaptation. It is about taking a generic, mass-produced vehicle and injecting it with enough soul to make it feel like home, even if just for a week.
Remember, the goal is to create a space that recharges you after a long day of hiking or driving. By focusing on reversible upgrades like peel-and-stick tiles, smart textiles, and non-destructive storage, you protect your peace of mind—and your security deposit.
Ready to start your transformation?
Don't let the fear of rules stop you from living beautifully. Start small with a backsplash or a rug, and see how the space changes. Have you ever tried a temporary upgrade in a rental? What was your biggest challenge?
Explore Renter-Friendly CollectionsStart with the rental agreement, not the mood board
An RV rental can have restrictions that differ from an apartment lease. Ask what may be attached to walls, cabinets, flooring, windows and appliance fronts, and whether magnetic or tension-mounted accessories are allowed. Photograph the interior before changing anything.
Do not treat a removable-product label as permission. The rental company controls the agreement, inspection process and deposit decisions.
Map the RV by heat, moisture and movement
An RV kitchen, wet bath, sleeping area and entry wall experience different conditions. Cooking heat, condensation, road vibration, direct sun and temperature swings can matter more than the visual style.
Choose materials only after the exact product is documented for the surface and environment. A decorative wall covering that works in a conditioned home is not automatically appropriate in a vehicle.
Keep weight and attachment separate
Lightweight decor is useful in a vehicle, but the important question is how each item is supported during travel. Do not use decorative adhesive tile as the structural support for shelves, mirrors or storage.
Use manufacturer- and vehicle-appropriate attachment methods and keep heavy objects low and secured before driving.
Identify factory wall and cabinet finishes
RV walls may use vinyl-faced panels, laminates, composites or other factory finishes. Record the surface before adding adhesive because removal can affect a factory film or coating differently from ordinary residential paint.
A small sample can reveal immediate incompatibility, but it cannot assure long-term removal after heat, vibration and time.
Use textiles for high-impact, low-contact changes
Washable bedding, removable rugs, curtains where permitted and soft storage can change color and texture without covering large factory surfaces.
Keep textiles clear of heaters, vents, cooking equipment and other locations where the vehicle instructions require space.
Use magnets only where the surface is actually magnetic
A magnet can help identify some steel surfaces, but not every metal-looking panel is ferromagnetic and not every magnetic location is suitable for storage.
Test the actual location and secure objects for travel so they do not become projectiles during braking or rough roads.
Plan the kitchen backsplash as a vehicle zone
Observe where sink splash, cooking grease and appliance heat reach the wall. Verify the exact backsplash product and appliance requirements for that area.
A wipeable face does not automatically make the whole wall assembly waterproof, and a product described as heat resistant is not universal clearance guidance.
Treat the bathroom separately
A dry wall outside a shower or wet bath is different from direct spray. Do not use decorative peel-and-stick material as a substitute for the RV’s water-management system.
Recurring condensation, leaks or soft wall material should be investigated before any cosmetic covering is added.
Keep vents and service panels accessible
Do not cover furnace vents, refrigerator ventilation, electrical access, water-system panels, fire-safety equipment, labels or fasteners required for service.
A makeover should make the RV easier to live in without making maintenance harder.
Design storage for travel mode and camp mode
A basket or tension rod can work while parked but may need a different position during travel. Define where each movable item goes before driving.
This keeps the visual organization from becoming a safety problem when the RV is moving.
Use a room-by-room sample plan
Test color and texture in daylight and under the RV’s interior lighting. Small spaces can make high-contrast patterns feel much stronger once repeated.
Use a full-size mockup before covering a large wall or cabinet face.
Plan removal before installation
Keep the product instructions, rental approval and original photos together. When the rental period ends, work gradually and stop if the factory finish begins to release.
Do not escalate heat, force or solvent beyond documented methods simply to finish removal quickly.
Keep restoration realistic
Temporary decor can still leave residue or reveal a weak factory coating. Build time into the return schedule for inspection and any permitted cleanup rather than assuming every surface will need no work.
Document the interior again before returning the vehicle.
Use a final RV makeover checklist
Proceed when the rental rules, surface, attachment, heat, moisture, travel security and removal plan all make sense.
Skip an upgrade when it depends on hiding a maintenance issue, overloading a surface or assuming a deposit outcome.
Use a before-and-after inventory, not an invented budget
List the objects you add, where they are stored during travel and which rental surface they touch. Keep receipts and product identities without claiming one universal makeover cost.
At return time, use the same inventory to remove every added item and verify that service panels, vents and labels remain accessible.
Keep windows and emergency exits clear
Curtains, film, organizers and decor should not interfere with emergency exits, latches, shades or visibility required for operation.
A decorative improvement is not worth compromising an escape path or equipment function.
Check cabinet latches after adding liners or organizers
Temporary liners and storage bins can change how doors and drawers close. Test every latch in travel mode after the makeover.
Loose contents should be secured separately rather than relying on a decorative organizer to hold them during movement.
Keep the makeover reversible in stages
Prioritize changes that can be removed independently. A rug, textile, magnetic organizer and small wall accent should not depend on one another to remain in place.
Independent layers are easier to troubleshoot and restore before the rental is returned.
Use a final return checklist
Remove added decor, inspect surfaces, reinstall any moved rental items, clean only with permitted methods, photograph the interior and compare it with the original record.
This is more useful than assuming a reversible product automatically protects the deposit.
Keep the floor plan clear during travel
Rugs, baskets and temporary furniture should not narrow the path to the door, bed, bathroom or safety equipment. Test the makeover with slides, doors and cabinets in travel and camp positions.
A decorative object that becomes an obstacle during movement should be relocated or removed.
Document every surface that receives adhesive
Take a close photo and note the factory finish before applying wallpaper, backsplash or hook.
If removal later changes that surface, the original condition and product identity remain clear.
Use one final travel-mode test
Secure every added object, drive or simulate normal movement where appropriate, then inspect for shifting, rubbing or loosened edges.
A parked-only styling check is not enough for a mobile space.
Keep one no-adhesive option for every zone
Before covering a factory surface, compare a textile, freestanding or magnetic alternative where the RV permits it.
A reversible makeover is stronger when adhesive is optional rather than required for every visual change.
Keep the rental-owner instructions primary
If the rental provider gives cleaning, mounting or equipment restrictions, those instructions take priority over generic decor advice.
Keep the makeover easy to audit
Use one folder for rental rules, original photos, added-product identities and return photos.
A clear record makes the project easier to restore without relying on memory.
Avoid decorating over maintenance warnings
Stains, leaks, damaged wall panels or loose trim should be reported or resolved according to the rental agreement before they are covered.
Cosmetic change should not make an RV condition harder to inspect.
Keep the return-day sequence written down
Remove movable decor first, then adhesive items, then clean and inspect factory surfaces before loading final luggage.
A written order reduces the chance that one remaining accessory hides a surface that still needs inspection.
Keep the final makeover lightweight in process too
Do not create a return-day project that requires removing dozens of tiny adhesive accessories from factory surfaces. Fewer, larger reversible changes are often easier to audit and restore.
A temporary space benefits from a simple removal sequence as much as from a simple visual design.
Keep one final rule
If an upgrade conflicts with the rental agreement or equipment access, skip it.
Keep the final return photo
Take one wide photo before handing the RV back.
Final reminder
Keep the rental agreement with the project record.
Return record
Keep one final interior photo.
Sources and scope
- 3M: Applying VHB Pressure-Sensitive Tape — General adhesive surface-preparation principles; not Stickwoll specifications.
- US EPA: Mold, Moisture and Your Home — Moisture-control guidance; not approval of a wall covering.


Leave a comment
This site is protected by hCaptcha and the hCaptcha Privacy Policy and Terms of Service apply.