


Staring at a blank, builder-grade beige wall behind your television often feels like a missed opportunity for interior design. Yet, the fear of losing a security deposit or blowing thousands of dollars on permanent contractor work paralyzes many renters and budget-conscious homeowners.
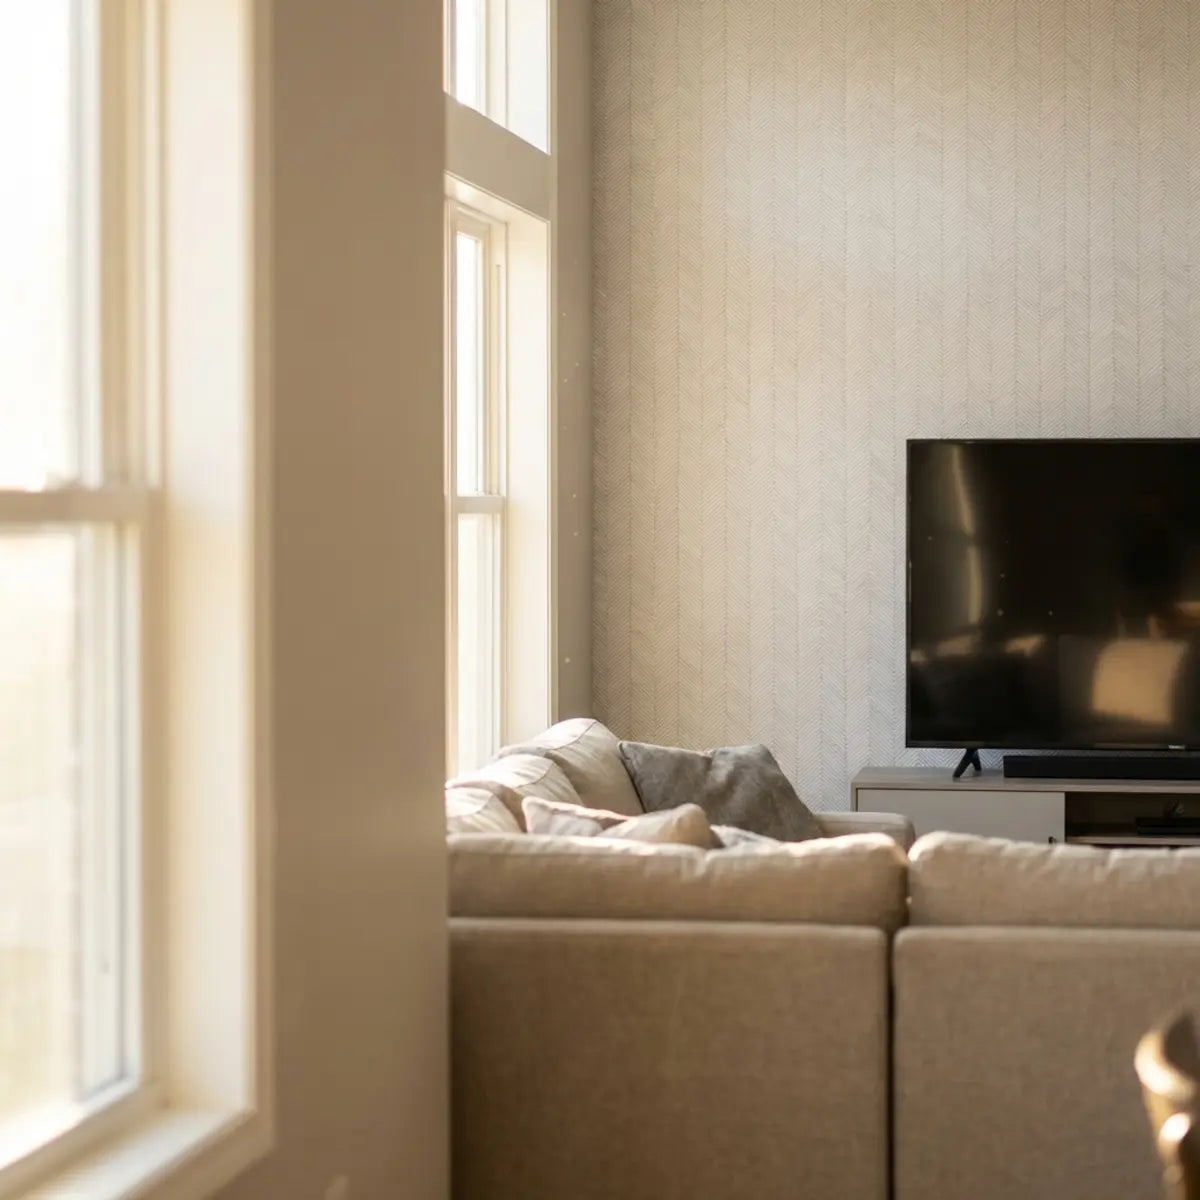
The living room is the heartbeat of the modern home. It is where we entertain guests, unwind after a long day, and binge-watch our favorite series. However, when the focal point of that room—the television area—lacks architectural depth, the entire space can feel flat and uninspired. For years, the prevailing advice was simply to paint an accent wall. But flat paint rarely provides the textural richness needed to anchor a large digital screen. We crave texture, dimension, and character.
Peel and stick tiles are the easiest, most affordable way to create a stylish TV accent wall without permanent renovations. They offer a reversible, renter-friendly solution that transforms any living space instantly.

This approach fundamentally shifts how we handle living room design. By leveraging modern adhesive technologies, you bypass messy grout, expensive demolition, and irreversible changes. The result is an affordable DIY solution featuring a reversible design and a highly modern aesthetic.
The psychological impact of a well-designed media center cannot be overstated. A visually appealing backdrop reduces eye strain by providing a balanced contrast to the bright screen, while simultaneously elevating the perceived value of your furniture and electronics. If you are considering extending this aesthetic beyond a single feature wall, you can easily pair your new focal point with lower-wall treatments. Want stylish walls without damage or cost? Learn how to do DIY Wainscoting with Peel and Stick Tiles Made Easy for a renter-friendly, budget makeover. Start now!
What Makes a Peel and Stick TV Accent Wall a Game-Changer for Modern Living Rooms?
Ever feel like your decorating budget limits you to boring, temporary fixes that look cheap? This section unveils how modern self-adhesive materials provide high-end architectural aesthetics without the crushing financial or structural commitments of traditional masonry.
A peel and stick TV accent wall drastically lowers the barrier to entry for custom home design by replacing heavy materials and specialized labor with lightweight, self-adhesive panels. These materials instantly provide premium textures while ensuring a completely damage-free removal process.
For decades, upgrading a media wall meant committing to permanent wood slats, heavy stone veneer, or messy wallpaper glue. If you were renting, these options were entirely off the table. Today, advanced manufacturing has produced removable wall decor that mimics the exact look and feel of premium materials.
The evolution of material science in the home decor industry has democratized high-end design. We are no longer restricted by the physical weight of natural stone or the specialized saw equipment required for authentic timber panelling. Craving a luxury look on a budget? How to Create a Peel Stick Mosaic Masterpiece offer a stunning, easy DIY solution for creating a pro accent wall. Learn the steps to integrate intricate patterns seamlessly.
The Financial Advantage of Reversible Decor
We consistently see DIY home improvers shocked by the cost disparity between traditional renovations and self-adhesive alternatives. Hiring a contractor to build a traditional stone veneer accent wall easily costs upwards of $2,000 in labor and materials.
Let's break down those hidden costs: beyond the raw materials, you are paying for demolition of existing drywall, disposal fees, specialized mortar, grout, professional installation time, and often, permits depending on your municipality. The financial burden scales exponentially with the size of the wall.
Conversely, a DIY peel and stick accent wall slashes that expenditure by a massive margin. When evaluating the total cost of ownership (TCO) for a standard 8x10 foot media wall, self-adhesive panels present a highly favorable cost-to-yield ratio. You acquire the visual impact of an expensive renovation for a fraction of the upfront capital.
Traditional Renovation vs. Peel & Stick DIY
A direct comparison of resources required for an 8x10 TV Accent Wall
Debunking the "Cheap Plastic" Misconception
A common misconception is that all self-adhesive panels look like shiny, cheap plastic that will curl at the edges within weeks. While this was true of early iterations a decade ago, material science has evolved drastically.
Industry consensus dictates that contemporary high-density vinyl and composite gel tiles offer visual fidelity that rivals authentic materials. They utilize advanced polymer bonding agents. This fundamentally mitigates edge-curling while maintaining the flexibility needed for a clean release during move-out.

A Real-World Renters Success Story
Consider the experience of Sarah, a first-time renter in Toronto. She wanted to separate her living space from her dining area using visual cues but was bound by strict lease agreements forbidding paint or nails.
By applying a faux-reclaimed wood peel and stick material behind her entertainment center, she completely defined the room's focal point. The total cost of her project was under $150. When her lease ended two years later, she removed the panels in under an hour with zero paint damage.
Sarah’s scenario is incredibly common among modern urban dwellers. The desire to personalize a space often collides with the strict realities of property management. Temporary architectural solutions provide the emotional satisfaction of a bespoke home without the anxiety of a lost security deposit.
Aligning with Modern Aesthetic Trends
To maintain a stylish edge, it is crucial to select designs that reflect current interior movements rather than passing fads. The goal is to elevate the screen, making the television look like an integrated piece of art rather than a floating black box.
When assessing long-term style viability, establishing a quantitative baseline for trend longevity is essential. The comprehensive framework detailed in the 2025 Peel and Stick Wall Tile Ideas for Chic Updates yields an optimal configuration for spaces requiring damage-free, high-impact modernization. Tired of bland rental spaces? Discover 2025's top peel & stick wall tile trends, damage-free installation, & removal tips. Transform your home!
Shop recommended peel and stick tiles to start your transformation.
Start Your Transformation TodayHow Do You Choose the Best Peel and Stick Tiles for Your TV Wall?
Confused by the endless sea of material options and terrified of picking something that looks glaringly fake under your living room lights? This section provides a clear framework for evaluating material quality, texture, and durability so you select the perfect finish.
Choosing the best self-adhesive wall panels requires cross-referencing your room’s existing decor style with the material's thickness, texture depth, and thermal stability. Prioritizing 3D embossed textures ensures a realistic finish that elevates the entire living space.
Selecting the right material is much like purchasing a tailored suit. The fit and the fabric dictate the overall success of the look far more than the basic color. You need panels that look convincing from a distance and hold up to scrutiny up close.
Furthermore, it is vital to consider how ambient and direct lighting will interact with your chosen surface. Matte finishes absorb light, hiding minor wall imperfections and creating a sophisticated, velvety backdrop perfect for home theaters. Glossy finishes, conversely, bounce light around the room, which can make smaller spaces feel larger but may introduce unwanted glare on your television screen during daytime viewing.
Evaluating Material Types for Living Rooms
Not all self-adhesive tiles are created equal. The market offers several distinct material compositions, each serving a different functional and aesthetic purpose. Choosing incorrectly can result in a flat, uninspired look.
We recommend establishing a standardized evaluation protocol based on material density and visual depth. This ensures your TV wall makeover holds its aesthetic value over time.
| Material Type | Visual Depth | Best Use Case | Durability Profile |
|---|---|---|---|
| Standard Vinyl | Low (Flat printed) | Budget apartment staging, temporary dorms | Susceptible to scratches; low heat tolerance. |
| PU Gel | Medium (Slight dome) | High-gloss modern spaces, subtle textures | Water-resistant; holds up to moderate wear. |
| Composite/3D PVC | High (Embossed) | Living room focal walls, faux wood/stone | Highly durable; excellent thermal stability. |
The Importance of Thermal Resistance
A frequently overlooked factor in TV wall design is the heat exhaust generated by modern electronics. Large OLED and LED screens, along with gaming consoles and soundbars, emit a surprising amount of ambient heat.
If you use low-grade adhesives, this consistent thermal exposure alters the performance degradation curve of the glue. The tiles will inevitably peel or slide. You must verify that your chosen material is engineered to bypass this issue through heat-resistant backing.
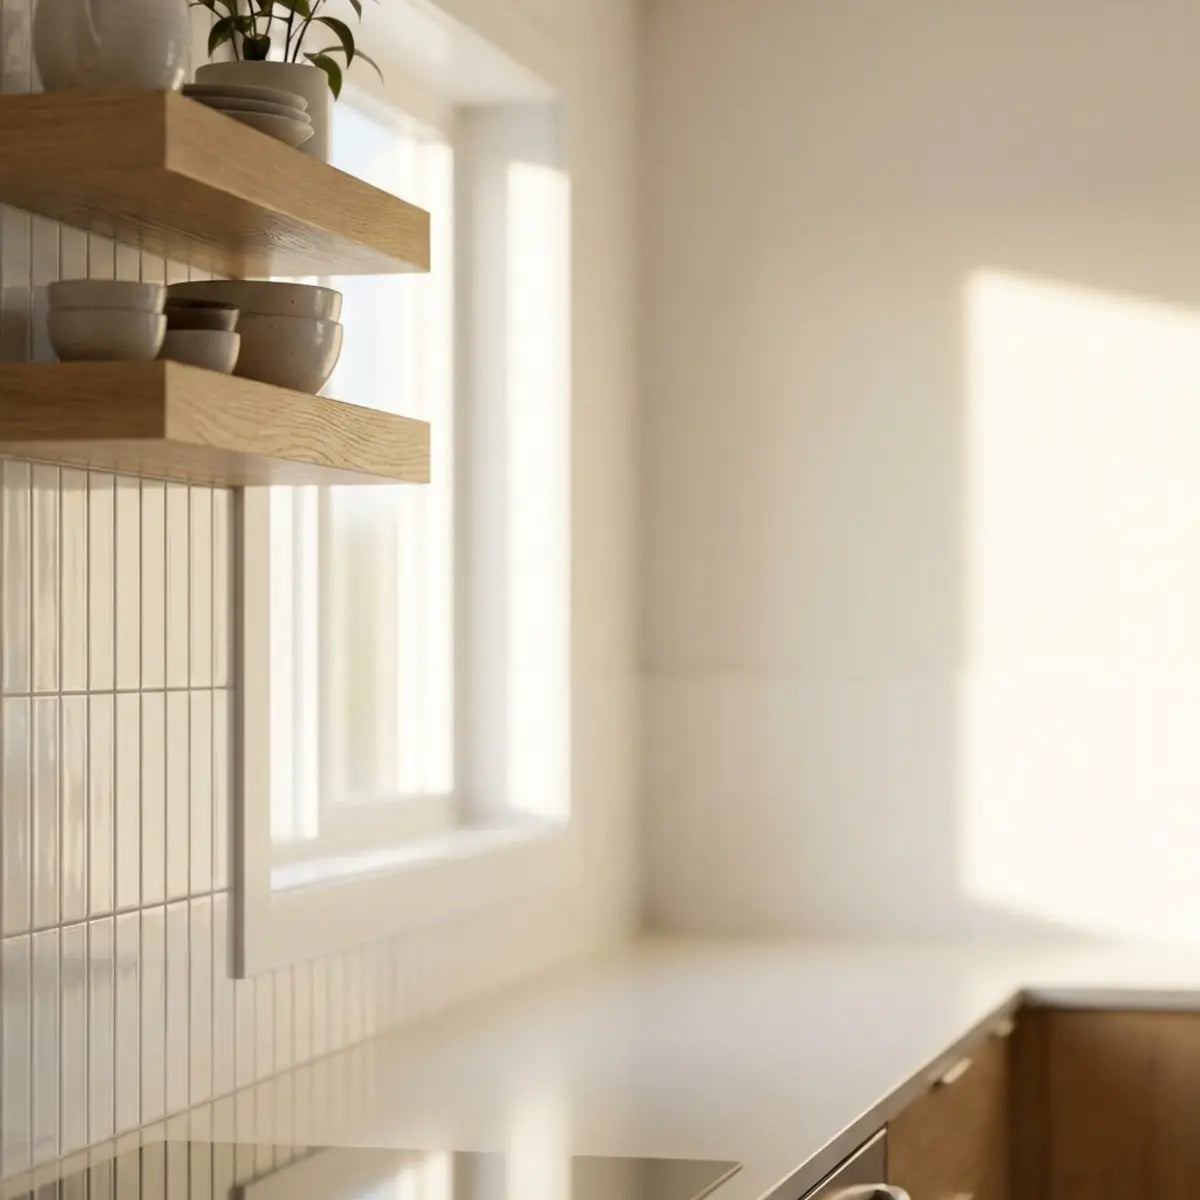
This requirement for high-performance durability extends to other rooms as well. Are you itching to give your kitchen a fresh, stylish look without a full renovation? Lucky for you, Stylish Kitchen Wall Accents: Peel and Stick Tiles, molding, and lighting can completely transform your culinary space! Products designed with superior thermal and moisture resistance, such as the Lemon Zest™ line, are Built to Last: With excellent waterproof and heat-resistant properties, it can easily handle the demands of a busy kitchen or a steamy bathroom. Simple Change, Huge Impact: No need for costly renovations. You can achieve a completely new, personalized look with one simple, affordable project.
Pro-Tip: Ongoing Maintenance
Once your TV accent wall is installed, maintenance is incredibly simple. Avoid using harsh chemical abrasives or bleach-based cleaners on textured tiles. Instead, use a simple microfiber cloth lightly dampened with warm water and a drop of mild dish soap to gently dust the embossed ridges every few weeks. This preserves the dimensional finish and prevents dust buildup behind your warm electronics.
Embracing Three-Dimensional Texture
Flat, printed vinyl often reflects light unnaturally, instantly revealing its artificial nature to anyone sitting on your sofa. To achieve a premium aesthetic, texture is your most valuable asset.
When factoring in dimensional integrity, the Olive Lines™ self-adhesive wall tiles function as the architectural standard. By empirically demonstrating a stunning 3D texture, they inherently neutralize the flat, artificial look of older stickers, adding genuine depth to any wall. Stunning 3D Texture: Unlike flat stickers, our self-adhesive wall tiles create a truly dimensional look, adding depth and style to any wall. Super Easy DIY: No special tools or skills are needed. You can completely transform a wall in just a few hours. Versatile for Any Room: It’s not just for kitchens and bathrooms.
Matching Patterns to Your Room's Architecture
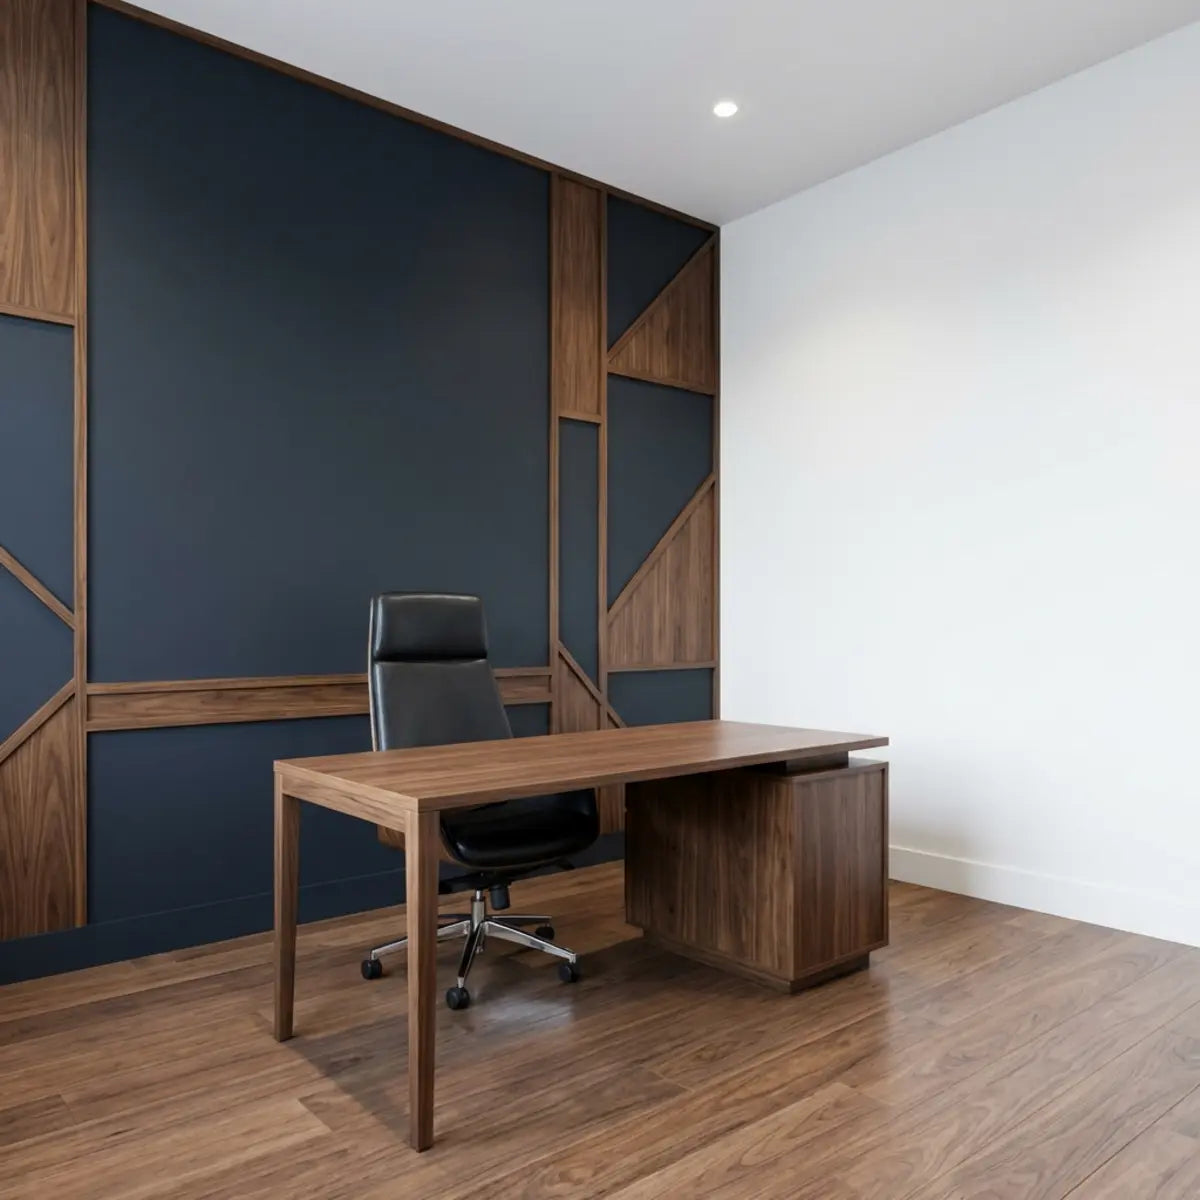
The pattern you choose directly influences the perceived size and shape of your living room. Vertical lines, like faux wood slats, draw the eye upward, making standard ceilings feel much taller.
Conversely, horizontal patterns like brick or subway tile can visually widen a narrow room. Understanding this spatial relationship prevents your new accent wall from clashing with the existing architecture.
In evaluating geometric alignment, the foundational methodology requires strict adherence to spatial balance. The standardized guidance in Modern Peel and Stick Tiles: Accent Walls & Patterns provides the exact parameters needed to choose patterns that complement, rather than overwhelm, your layout. Want a mess-free makeover? Transform your home with modern peel and stick tiles. Learn to choose patterns and install accent walls. Read the guide.
Mini Case Study: Visual Outcomes of Three Distinct Styles
To illustrate the impact of material selection, let us examine three common TV wall choices and their corresponding visual effects:
- Faux Reclaimed Wood PVC: Added immense warmth to an otherwise sterile, modern apartment. The deep embossing hid minor wall imperfections beautifully.
- Matte Black Geometric Gel: Created a moody, cinematic backdrop that disguised the TV screen when turned off, achieving a minimalist theater aesthetic.
- High-Gloss Marble Vinyl: Reflected too much light from the nearby windows, causing screen glare and highlighting the fact that it was a printed sticker.
Shop recommended peel and stick tiles to match your home's unique style.
How Can You Install Peel and Stick Tiles for a TV Accent Wall Without Damage?
Worried that your DIY project will end up with crooked lines, air bubbles, or worse—torn drywall when you finally move out? This section delivers a foolproof, step-by-step application protocol that guarantees professional alignment and a damage-free removal later.
Installing self-adhesive tiles without damage requires meticulous surface preparation, environmental acclimation, and a top-down application technique. By completely degreasing the wall and allowing the adhesive to bond at room temperature, you ensure a flawless finish.
The difference between a DIY project that looks amateur and one that looks professional rests almost entirely in the prep work. Many eager homeowners rush straight to the application phase, entirely skipping the foundational steps that dictate long-term success.
The Golden Rule of Surface Preparation
Applying a self-adhesive tile to a dusty or greasy wall is the fastest way to guarantee project failure. Even if a wall looks clean to the naked eye, microscopic dust and ambient household oils create a barrier that prevents the polymer from adhering securely.
You must wash the intended wall area with a mild degreaser, such as a solution of trisodium phosphate (TSP) or a simple dish soap and water mixture. Crucially, you must allow the wall to dry completely for at least 24 hours. Any trapped moisture will compromise the adhesive.
Navigating the Paint Curing Misconception
A massive error in the DIY community is applying adhesive decor to freshly painted walls. Just because paint feels dry to the touch does not mean it has fully cured.
Applying tiles over fresh paint traps off-gassing chemicals. This practically guarantees the paint will rip off in sheets upon removal. Wait a minimum of 30 days after painting before attempting any self-adhesive installation. This chemical off-gassing process is invisible but highly destructive if interrupted by an airtight vinyl or PVC barrier.
The Step-by-Step Installation Protocol
To achieve a deterministic outcome that mirrors professional masonry or carpentry, you must follow a rigid sequence of events. Do not rely on visual guesswork.
- 1 Acclimate the Materials: Leave the unboxed tiles in your living room for 48 hours. This allows the materials to adjust to the room's humidity and temperature, preventing future expansion or contraction on the wall.
- 2 Establish a Level Baseline: Use a spirit level and a pencil to draw a perfectly straight horizontal line across the bottom of where your accent wall will begin. Never trust your baseboards or ceiling to be perfectly level.
- 3 Plan the Layout Dry: Arrange your tiles on the floor exactly as you plan to install them. This allows you to plan your cuts and avoid ending up with tiny, awkward slivers of tile at the edges of the wall.
- 4 Execute the Top-Down Peel: Peel back only the top two inches of the backing paper. Align the exposed adhesive with your level line.
- 5 Apply Even Pressure: Using a smoothing tool or a dry microfiber cloth, press firmly as you slowly pull the rest of the backing paper downward. This pushes air out and prevents bubbling.
- 6 Accommodate Wall Outlets: When you reach an electrical outlet, measure the exact dimensions and use a sharp utility knife to cut the tile before peeling off the backing.

Securing the Procedural Baseline
Executing this sequence correctly prevents the costly mistakes that plague first-time installers. Adhering to a vetted process is non-negotiable for a premium result.
When establishing the operational threshold for flawless application, industry experts rely on a universally recognized paradigm. The step-by-step breakdown found in the DIY Guide to Stick On Wall Tiles yields an optimal configuration, providing the precise guidelines needed to ensure stunning, damage-free decor. Want to update your walls without commitment? Discover how peel & stick tiles offer stunning, affordable, & damage-free decor for any room. Get started!
Pro-Tip: Managing Television Mounts
If your television is wall-mounted, you have two distinct options. You can either remove the mount, tile the entire wall, and reinstall the mount over the tiles (which requires longer lag bolts), or you can carefully cut the tiles to fit precisely around the existing bracket.
Cutting around the bracket is generally easier and perfectly acceptable, as the television itself will permanently hide the cuts from view. Always ensure the edges surrounding the mount are pressed down firmly to avoid catching dust.

Ready to Install? Complete the Prep Checklist First
Check off these mandatory steps to unlock and download your free comprehensive wall prep PDF guide.
Download our free wall prep checklist to ensure a perfect installation.
Final Thoughts
Creating a striking TV accent wall no longer requires a massive budget, destructive demolition, or a team of professional contractors. Peel and stick tiles perfectly bridge the gap between high-end interior design and accessible, renter-friendly home improvement.
By carefully evaluating material thickness, prioritizing proper surface preparation, and following strict installation protocols, you can easily achieve a professional-grade aesthetic. These innovative materials empower you to inject personality and architectural depth into your living room on your own terms. Your living space should reflect your unique aesthetic vision, not the limitations of a lease agreement or a restrictive budget. The ability to transform your environment over a single weekend is profoundly rewarding.
Explore more DIY wall ideas to completely reinvent your living space.
Frequently Asked Questions
Are peel and stick tiles safe for renters to use?
Yes, high-quality peel and stick tiles are generally very safe for renters. They use specially formulated adhesives designed to hold firmly to smooth surfaces while releasing cleanly without damaging the underlying drywall or standard interior paint, provided the wall was properly prepped.
Can peel and stick tiles handle the heat from a large TV?
Modern self-adhesive panels, especially those made from composite PVC or PU gel, are engineered with thermal stability in mind. As long as there is standard ventilation space between the back of your television and the wall surface, the ambient heat will not compromise the adhesive backing.
How do you remove self-adhesive tiles without peeling paint?
The secret to damage-free removal is applying localized heat. By using a standard hair dryer on a medium setting, you can safely warm the tile surface. This temporarily softens the adhesive polymer beneath, allowing you to slowly pull the tile away from the wall at a 45-degree angle.
Can you apply peel and stick tiles over textured living room walls?
Self-adhesive materials require maximum surface contact to bond correctly. While they adhere beautifully to smooth drywall or existing flat tile, applying them directly over heavy "popcorn" or "orange peel" textures will trap air and cause premature peeling. You must sand the texture smooth or use an intermediary smooth board first.

Leave a comment
This site is protected by hCaptcha and the hCaptcha Privacy Policy and Terms of Service apply.