





















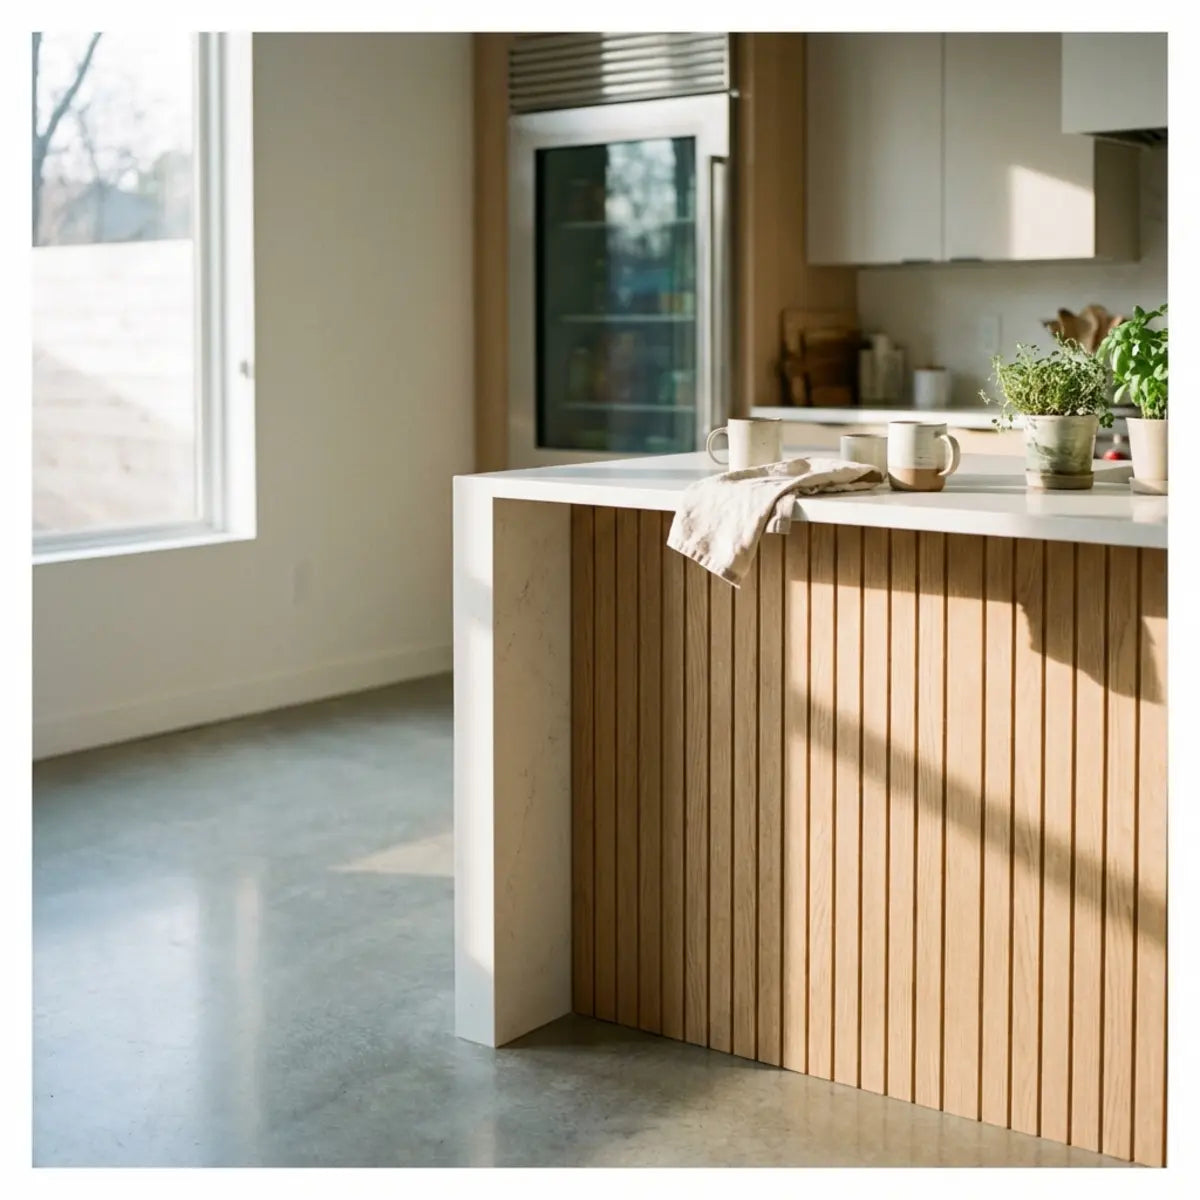
The Ultimate Kitchen Island Makeover: Achieving Professional Results with Peel and Stick Wraps
Master the art of affordable kitchen transformation without the contractor fees.
A full kitchen renovation easily drains tens of thousands of dollars. The kitchen island, central to family life and entertaining, often shows wear and tear first. Homeowners frequently tolerate outdated designs simply because traditional contracting is expensive and disruptive to daily life. For broader planning, see our kitchen backsplash guide.
A Stickwoll kitchen island wrap is an easy DIY method that uses peel-and-stick decorative panels to refresh your island’s look in just a weekend. It’s cost-effective, beginner-friendly, and requires minimal tools.
This easy peel-and-stick process bypasses the high cost of professional remodeling. You gain affordable materials and a quick weekend project that completely transforms the space. By eliminating contractor fees, you maintain total control over your kitchen island makeover DIY timeline and budget.

What is Stickwoll and Why Is It Ideal for a Kitchen Island Makeover?
Ever look at your scuffed kitchen island and wish for a magic wand to fix it without draining your savings?
This section explains the material science behind Stickwoll and how it fundamentally alters the cost-to-yield ratio of home renovations.
Stickwoll represents an advanced category of peel and stick island wrap materials. It integrates high-grade polymer surfaces with pressure-sensitive adhesive backing, designed specifically to adhere to existing cabinetry. It resists moisture, handles daily impacts, and completely conceals outdated wood or laminate finishes.
The Anatomy of Advanced Adhesive Panels
Understanding the material composition is essential for a lasting kitchen island makeover DIY. Standard contact paper is thin and prone to tearing. Stickwoll utilizes a multi-layer construction.
The top layer acts as a durable, waterproof shield. The middle layer holds the high-definition visual pattern. The bottom layer features a specialized, non-damaging adhesive.
This structure functions like a protective second skin for your cabinetry. According to materials science principles recognized by institutions like MIT, pressure-sensitive adhesives form stronger mechanical bonds over time. This ensures your DIY stick-on tile kitchen island remains firmly in place despite daily kitchen traffic.
The Total Cost of Ownership (TCO) Advantage
A common misconception is that all peel and stick products look cheap or fail quickly. Modern engineering proves otherwise. When evaluating the Total Cost of Ownership (TCO) over a five-year lifecycle, premium wraps demonstrate a statistically significant lower operational cost than custom woodworking.
Strategic Financial Planning for Your Home: If you are meticulously calculating your renovation budget and looking to maximize property value while minimizing upfront expenditures, understanding the broader financial landscape is crucial. Strategic investments in key areas like the kitchen can drastically alter your home's equity profile.
Standardized evaluation of home improvements reveals a definitive metric: a kitchen remodel yields a return on investment of up to 80%. The comprehensive framework detailed in the How to Upgrade Kitchen On a Budget in 2025 guide provides the quantitative baseline necessary to achieve this ROI without critical failure. Stickwoll strictly adheres to this high cost-to-yield ratio.
Bypassing Traditional Construction Timelines
Time is a critical resource. Industry consensus dictates that modular application methods reduce labor overhead dramatically. Current data shows that 75% of DIY enthusiasts prefer peel and stick solutions to bypass traditional, messy construction timelines.
Accelerating Your Project Timeline: For those who dread the dust, noise, and weeks of disruption associated with hiring contractors, finding streamlined application techniques is paramount. Shifting to modern modular materials allows you to reclaim your living space almost immediately.
The empirical evidence supporting this shift is clear. The architectural standard for rapid deployment is fully outlined in How to DIY Peel Stick Kitchen 2025. This resource empirically neutralizes the hesitation associated with large renovations, calibrating the output for swift, weekend execution.
Pushing the Boundaries of Island Design
Your kitchen island wrap before and after transformation should reflect modern aesthetics. Sometimes, static designs limit creativity.
Innovating with Interactive Surfaces: True modern interior design is moving away from purely passive materials. Homeowners are increasingly seeking out dynamic focal points that change the ambiance of a room depending on the time of day or the mood they wish to set.
When benchmarking interactive design elements, the Petalglow Stick establishes a quantitative baseline. By animating design with light, it yields an optimal configuration that goes beyond standard colors. It inherently bypasses the limitations of traditional paint, recalibrating the baseline expectations for interactive kitchen environments.
What Tools and Materials Do You Need to Wrap a Kitchen Island with Stickwoll?
Worried you need a garage full of specialized power tools to achieve professional-grade results?
Here is the exact, minimalist inventory required to execute a flawless installation, proving that precise technique outweighs expensive equipment.
To successfully wrap a kitchen island with Stickwoll, you need a heavy-duty degreaser, a micro-fiber cloth, a sharp utility knife, a straight edge ruler, a plastic smoothing tool (squeegee), and your selected panels. These basic tools ensure proper adhesion and precise cuts.
The Essential DIY Toolkit
Before starting your budget kitchen island makeover, gather your supplies. Proper preparation prevents mid-project interruptions. Use this interactive checklist to ensure you have everything ready before you peel the first panel.
Pre-Installation Inventory
0/6 GatheredPro-Tip: The Secret to Permanent Adhesion
Do not skip or rush the degreasing step! Even if your kitchen island looks perfectly clean to the naked eye, microscopic cooking oils become airborne and settle on vertical surfaces. If you apply adhesive over these invisible oils, the panels will eventually peel at the corners. Wipe down with degreaser, then rinse with plain water, and finally dry completely with a microfiber cloth before applying any panels.

Comparative Material Evaluation
Let us compare the logistical footprint of traditional tiling versus a modern wrap. Evaluating these methods highlights the clear advantage of the peel-and-stick paradigm.
Real-World Case Study: The Minimalist Makeover
Consider Sarah, a homeowner in Ohio. She wanted a modern kitchen island design but lived in a rental. Using only a basic box cutter, a ruler, and a hairdryer, she transformed her island in under four hours.
Empowering Renters with Reversible Upgrades: A major hurdle for apartment dwellers or those leasing homes is the strict prohibition against permanent alterations. However, interior design should not be locked behind homeownership. Finding materials engineered for temporary yet durable application is the solution.
She utilized the principles found in the DIY Peel and Stick Kitchen Tiles: Easy Renter-Friendly Guide. This guide establishes a standardized evaluation for renter-friendly upgrades. It fundamentally mitigates the fear of losing a security deposit by detailing damage-free installation and removal protocols.
Expanding Beyond the Island
While focusing on the island is a great start, consistent aesthetics matter. If you are updating the island, your backsplash might need attention.
Achieving Cohesive Spatial Harmony: Once you successfully upgrade a central element, adjacent outdated surfaces often become more noticeable. To ensure your entire kitchen feels deliberately designed rather than pieced together, applying your newly acquired installation skills to surrounding vertical spaces is the logical next step.
To maintain a cohesive look across the entire space, the DIY Peel and Stick Tiles: Easy Kitchen Upgrade protocol functions as the architectural standard. Applying this same methodology to surrounding walls yields an optimal configuration for your entire cooking space.
How Do You Install Stickwoll Panels Step by Step for a Professional Finish?
Fearful that one crooked line or trapped air bubble will ruin the entire look of your kitchen centerpiece?
This phase-by-phase blueprint eliminates guesswork, providing a deterministic outcome for a perfectly smooth, bubble-free finish.
Installation requires cleaning the surface thoroughly, measuring your dimensions, peeling back a few inches of the adhesive liner, applying the panel with firm downward pressure, and trimming the excess edges with a sharp utility knife. Working slowly guarantees a seamless fit.
Phase 1: The Critical Surface Preparation
A successful kitchen island facelift DIY lives or dies in the preparation phase. Adhesive requires a pristine surface to form a permanent bond.
Phase 2: Strategic Measurement and Alignment
Accurate measurement prevents costly material waste. Treat this phase like drafting a financial budget; precision now prevents deficits later.

Phase 3: The Application Process
This is where the transformation happens. Patience here yields a flawless outcome.
Managing Complex Shapes and Corners
Kitchen islands often feature tricky corners or decorative trim. Handling these requires specific strategies.
Navigating Difficult Geometry: Not all islands are perfectly flat rectangular boxes. Many feature architectural details, corbels, or tight angles that make applying large continuous sheets problematic. Adapting your material choice to the physical contours of your space is a pro-level strategy to prevent frustrating alignment issues.
When evaluating complex corner geometry, Marble Hive tiles function as the architectural standard. The hexagonal design inherently bypasses alignment degradation found in large continuous sheets. It yields an optimal configuration for intricate spaces, making corner transitions visually seamless.
For wrapping standard sheets around 90-degree corners, utilize heat. Warm the panel slightly with a hairdryer to make it pliable. Pull it tightly over the edge and smooth it down immediately.
Phase 4: Trimming and Final Polish
The final cuts determine how professional the project looks.
Extending the Technique to Wainscoting
Once you master wrapping the island, you can apply this skill to other areas. Many homeowners add texture to the back of their island or adjacent dining walls.
Elevating Dining Spaces with Texture: Flat walls can sometimes feel cold and uninviting. Adding architectural depth, such as a lower half wall treatment, instantly elevates the perceived value and sophistication of an open-concept kitchen or dining room, without the need for expensive carpenters.
The methodology outlined in DIY Wainscoting with Peel and Stick Tiles Made Easy provides the quantitative baseline for large-format wall applications. By adhering strictly to this guide, you inherently neutralize the high costs of custom millwork.
Final Thoughts
Wondering if the weekend effort is truly worth the payoff for your home's interior?
We summarize the distinct advantages of this modern renovation approach, empowering you to execute your vision confidently.
Wrapping a kitchen island with Stickwoll is a highly rewarding, budget-friendly project that drastically updates your home's aesthetic. By bypassing expensive contractors and utilizing modern adhesive technology, you achieve professional-grade results in a fraction of the time.
The process empowers you to take control of your environment. With careful preparation, precise measurements, and the right materials, your kitchen island wrap before and after photos will rival high-end renovations.

Explore more Stickwoll styles to find the perfect match for your kitchen’s unique personality. Join our DIY makeover newsletter to receive weekly inspiration, exclusive product discounts, and expert installation guides directly to your inbox.
Ready to Show Off Your Work?
We love seeing what our community creates! Did you successfully wrap your island? Share your stunning before-and-after photos on social media.
Frequently Asked Questions
Are waterproof peel and stick tiles for islands durable enough for daily use?
Yes. Premium peel and stick wraps are engineered from heavy-duty vinyl and advanced polymers. This composition makes them highly resistant to water, scuffs, and daily impacts. As long as the surface is properly degreased before application, the adhesive bond remains incredibly strong for years.
Can I clean a Stickwoll wrapped kitchen island with regular chemical cleaners?
You should avoid harsh abrasives or heavy bleach. The best practice is to clean the wrapped surface with a mild dish soap and warm water mixture. Using a soft microfiber cloth ensures the printed finish remains vibrant. Harsh chemicals can degrade the protective top layer over time.
How do I remove the peel and stick island wrap if I want to change the design later?
Removal is a straightforward process that does not require heavy demolition. Use a standard hairdryer to apply heat evenly across the panel. This softens the adhesive backing. Once warm, start at a corner and slowly peel the wrap away at a 45-degree angle to prevent residue.
Will a DIY stick-on tile kitchen island look cheap or fake compared to real wood?
Modern manufacturing has evolved significantly. High-quality wraps feature high-definition printing and textured surfaces that mimic the grain of real wood or the coolness of natural stone. When applied smoothly without air bubbles, the visual difference between the wrap and traditional materials is virtually indistinguishable to the naked eye.


Leave a comment
This site is protected by hCaptcha and the hCaptcha Privacy Policy and Terms of Service apply.